Adjust keyframes in After Effects
Keyframes bring any After Effects project to life. There are several different ways to adjust animations through keyframing or keyframe, from the keyframe wizard to the graphics editor. Let’s see what they are.
Contents
Ways to work with keyframes in After Effects
adjust values
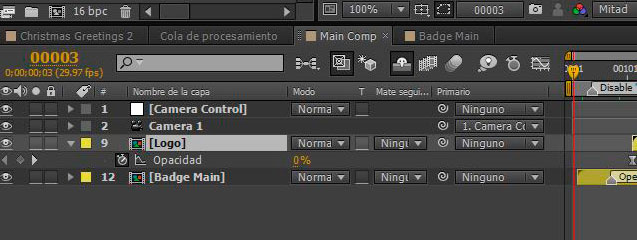
In After Effects, you can make adjustments to keyframe values through the Timeline and Composition panels. A more precise method of changing a value is to simply double-click a keyframe in the Timeline panel. A dialog will appear that includes additional options, such as the ability to view properties across different drives.
Change Interpolation
Interpolation influences how a value changes in space and time. With one or more keyframes selected, we’ll navigate to Animation and select Keyframe Interpolation. Here you can change the interpolation of spatial and temporal keyframes. You can even set keyframes to automatically adapt to each other by selecting Rove Across Time.
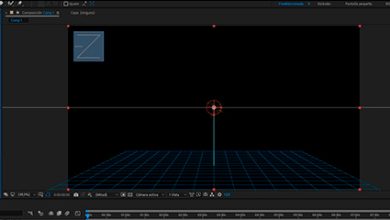
move motion paths
A great way to adjust spatial keyframes is to manipulate them directly in the composition panel. Simply click and drag keyframes to reposition them, and make subtle adjustments to motion paths via bezier curves. You can also add, remove, and further manipulate keyframes with the Pen Tool. The dots will give us a quick reference to the speed of an animation, and the roving keyframes will automatically adjust in the timeline as you move them in the composition panel.
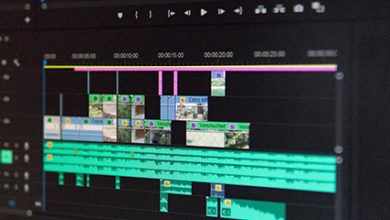
Modify speed
The timeline is a fairly obvious place to make adjustments to keyframe values in time. However, if we want finer control over the speed and values of its keyframes, we’ll click the Graph Editor button. This design allows users to use bezier curves to make specific adjustments to keyframe speed, influence, and interpolation. Speaking of speed, if we want to be even more specific with speed values, we can select a keyframe and go to Animation > Keyframe Rate.
View keyframe data
There are several ways to view keyframe information. The info panel displays the timecode as well as spatial and temporal interpolation. To see all the keyframes within a timeline, we’ll press the U key. Right-click on a keyframe to get a quick view of the attribute’s values, as well as a number of navigation and selection tools. We will also have direct access to all the tools in the Animation menu. Last but not least, we can check out the Keyframe Wizard menu for a number of creative options.
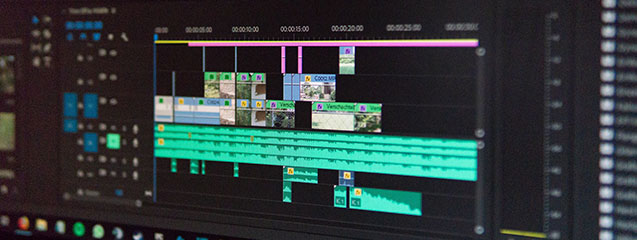
As you can see we have various means to modify the keyframes or keyframe in After Effects. This is precisely one of the basics that you have to learn to master when doing any postproduction work in After Effects. This last one is not the only program in which you have to have these keyframe consider. If you know Adobe Premiere, you will know that it is also the basis for any type of action in this program.
Journalist and Community Manager. Specialist in content marketing, social media marketing and SEO. Founder of VR Digital Content. Passionate about video post-production, animation, video games, photography and performing arts. Always trying to bring you the latest news in these fields.