Use the Camera Raw filter for a dramatic effect
As usual always more tutorial on TutsPS, in this last one we will use Photoshop’s Camera Raw filter to achieve a super dramatic effect, a method widely used by photographers to accentuate photographs and achieve professional effects in just a few steps.
Use the Camera Raw filter for a dramatic effect
Welcome to this new tutorial, in it we will learn a technique widely used by photographers to transform a simple image into a glow giving a dramatic effect, we will learn how to use Photoshop’s Camera Raw filter .
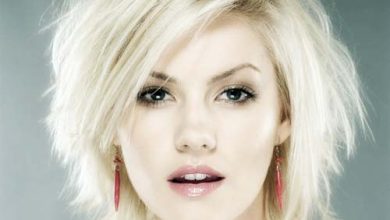
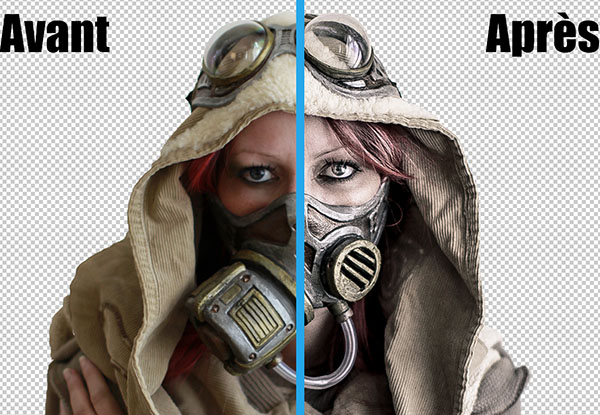
and here is a preview of the final rendering
Use the Camera Raw filter for a dramatic effect
To start the job, you need to download the following resource pack and then open a new document from 1400x1200pixels , resolution 72dpi , colors RGB8bits with a transparent background.
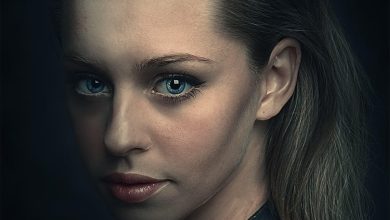
Then open the following image in another document and crop the model using the quick selection tool (W).
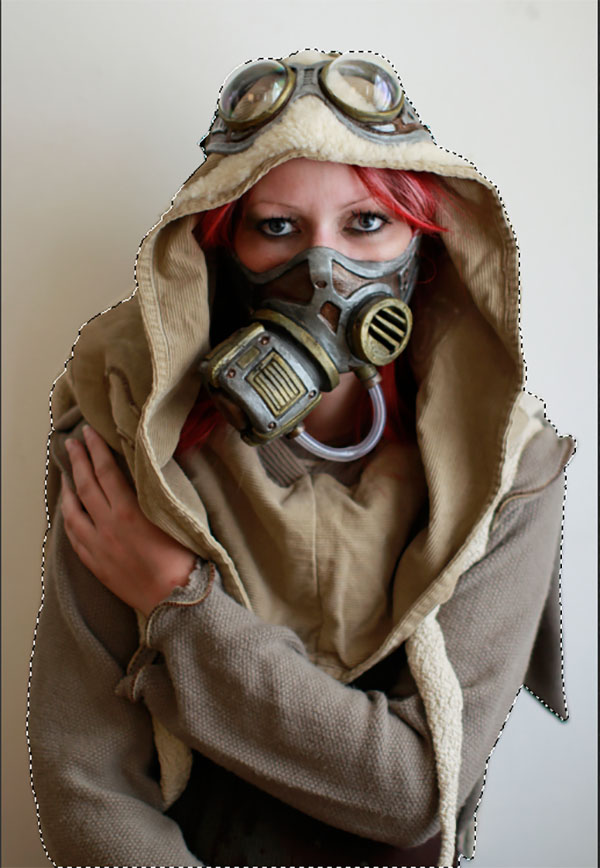
Then, import the selection into your working document.

Then open Camera Raw by going to Menu> Filter> Camera Raw Filter.
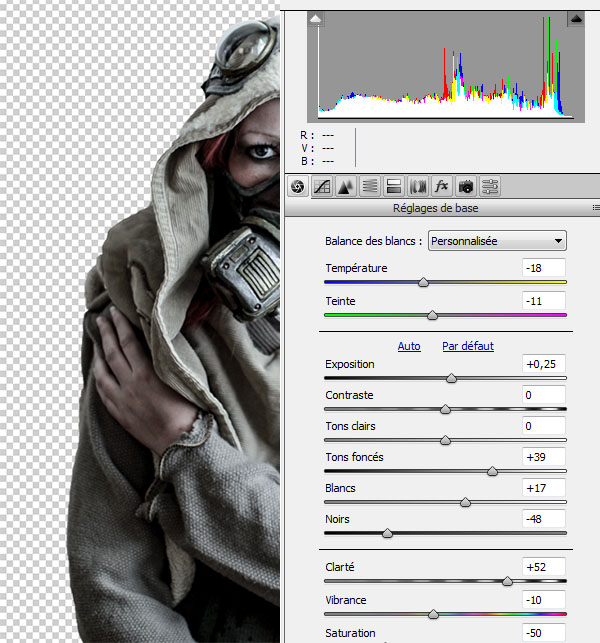
We will start with basic settings
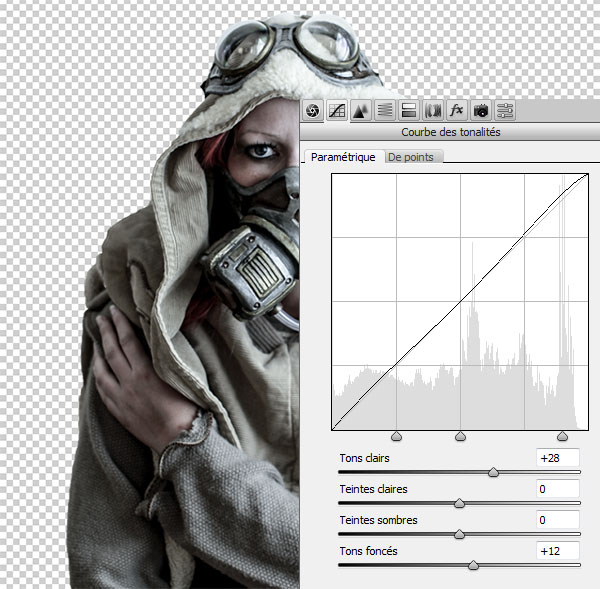
Switch to the Tone curves and adjust the light and dark tones
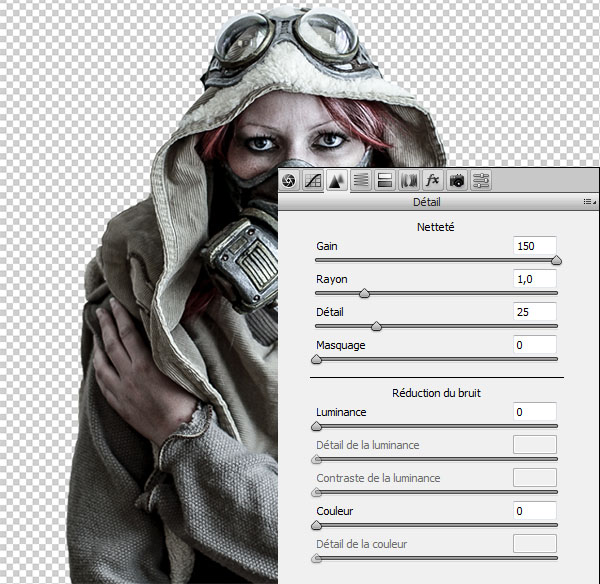
Now on to the details.
Then, go to the tab TSI / grayscale and reduce red saturation like this.

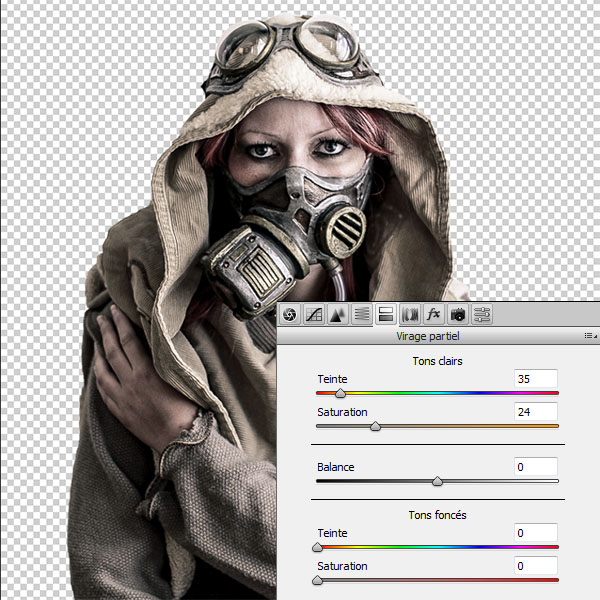
Now in the Partial turn change the hue and saturation of the highlights.
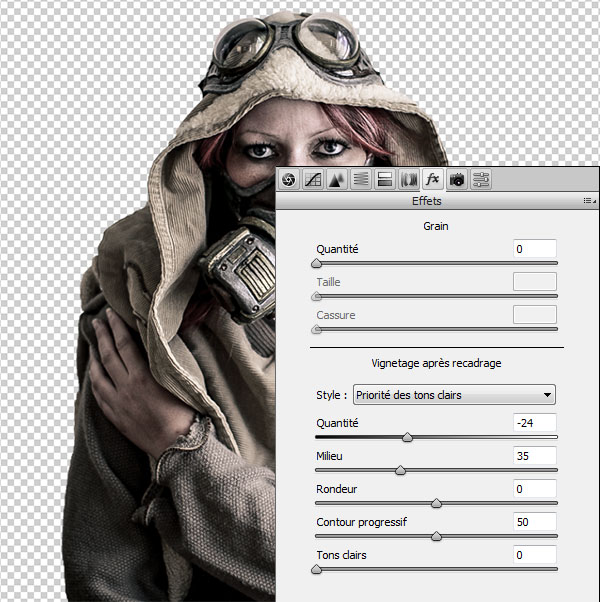
Then go to the tab Effects and put the following values.
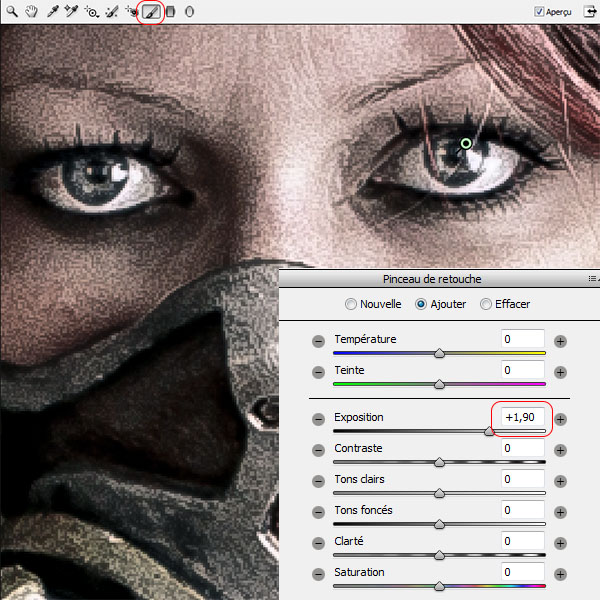
To finish with this filter, we are going to retouch the eyes, to do so, select retouch brush tool (K) , then increase the exhibition at 1.90 and click two or three times on the eyes (to reduce the size of the brush hold the right button of your mouse and drag to the right or the left)
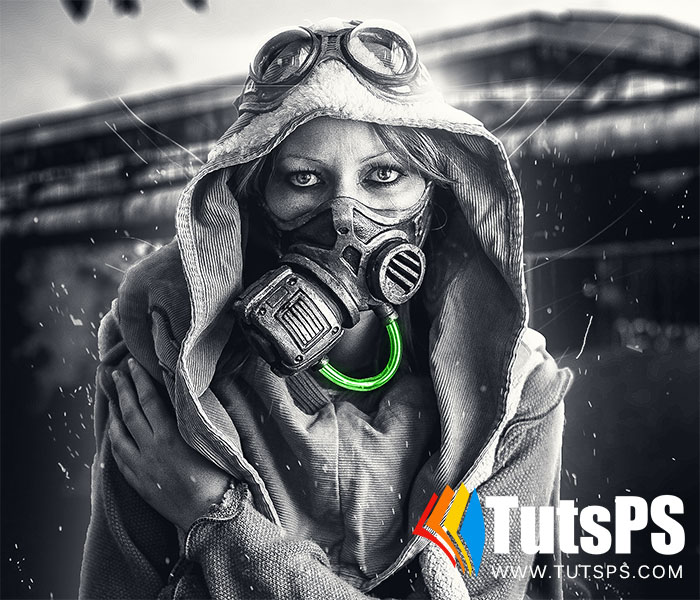
And here is our rendering after applying the Camera Raw filter .
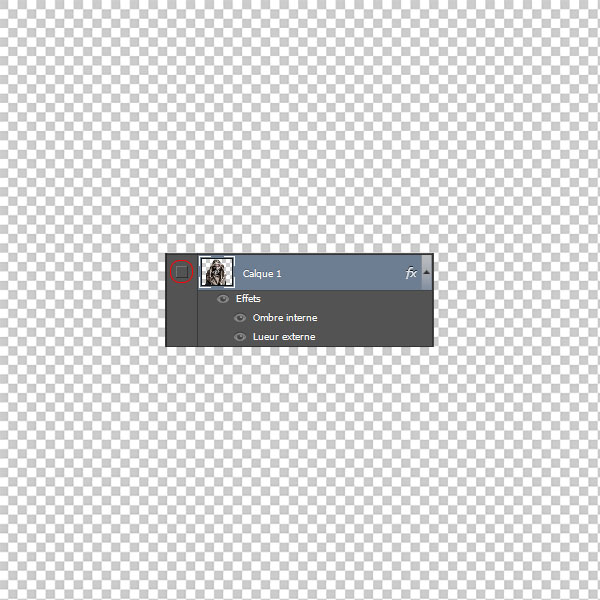
Now go to merge options .

Next, hide the model layer by clicking on the little eye next to the model’s thumbnail.
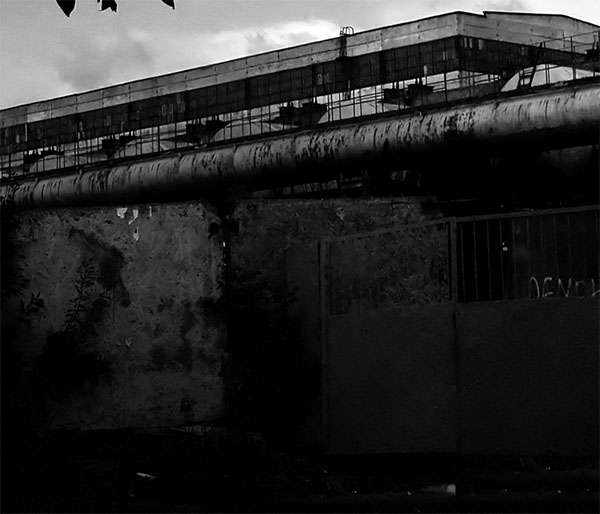
Then import the following image and adjust it like this.
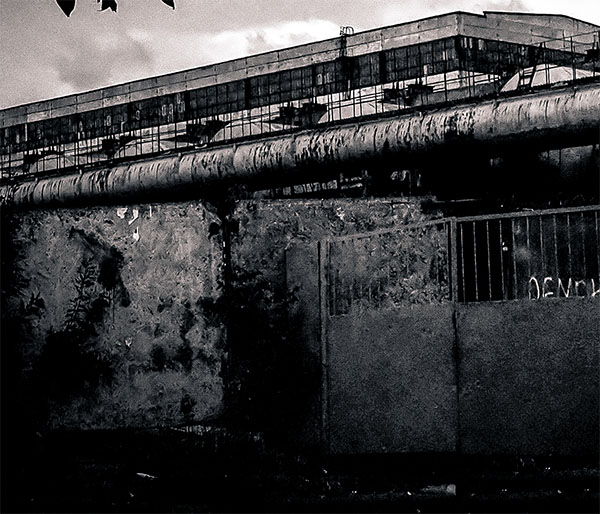
Apply the settings of the Camera Raw filter to achieve the following effect.
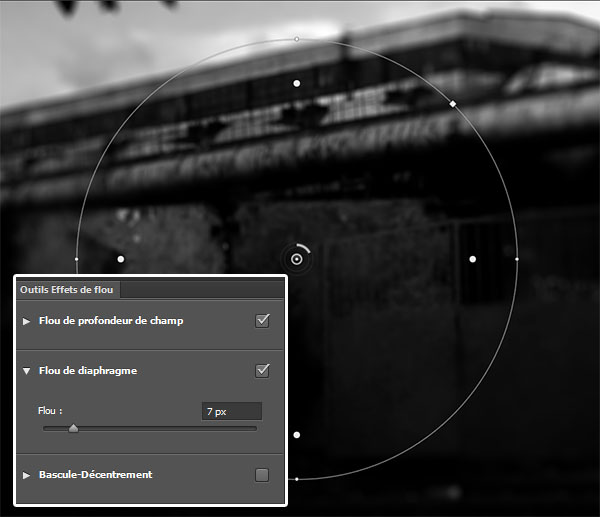
Then apply a lens blur filter on it by going to Menu> Filter> Blur> Lens blur.
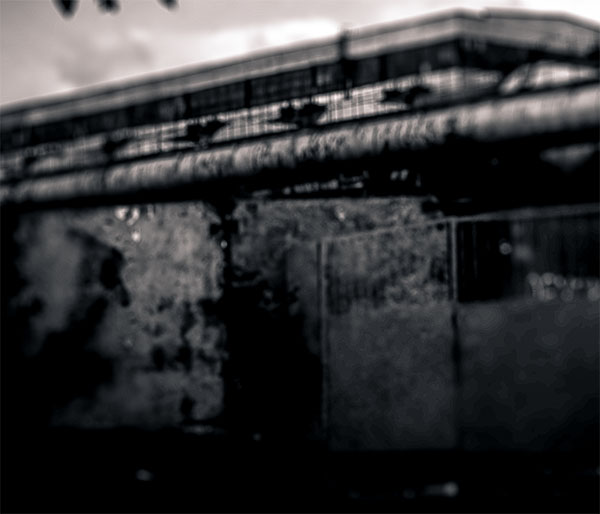
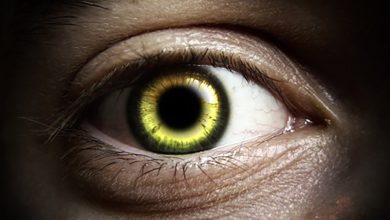
Then import the following image into your document and adjust it like this.
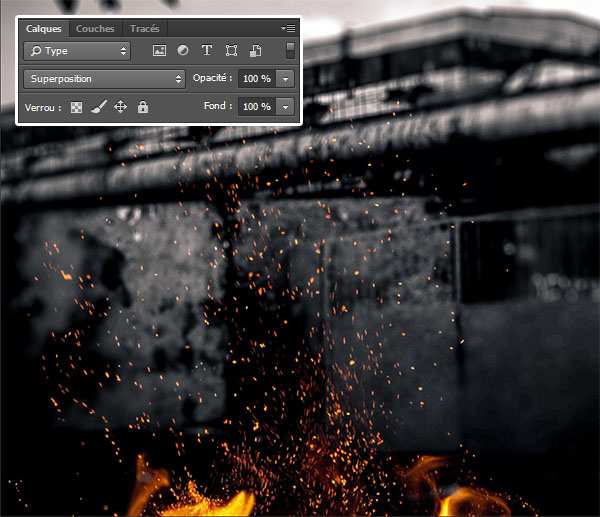
Change her fusion mode in Overlay
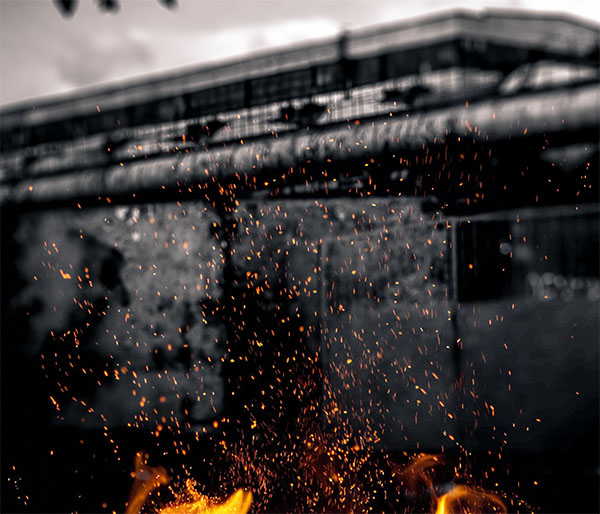
Duplicate the layer twice and adjust them again to get the following effect.
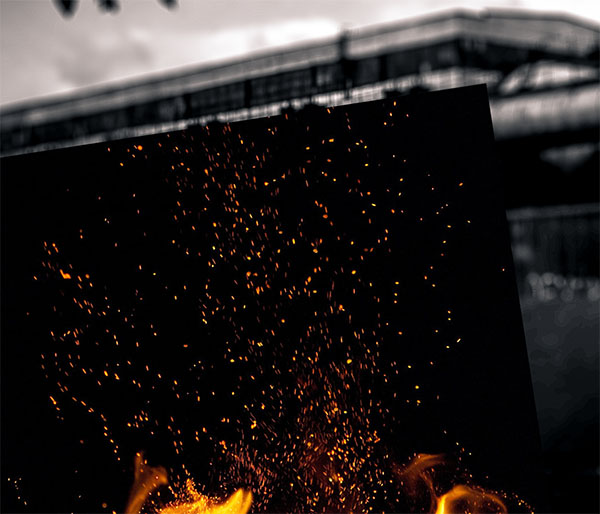
Then do the same for the flames.
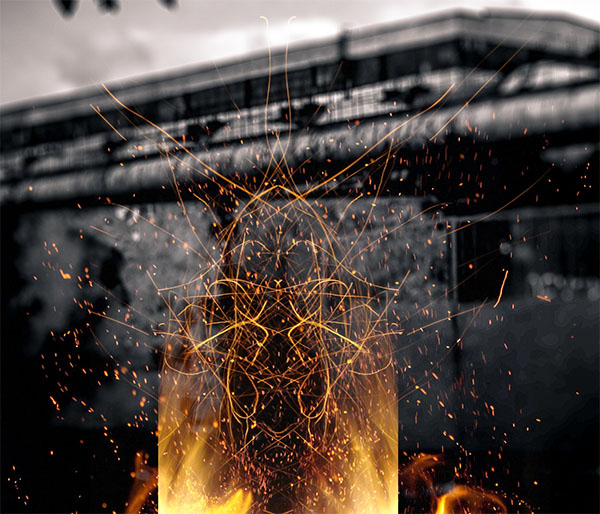
Now display the model layer and add some flame on top.
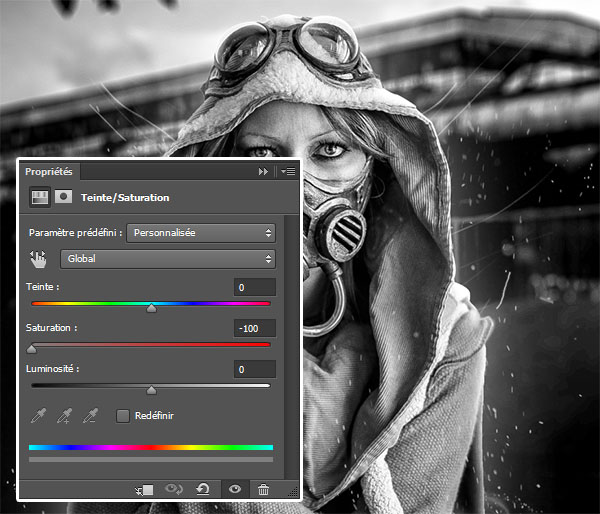
Then add a Hue and Saturation adjustment layer by going to Menu> Layer> New Adjustment Layer> Hue and Saturation.
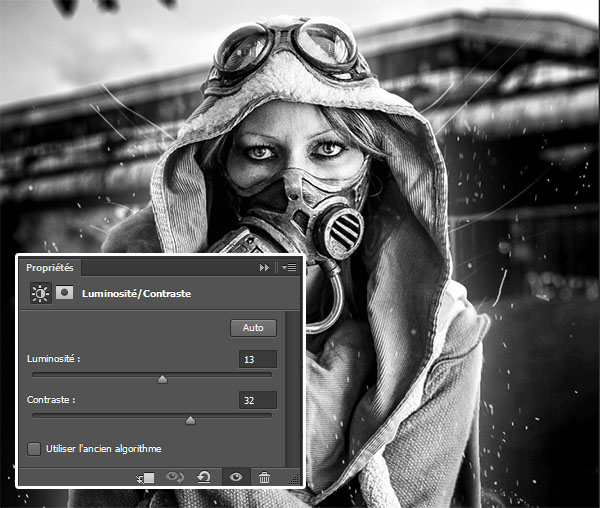
In the same menu add an adjustment layer Brightness and contrast
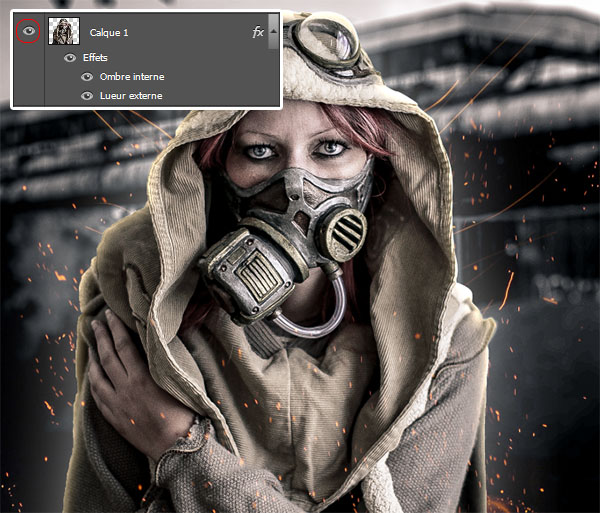
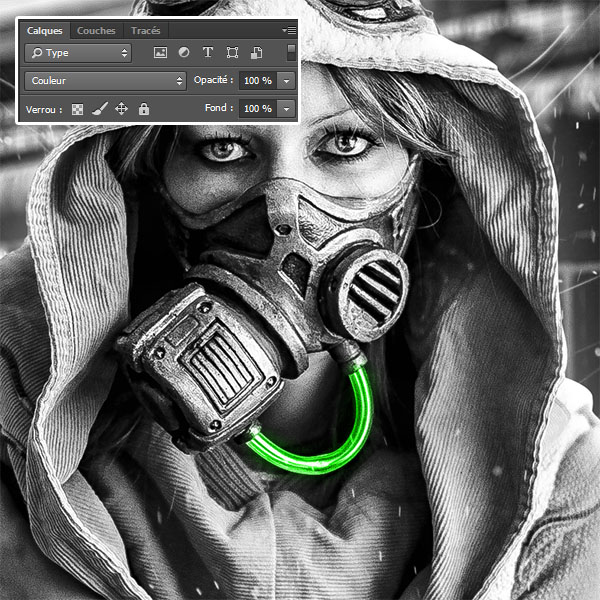
Create a new layer (Ctrl + Shift + N), take the brush tool (B), and paint with green # 16e706 at the gas mask pipe.
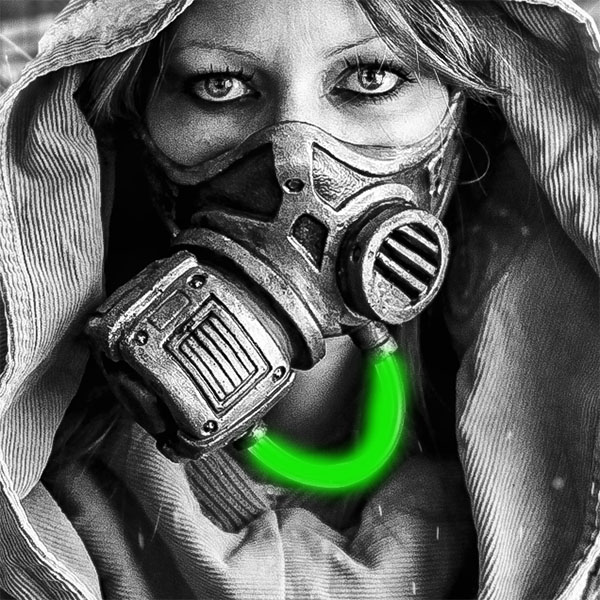
Then change its fusion mode in Color
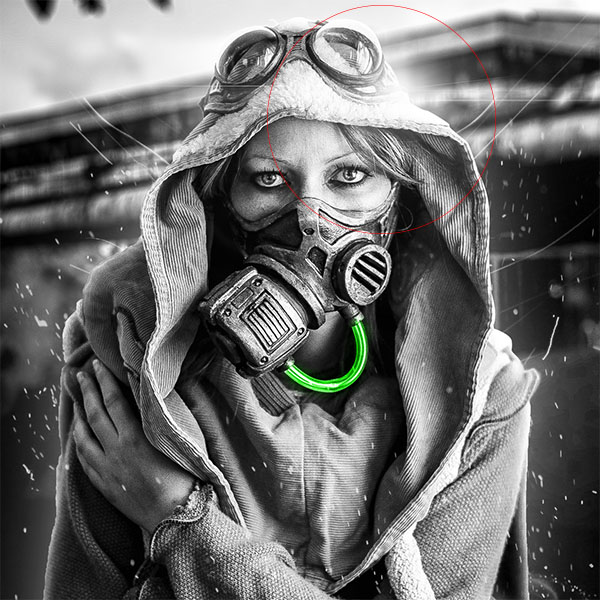
Create another layer, take some star brushes, and try adding a little glow at the top at the hood using the brush.
Finally, add a Color Match adjustment layer by going to Menu> Layer> New Adjustment Layer> Color Match (This filter only exists on the CC and CS6 version of Photoshop but you can use external filters like Color Efex Pro ).

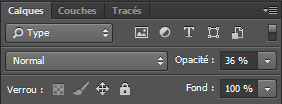
Finally, reduce its opacity To 36%.
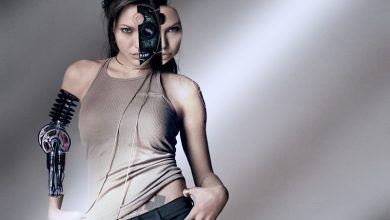
And here is the final rendering.

A tutorial inspired by a rendering by Andrei Oprinca