Light and particle effect with Photoshop

Light and particle effect with Photoshop
Welcome to this new tutorial, in it we are going to achieve a superb effect of light and particles with Photoshop on a simple image and give it a magical effect in a few steps.
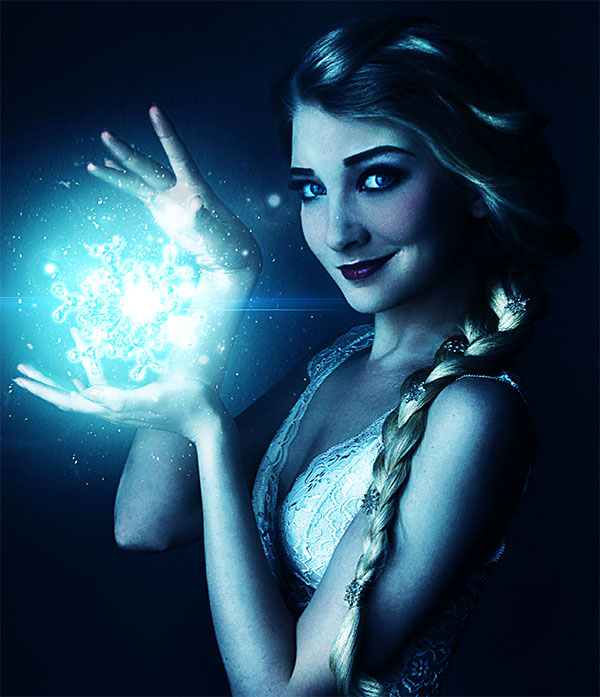
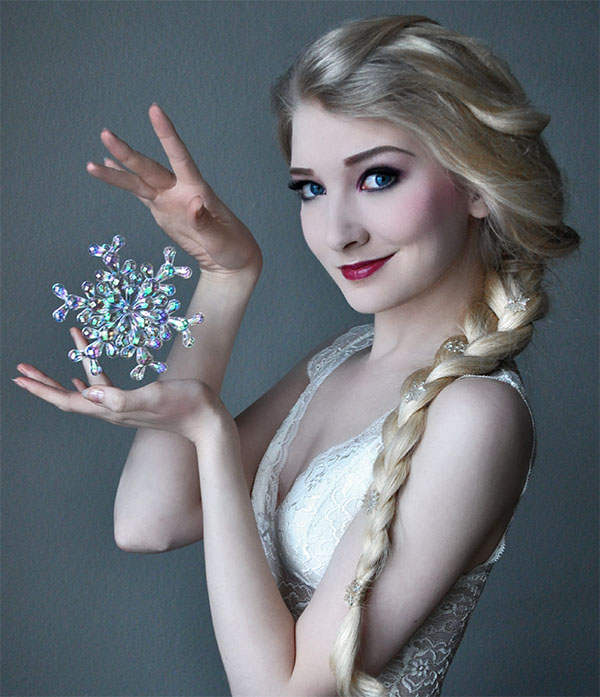
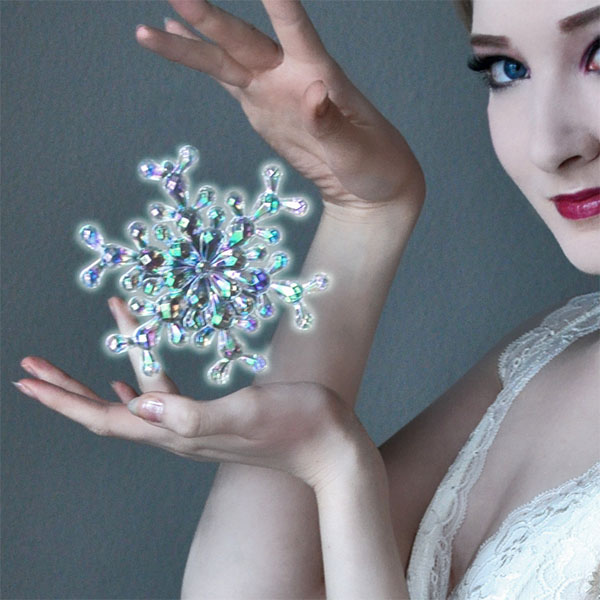
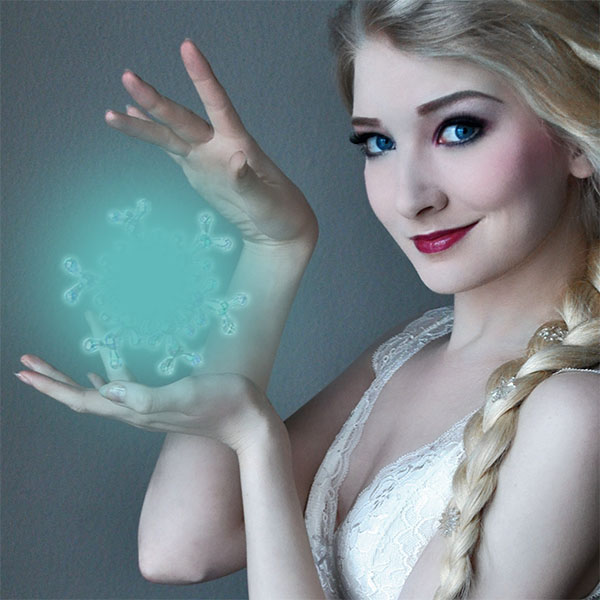
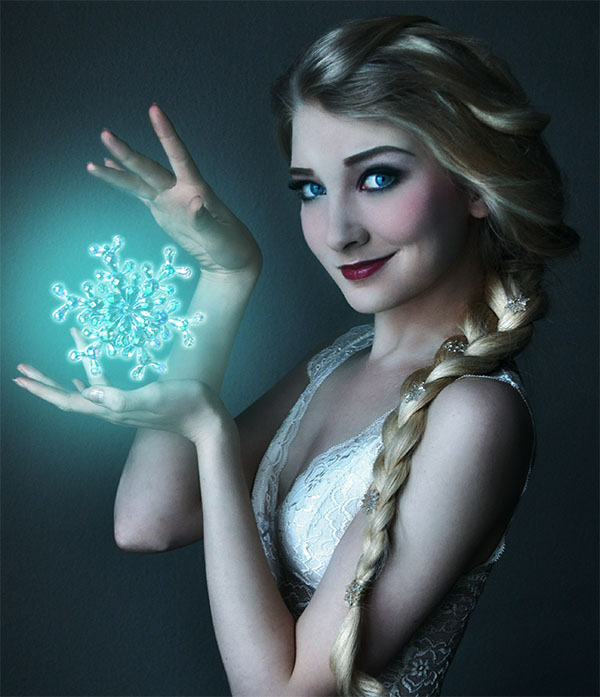
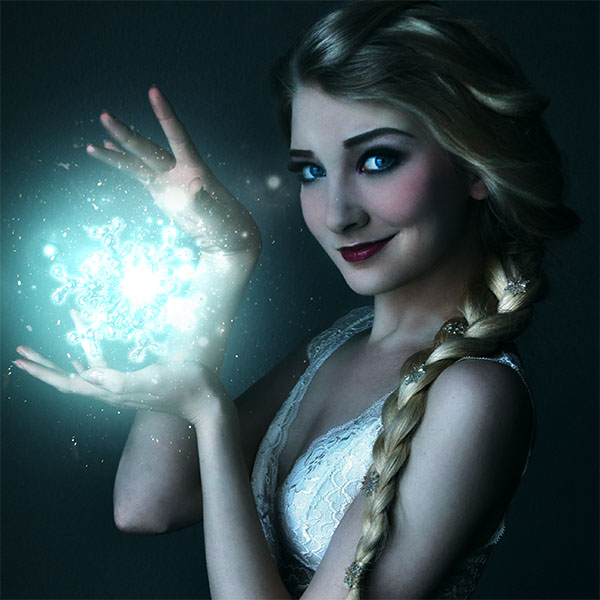
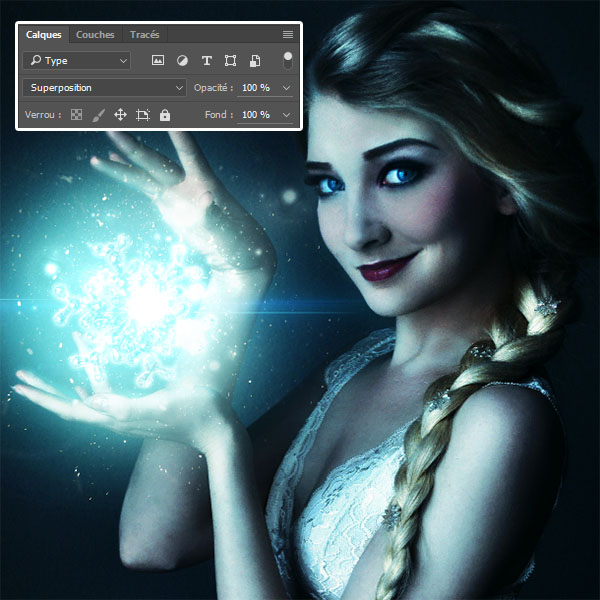
Here is a preview of the final rendering.
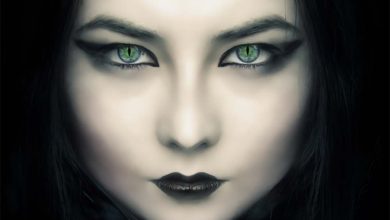
To start the work, open the following model image in Adobe Photoshop then duplicate your layer by pressing the keys Ctrl + J .
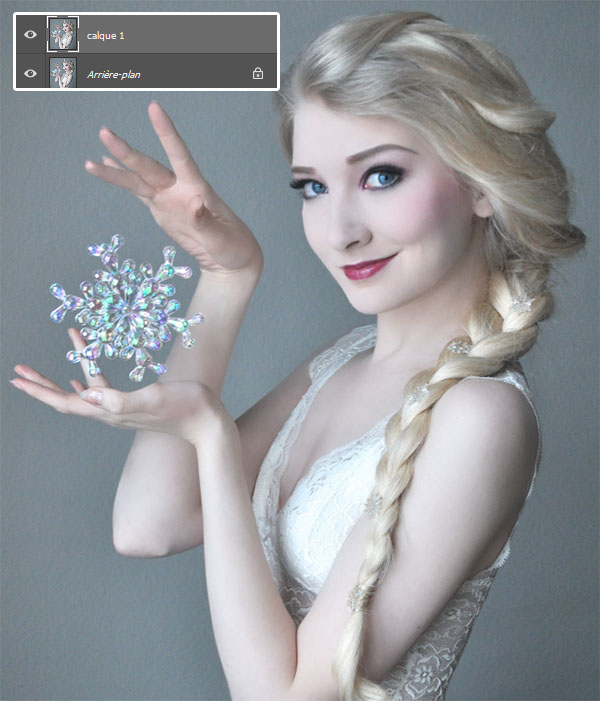
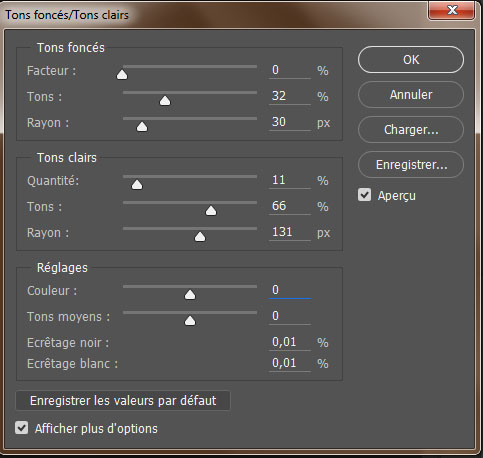
Then go to Menu> Image> Adjustments> Shadows / Highlights
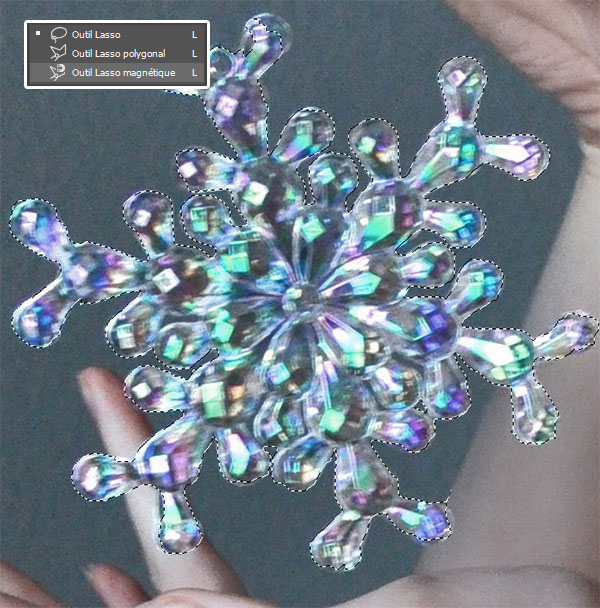
Now take the magnetic lasso tool (L) and cut out the crystal object.
Create a new layer (Ctrl + Shift + N), still with the lasso selection tool click on your selection with the right mouse button then choose outline.
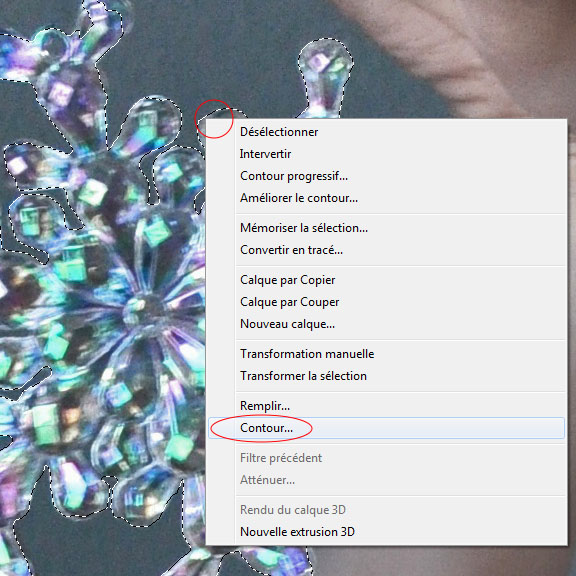
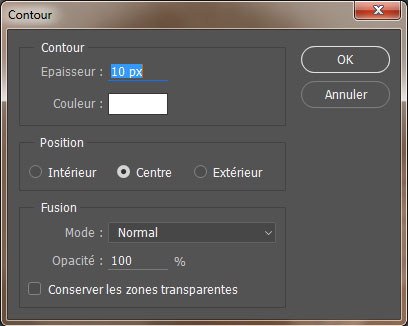
Choose color White for the outline and 10px for the thickness
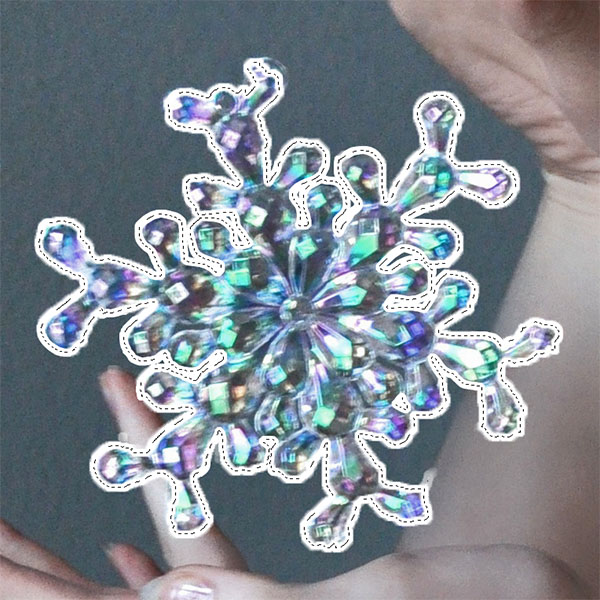
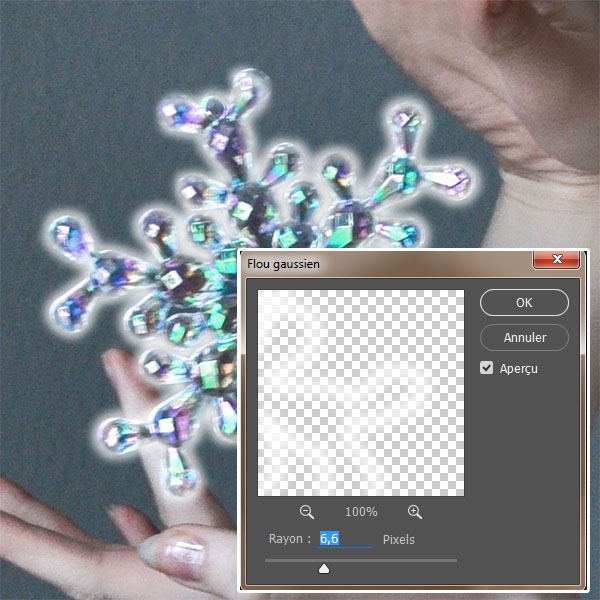
Then press Ctrl + D , and apply a Gaussian fuzzy filter going in Menu> Filter> Blur> Gaussian blur.
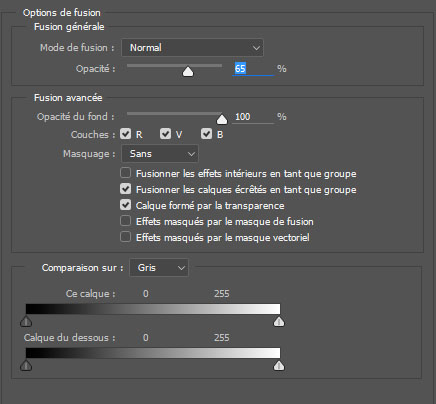
Then, go to the merge options.
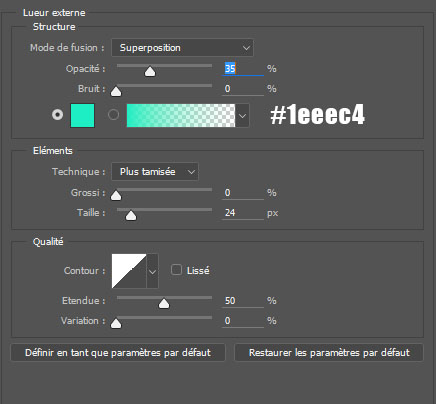
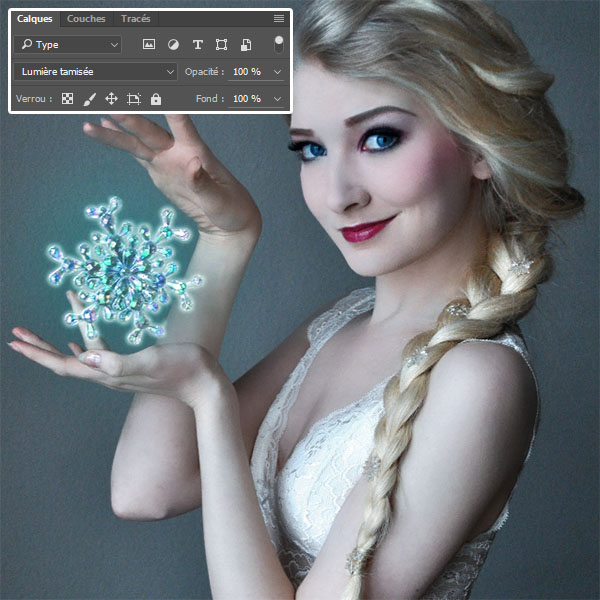
Create another layer, take the brush tool (B) and draw a round shape using color # 61b9b9.
Then change its fusion mode in Dim light .
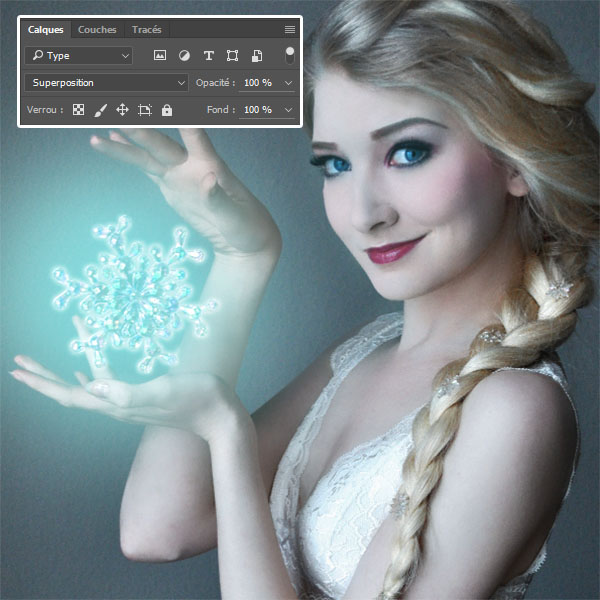
Do the exact same in another layer, then change its fusion mode in layering .
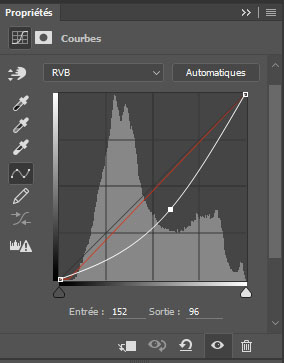
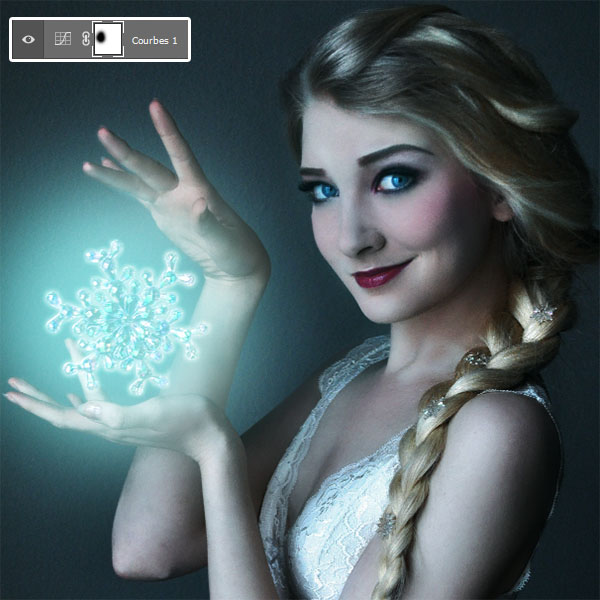
Now add a Curve adjustment layer by going to Menu> Layer> New adjustment layer> Curve.
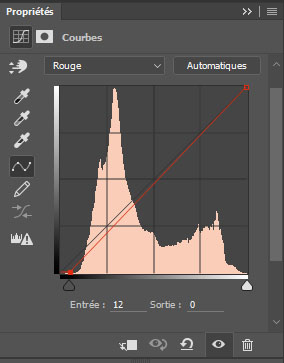
After, put on the layer mask of the adjustment layer, take the brush tool (B) and paint a round shape at the crystal object using color Black to hide the effect of the latter.
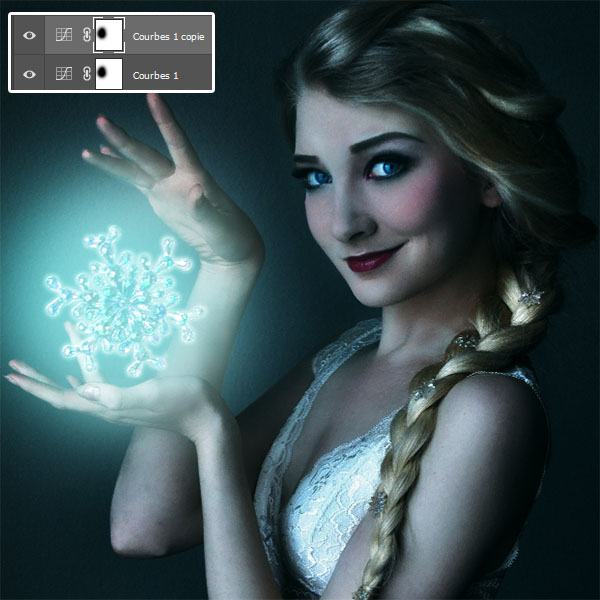
Then duplicate your adjustment layer by pressing the keys Ctrl + J.
Now import the following texture into your document and adjust it like this.
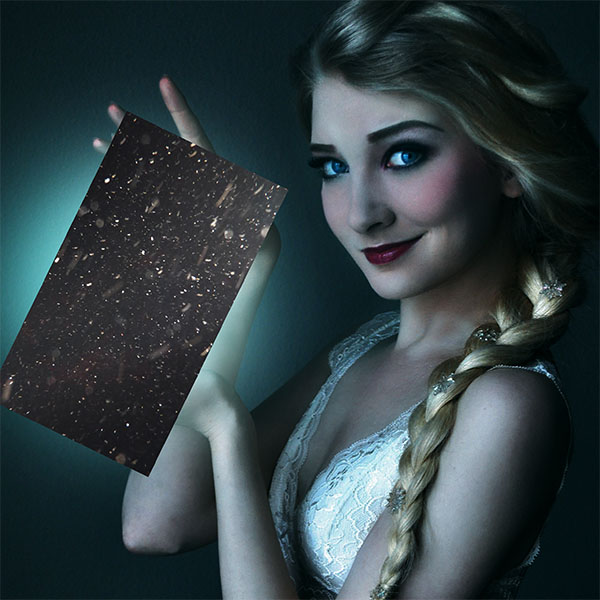
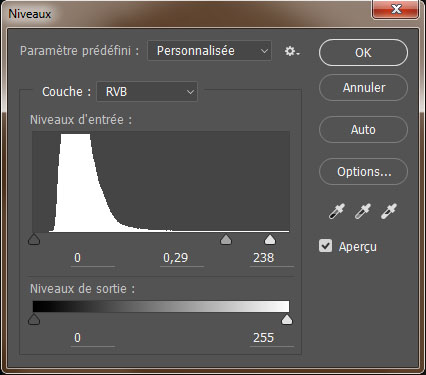
Then go to Menu> image> Settings> Levels.
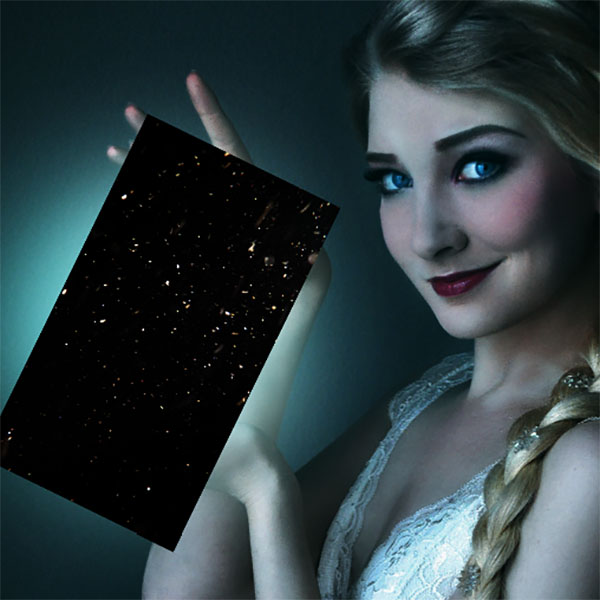
Next, change its blend mode to overlay. (Erase outlines if outlines appear)
Duplicate your texture several times by changing the rotation and size to achieve the following effect.
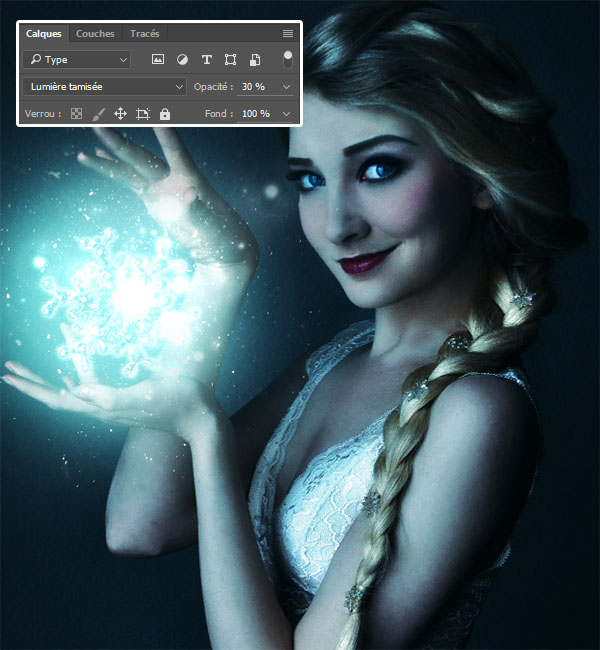
Then add an adjustment layer gradient transfer curve going in Menu> Layer> New Adjustment Layer> Gradient Transfer Curve.
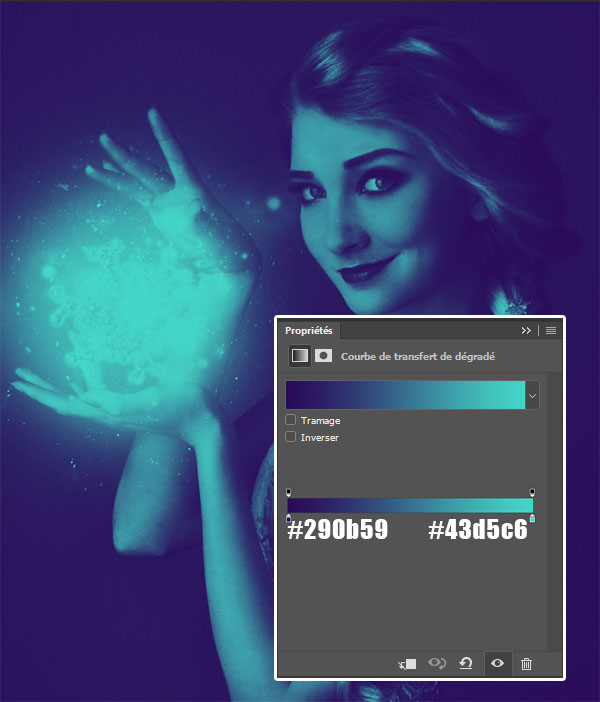
After, change its fusion mode in Dim light and reduce its opacity To 30%.
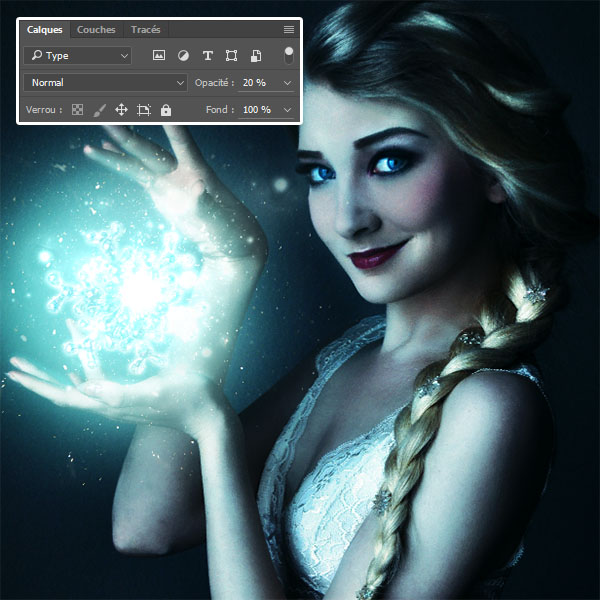
Then add an adjustment layer Color match going in Menu> Layer> New Adjustment Layer> Color Match.
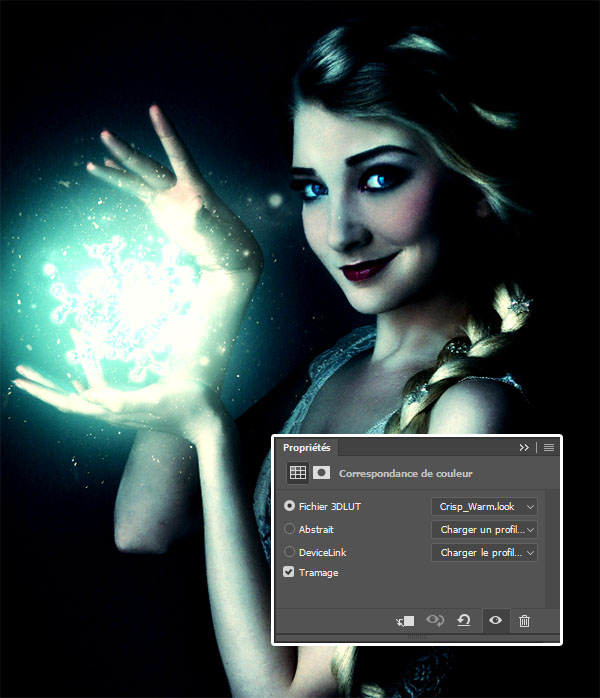
Then reduce its opacity To 20%.
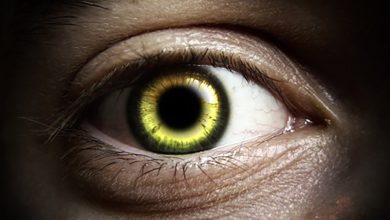
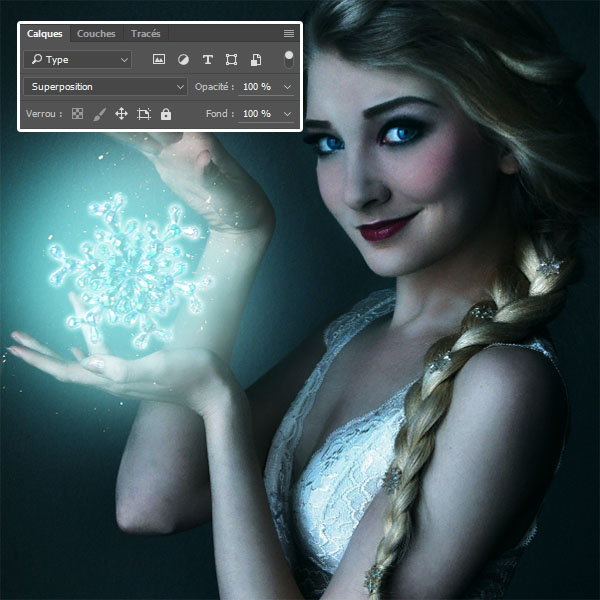
Now import the following halo into your document and adjust it like this.
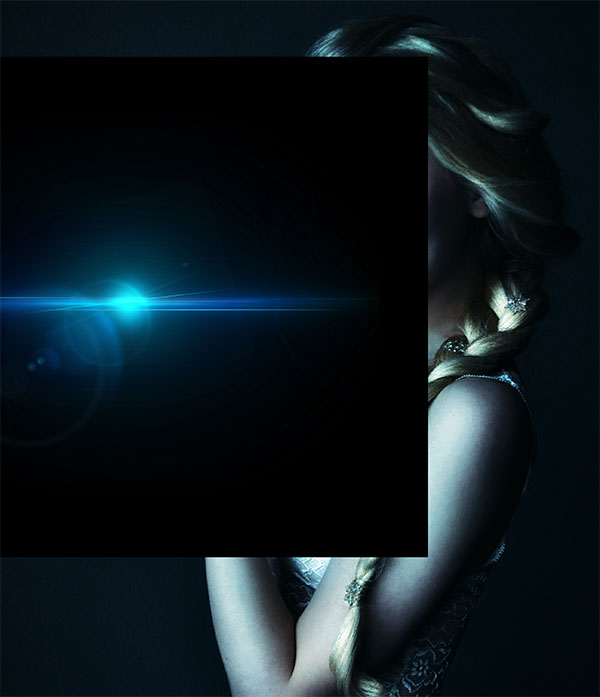
Change her fusion mode in Overlay .
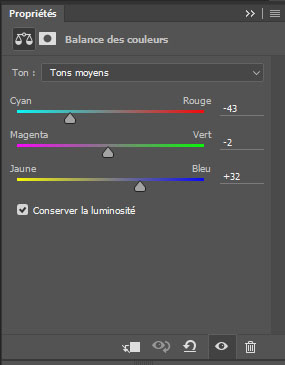
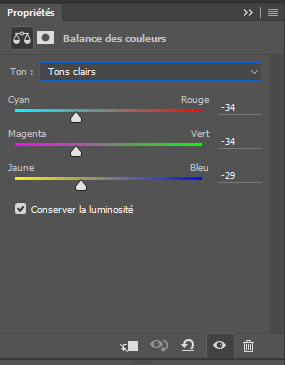
Finally, add a Color Balance adjustment layer by going to Menu> Layer> New Adjustment Layer> Color Balance and adjust mid and dark tones as shown in the pictures below.
And here is the final rendering.