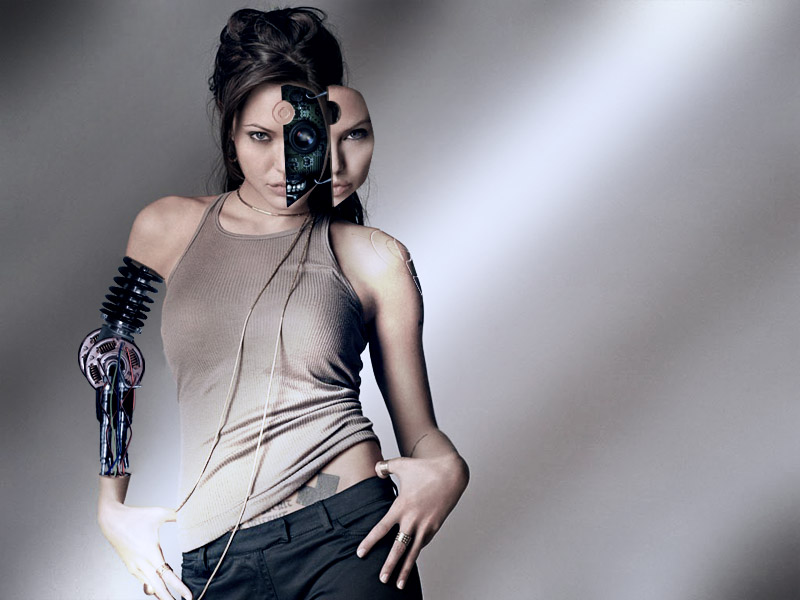
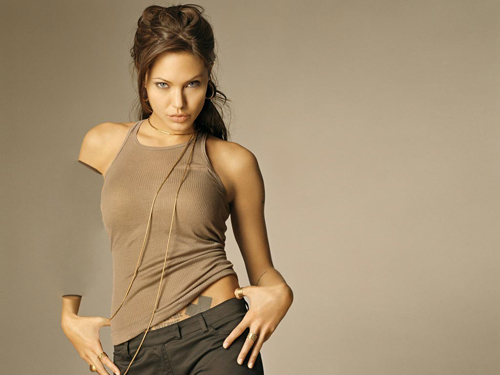
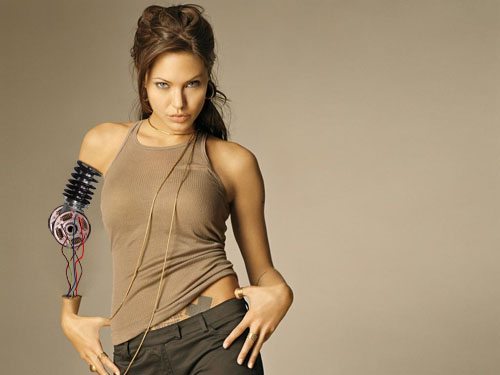
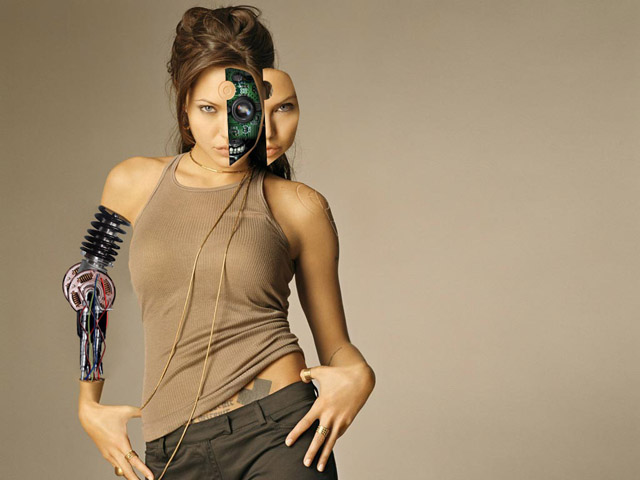
Turning Angelina Jolie into a cyborg

A great tutorial transforming Angelina jolie into a realistic cyborg with photoshop cs4 in this tutorial you will learn tons of tips Duplication buffer / correction tone settings etc, a very varied and very long tutorial but you will not regret it
Turning Angelina Jolie into a cyborg
Step 1 :
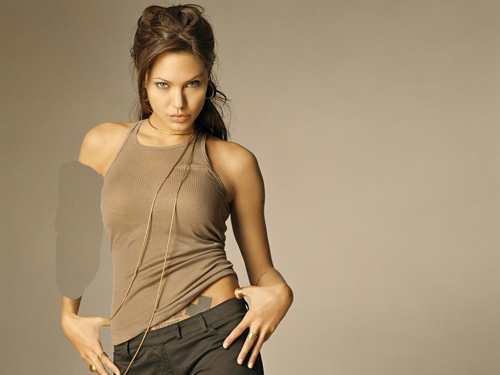
We will start by cutting the limbs of this gorgeous chick
duplicate your original layer(Ctrl + J)
Take the duplicate stamp tool (S) This tool is used to duplicate part of an image
Its use is simple: you must first choose a part of the image that you want to duplicate. This selection is made using the key ALT . Hold it and click on the place to duplicate. By pressing your cursor turns into target
![]()
do this manipulation on the arm because we are going to replace its place by the color of the background like this if
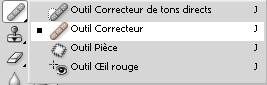
Now we are going to use the Healing Brush Tool (J) use it in the same way as the duplication buffer its function is to allow to preserve the luminosity and the texture of the different areas
redo the same previous steps using the latter
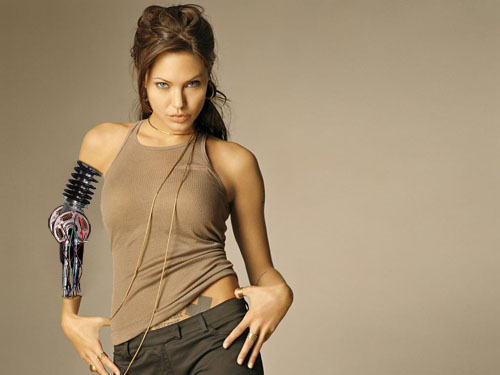
Here is the result

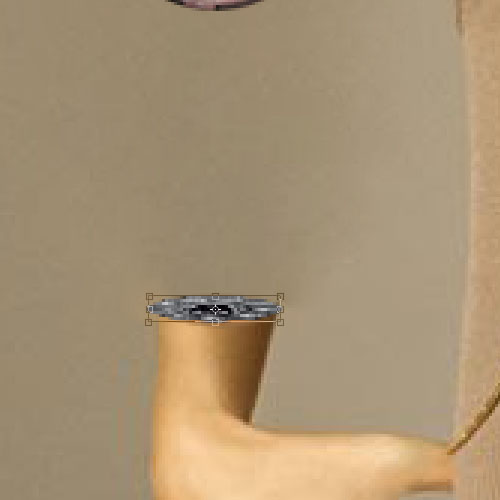
Now we are going to make small adjustments at the end of the arm take the pen tool and draw some small card end of the shoulder
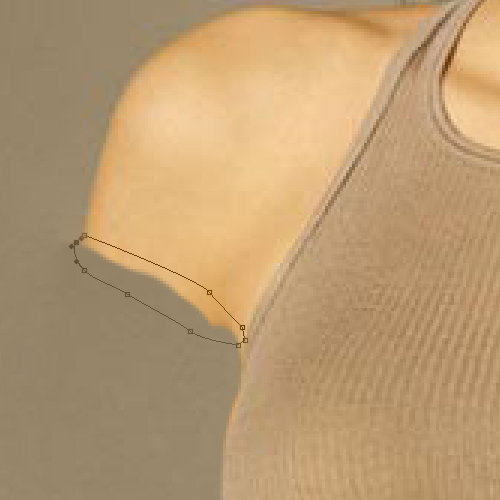
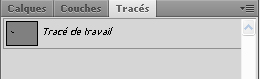
After go to plot tab and hold down Ctrl down and click on work plot
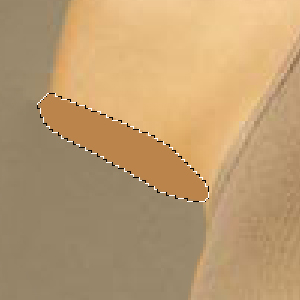
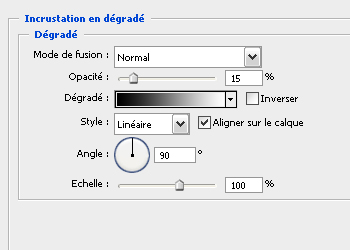
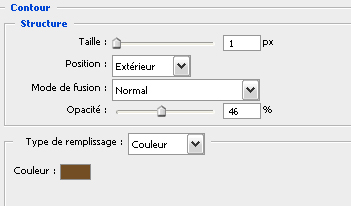
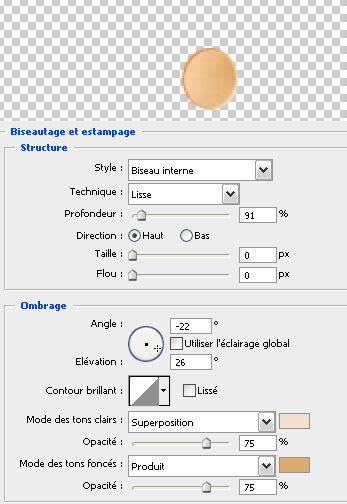
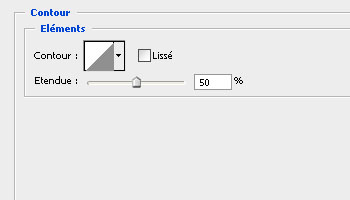
Then create a new layer and fill the selection with brown # bb844b
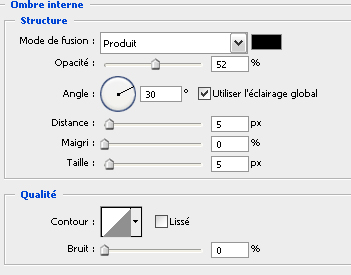
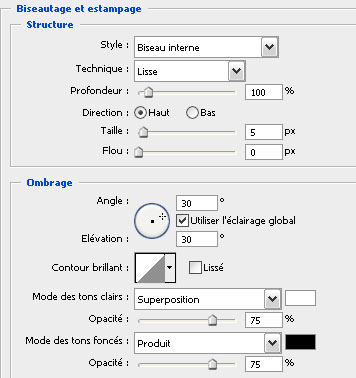
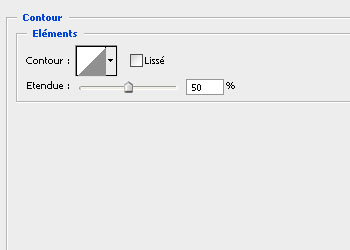
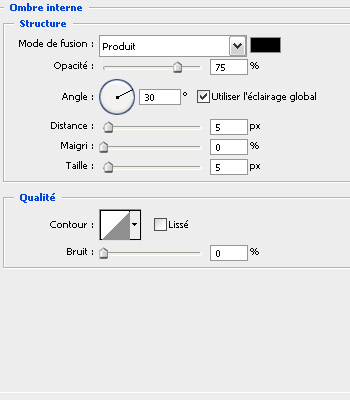
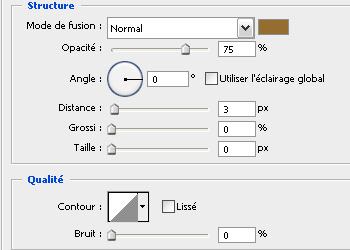
Apply them following merger options
After finishing go to Menu> Edit> Manual transformation
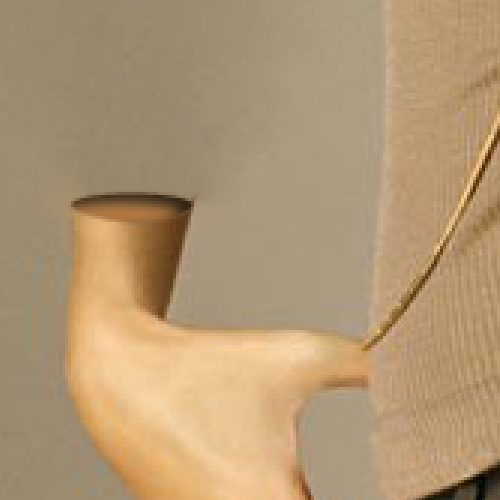
and try to adjust your layer like this if
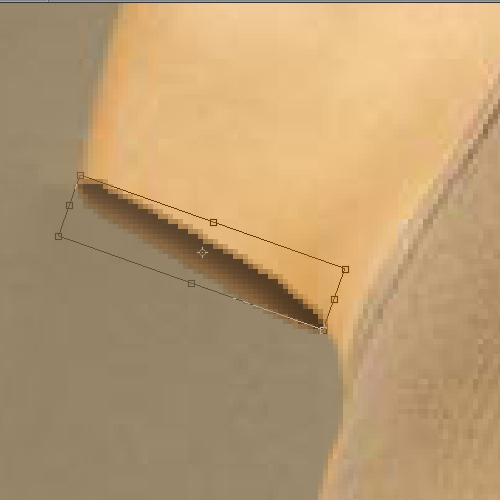
Repeat the same steps for the handshake
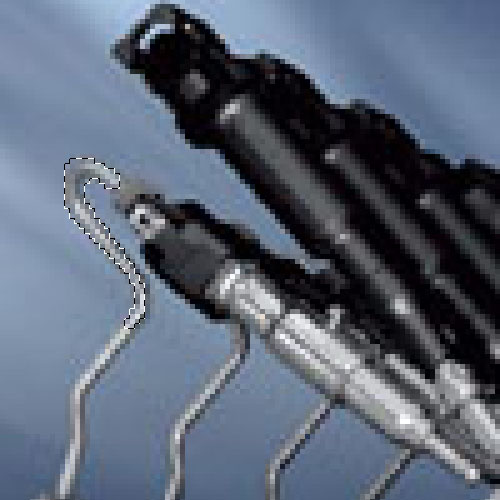
2nd step :
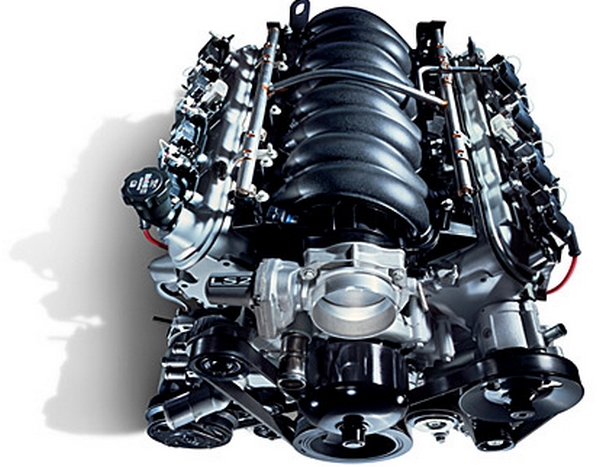
we need some engine pictures
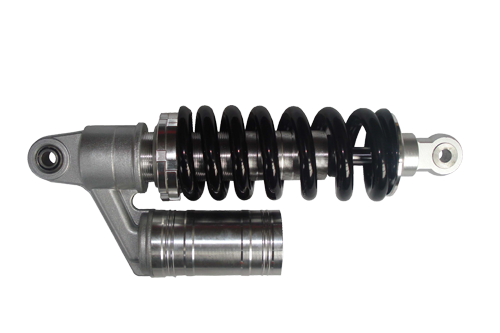
to start import copy the image from the shock absorber next put its layer below the end layer from the shoulder
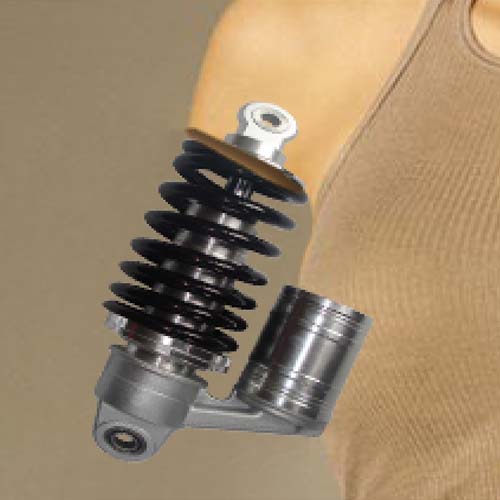
Take the eraser tool (E) and delete the unwanted part
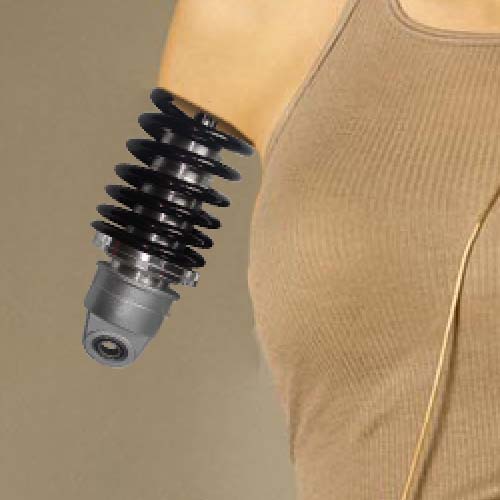
do the same for this disc
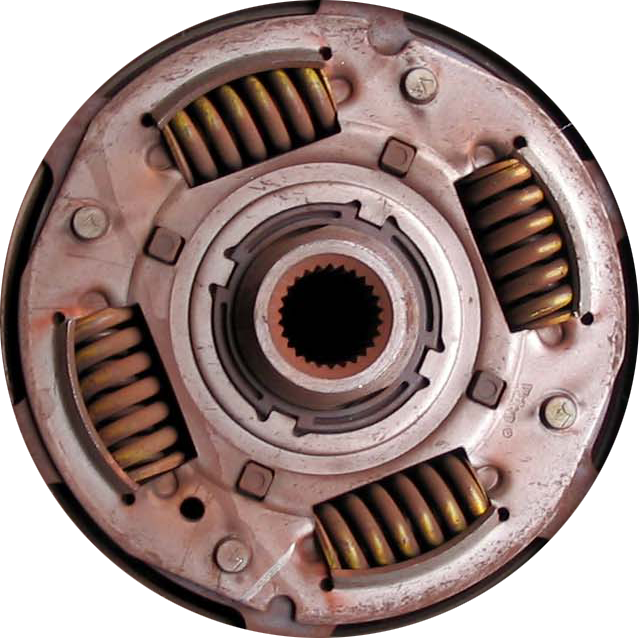
Duplicate it and make sure that the layers of the 1 disc are above the shock absorber and the other below
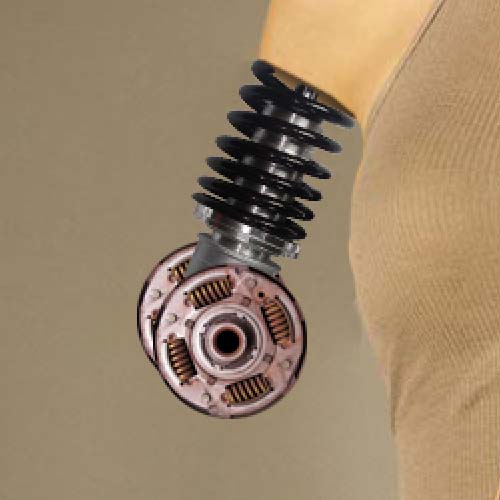
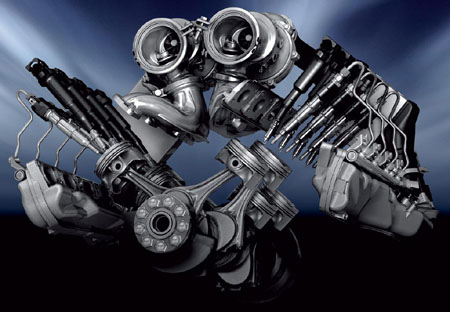
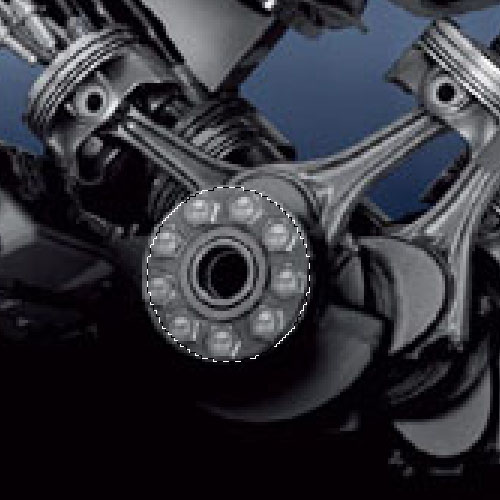
Now take this monster from BMW and your selection tools
Personally I use the pen tool for selection
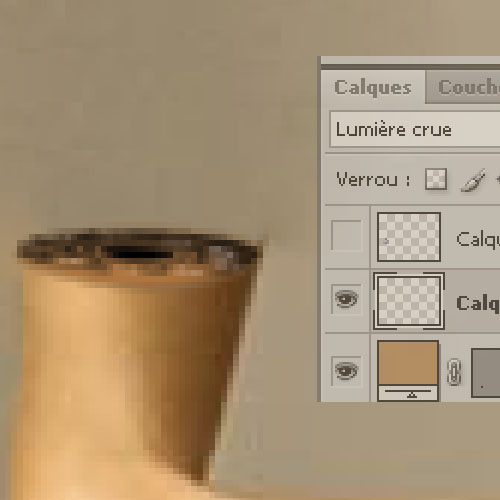
Select this part of the engine and superimposed with Angelina’s handshake(with the manual transformation CTRL + T)
Change the blending mode of the latter to Raw light
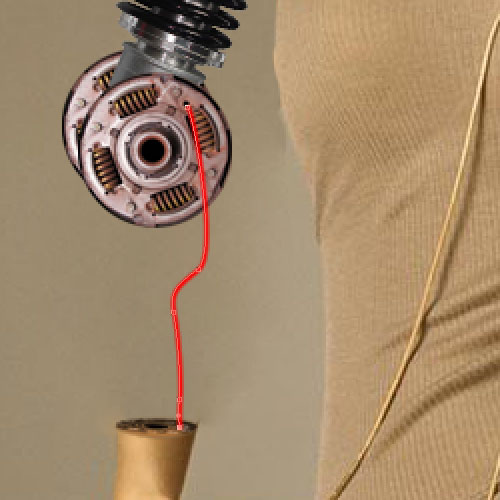
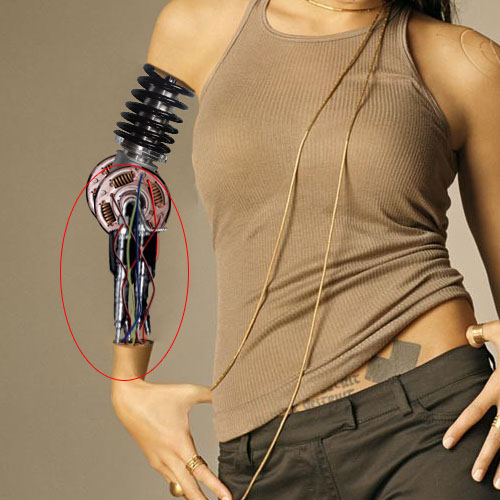
Now we are going to add multicolored electric lines
in a new layer take the pen tool and draw the following curve
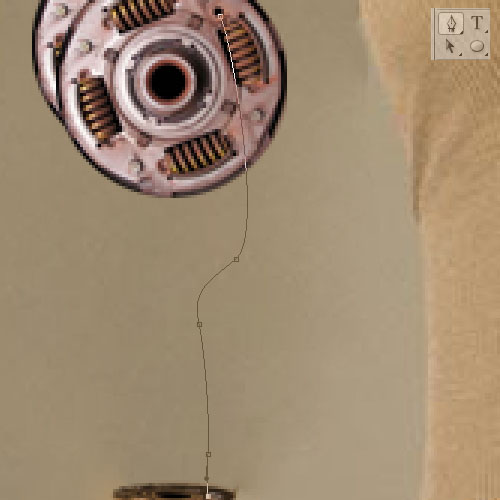
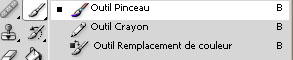
select the brush tool (B)main diameter 3px
Re-select the pen tool and right click > Path outline
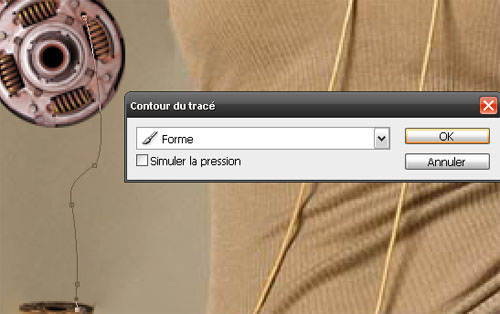
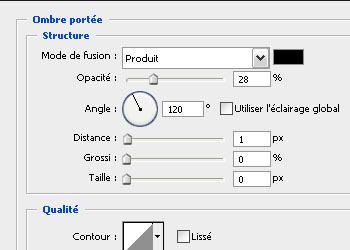
Apply the following merge options
Repeat the same step with different colors
Come back to our motor and select some end of this last put it behind the electric girl like this if
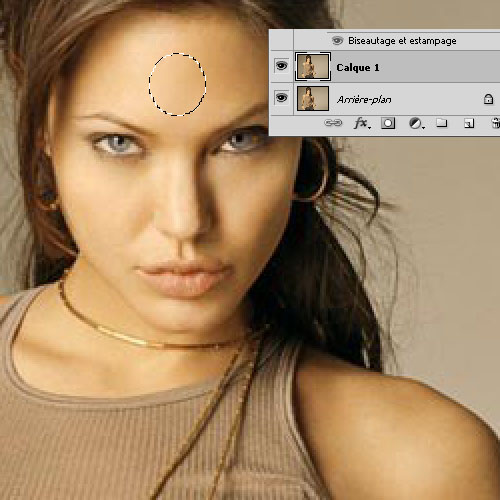
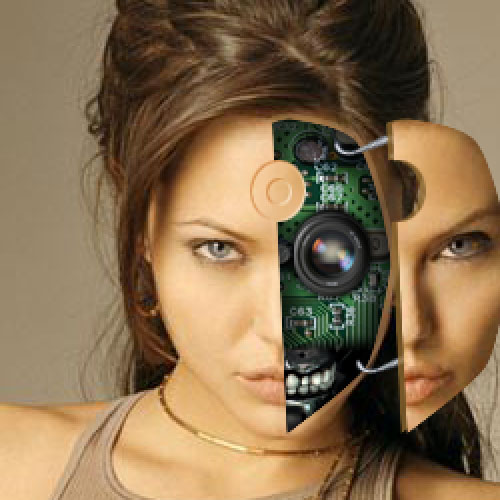
Step 3:
make selections like this if at the level of the face use the selection tools for the geometric shape and the pen tool for random selection
every time you select a part make a copy paste (Ctrl + C / Ctrl + V)
Apply the following merger options

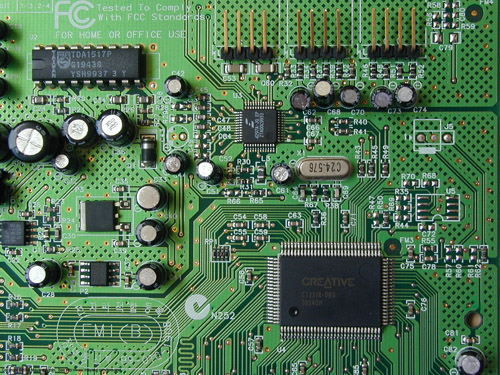
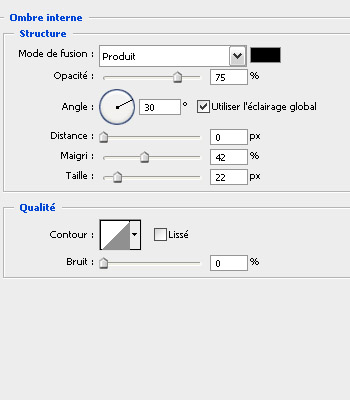
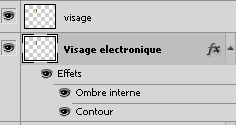
Select and copy part of the face import this electronic circuit copy the same selection

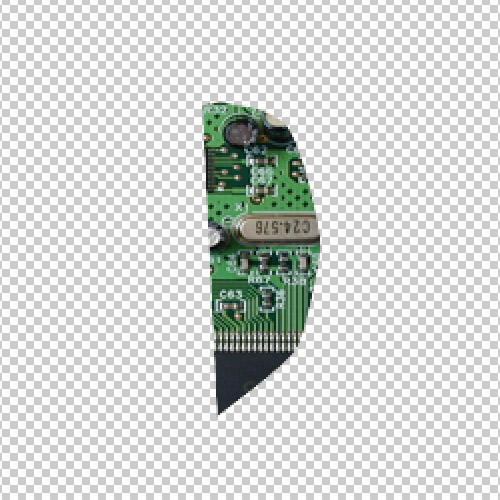
Apply on it the following merge options:

Put them in layering (the layers not the blend mode)
select the circle and delete the part of the face below this denier
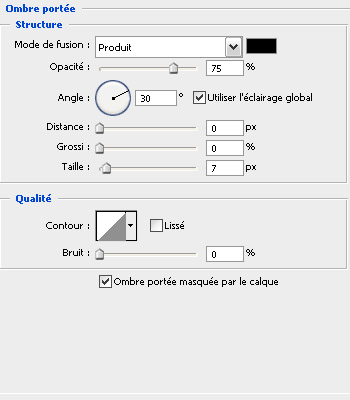
Select the objective of this camera and stick it at Angelina’s eye level
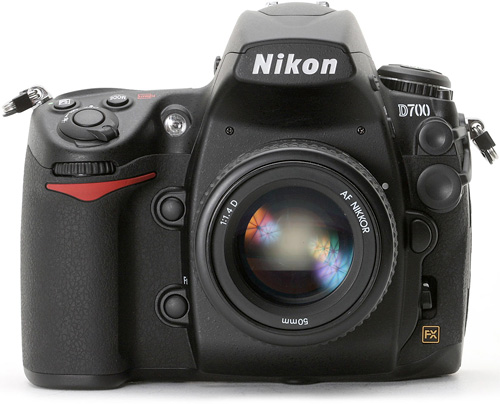

Apply on it the following merge options

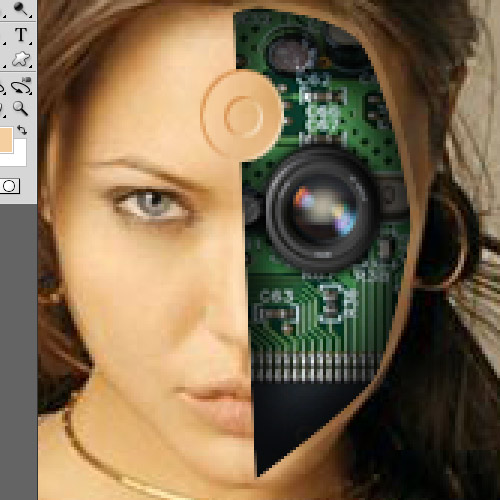
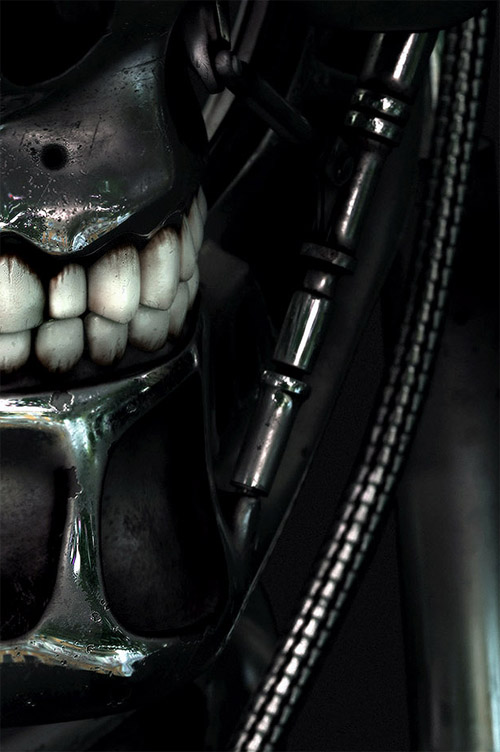
Place these teeth at Angelina’s mouth
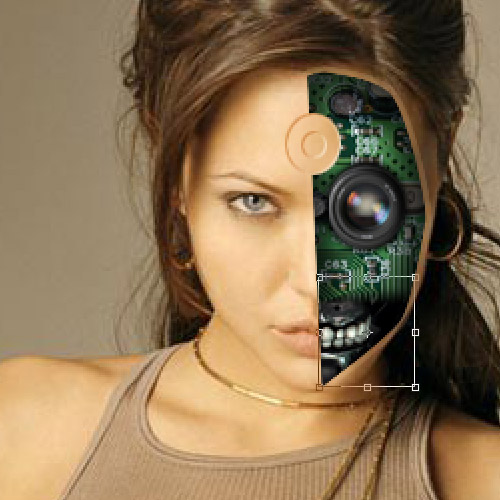
Now take the part of the selected face and move it next to it
Apply on it the following merge options
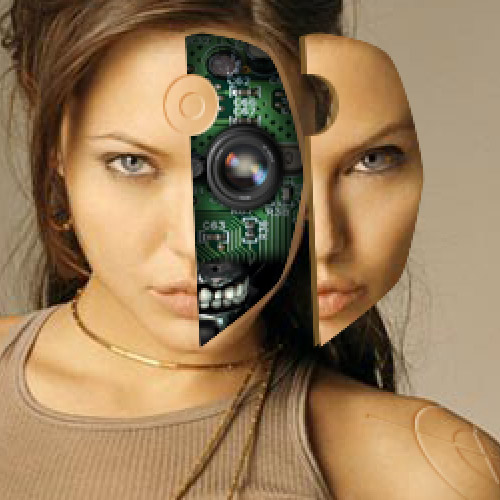
Select these engine parts and glue them at face level to make brackets like this if
it’s over for the cyborg we are going to add some adjustments for the tones and colors
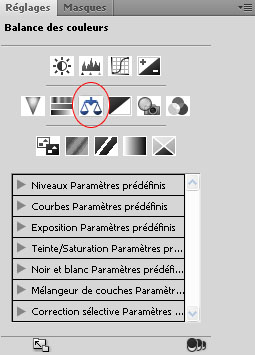
This manipulation and under Photoshop cs4 on the settings tab click on create a color balance adjustments layer put
Dark tone -48 / -24 / +8
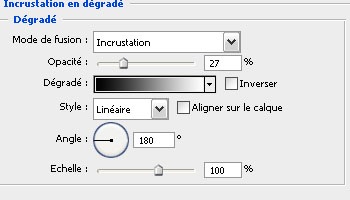
Now create a gradient similar to the one above and change the blend mode inlay

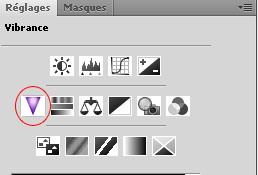
On the settings tab click on create a Vibrance settings layer
Vibrance +65
Saturation -51
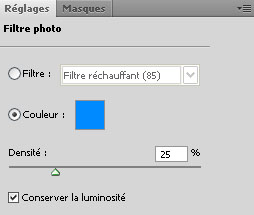
Click on create a Photo Filter settings layer
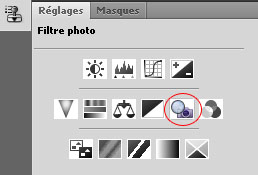
set like this if
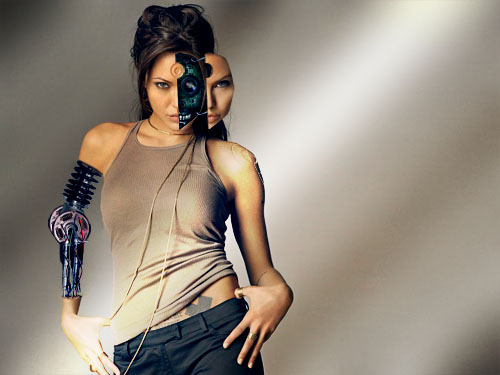
and here is the work it is finished