Advanced Double Exposure with Photoshop

Traditionally, the double Where multiple effect exhibition is made by photographers using nothing but cameras to overlay two or more separate images to create a surreal image. However, we can also realize the effect in Photoshop, which gives us more control over the final rendering with the ability to adjust and preview the effect we’re going to get. In this tutorial we will learn step by step how to create a double exposure effect, we will mix two existing photographs using some simple cutting and masking techniques. Let’s go!
Welcome to this new tutorial, no doubt you have seen this interesting effect of two or more overlapping photos on the covers of music albums, in modern magazines and in advertisements.
In this tutorial, we will create a double exposure effect under Adobe photoshop using blend modes and clipping masks in a few steps. Let’s go!
In the world of photography and cinematography, double or multiple exposure is a combination of two or more exposures to create a single image. In our tutorial we don’t need an old camera or anything, just modern software and we can easily recreate a similar effect under Adobe photoshop.
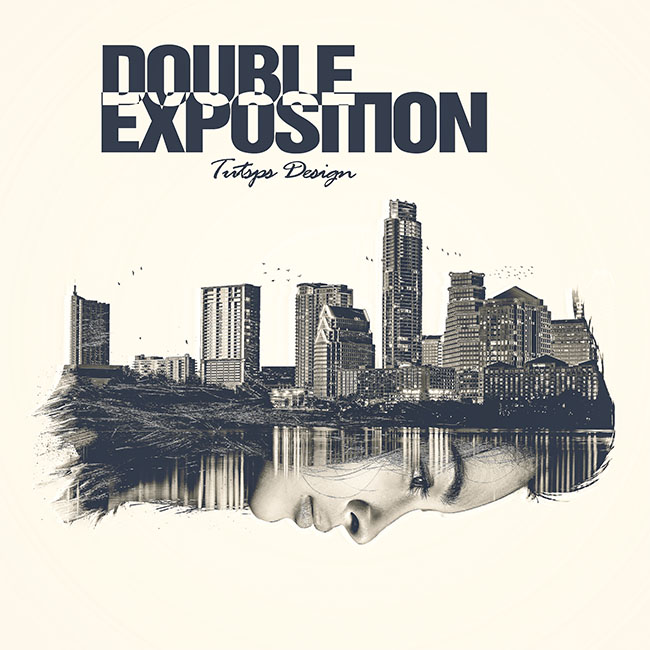
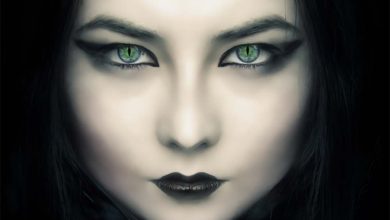
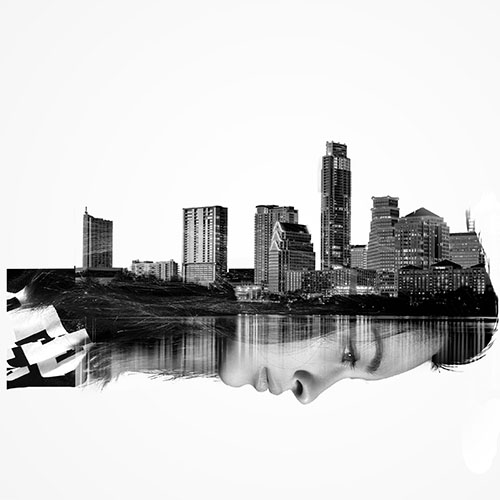
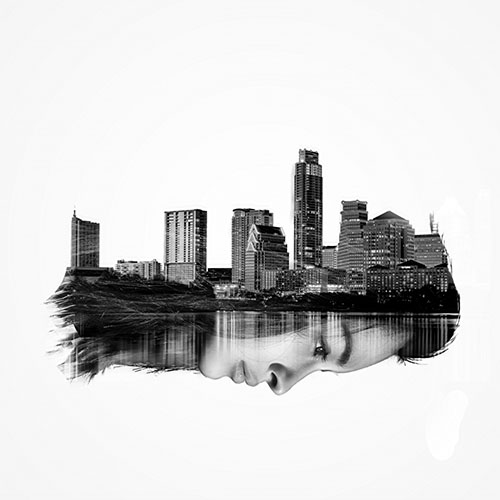
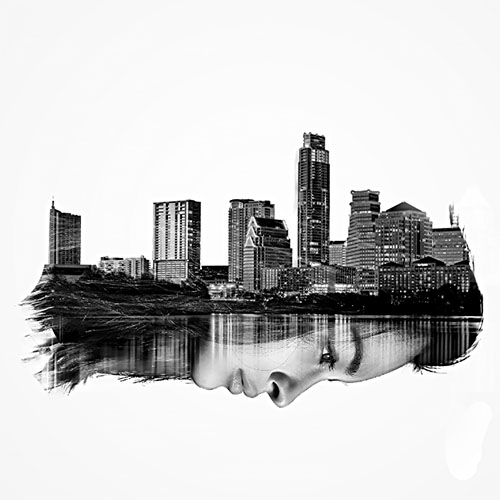
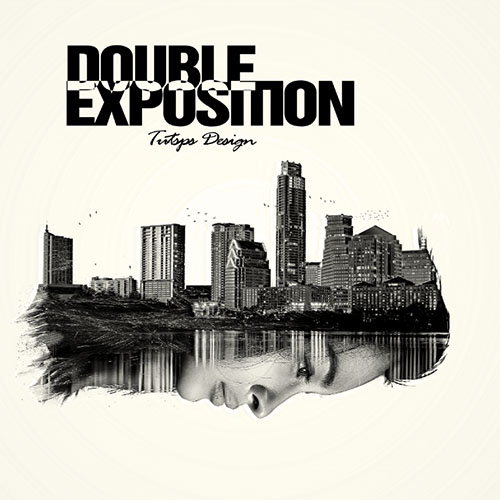
And here is an overview of the final result of our tutorial
To start the job, you need to download the following resource pack and then open a new document from 3500 × 2500 pixels, resolution 72dpi, colors RGB8bits.
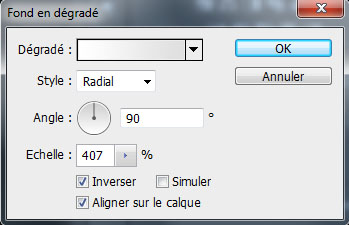
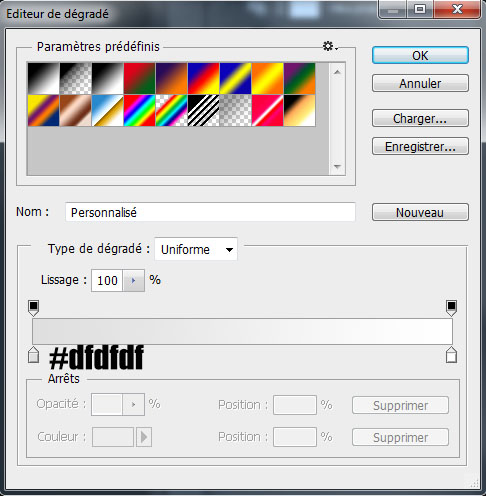
Then add a gradient fill layer by going to Menu> Layer> New Fill Layer> Gradient.

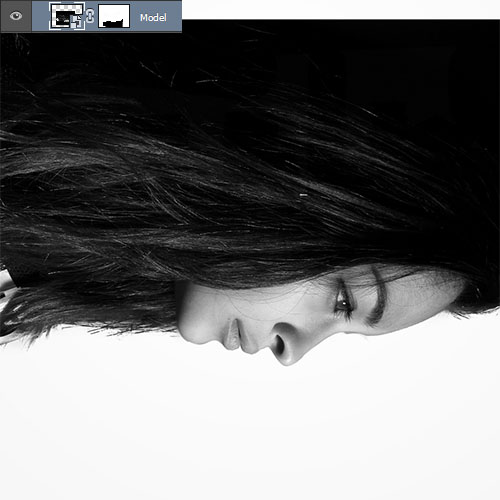
Import the following image into your working document and adjust it like this.
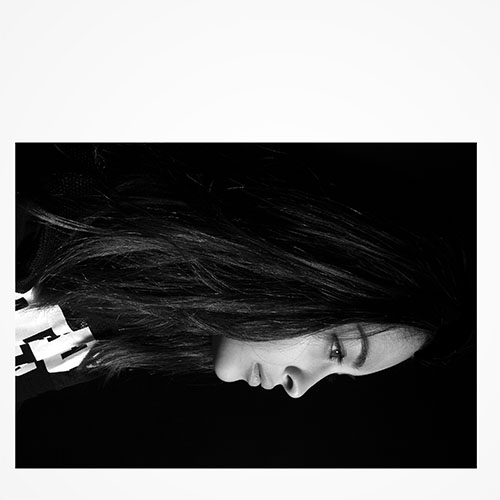
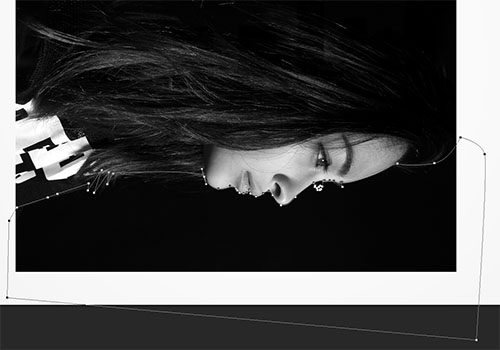
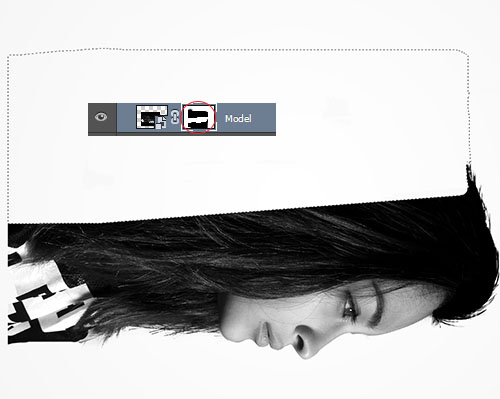
Take the pen tool (P), and cut out the black part next to the face like this.
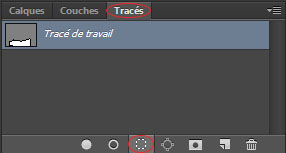
Then go to the tab trace and click on the little button at the bottom Retrieve the path as a selection.
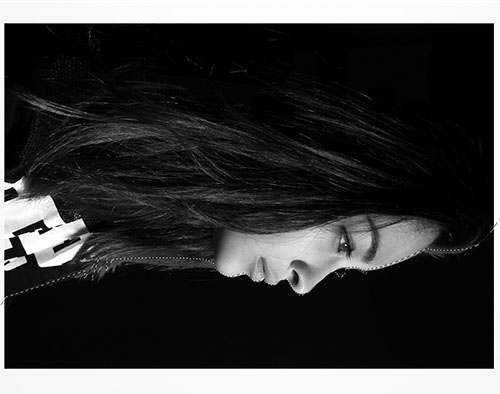
Use the following tutorial to cut out the hair
Then go to Menu> Layer> Layer Mask> Hide Selection.
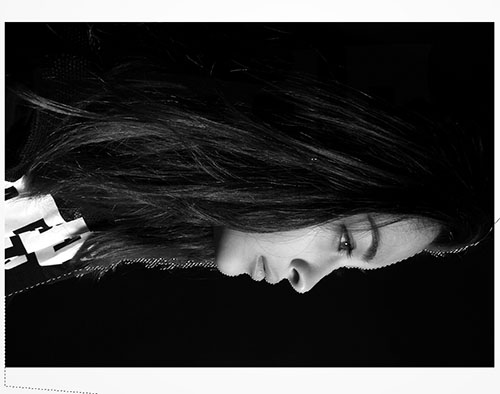
Do exactly the same for the top part and since we have already created a layer mask just put on the layer mask and paint over it with black
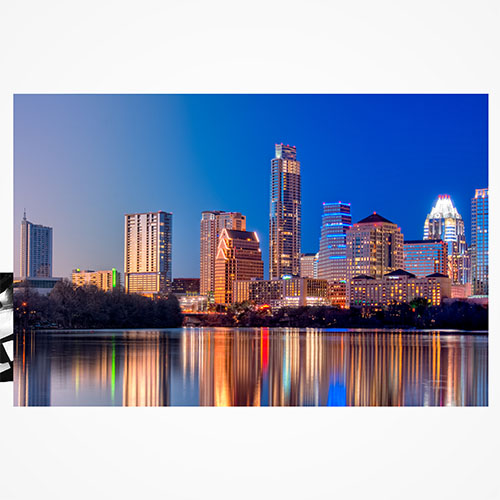
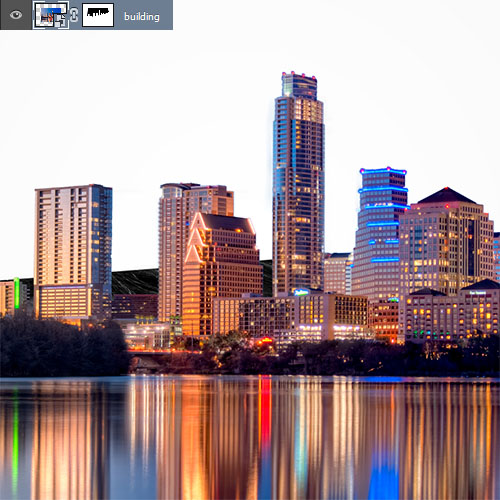
Now import the second image into your working document.
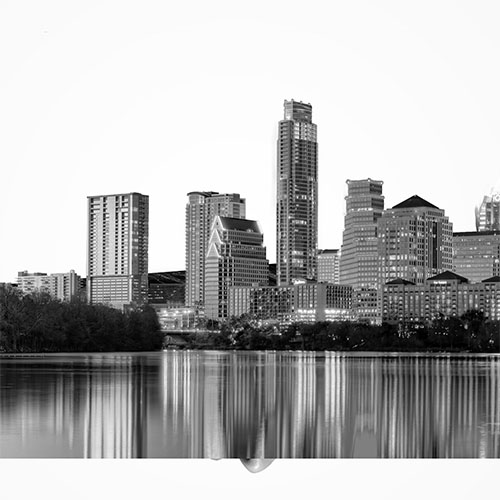
Take the quick selection tool (W) and select the sky.
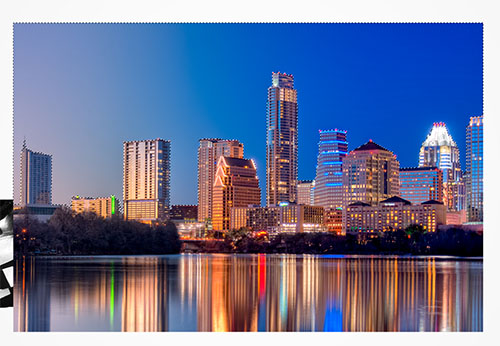
Then go to Menu> Layer> Layer Mask> Hide Selection.
Now, desaturate the image of the buildings by going to Menu> Image> Adjustments> Desaturation (if the option is grayed out then pixelate your layer by going to Menu> Layer> Rasterization> Dynamic object ).
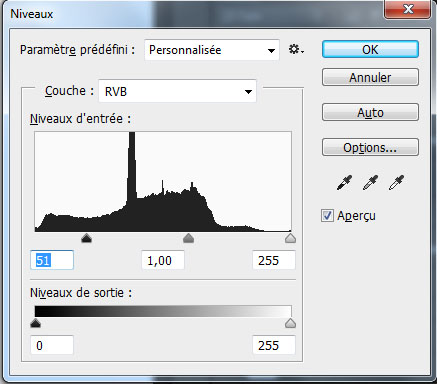
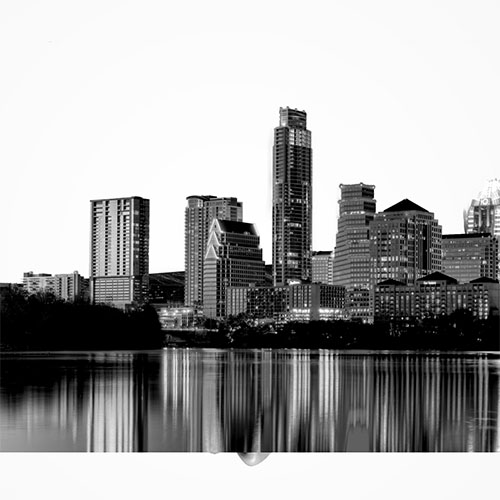
After, go to Menu> Image> Settings> Levels.
Now change her fusion mode in layering .
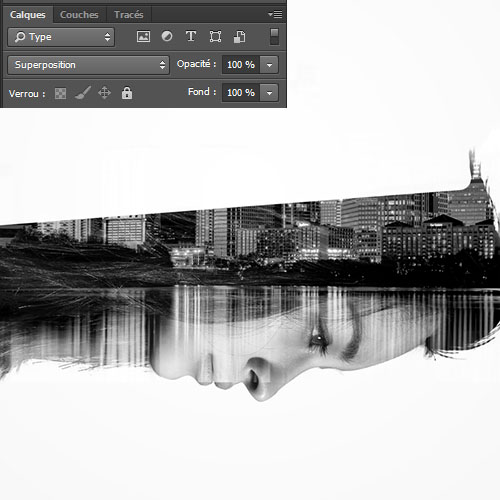
Put yourself on the building fusion mask, take the brush tool (B), a soft shape then paint at the lower edge levels to better embed the image.
Then, retrieve the selection of buildings, to do so, hold the key Ctrl down and click on the layer mask thumbnail.
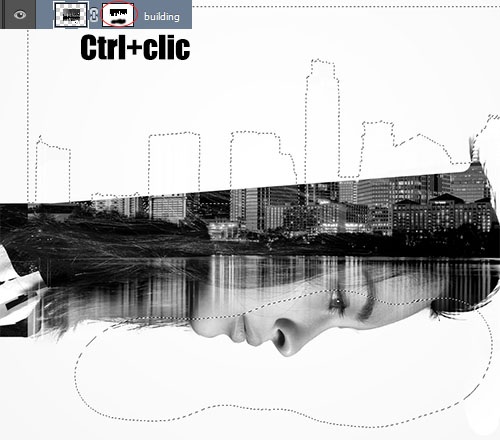
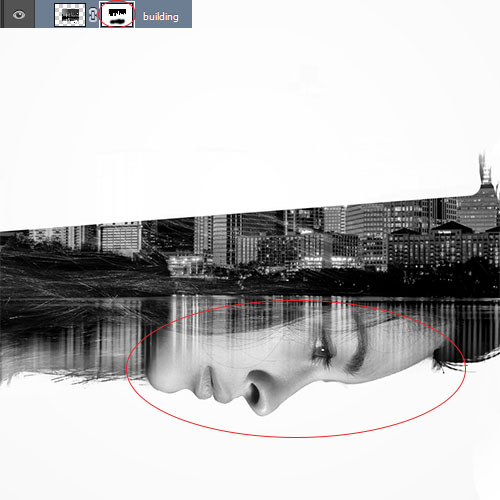
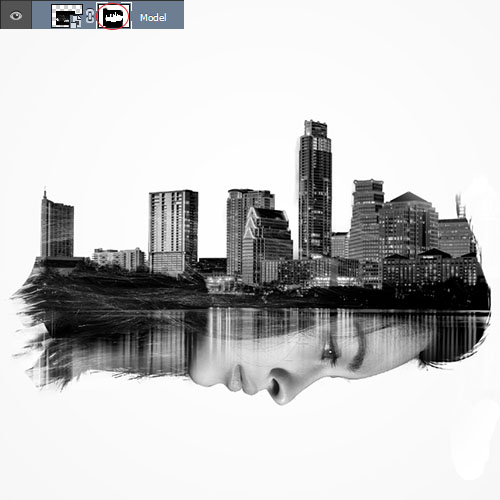
Put yourself on the fusion mask of our model, take the brush tool (B) and paint at the building selection levels using the White color.

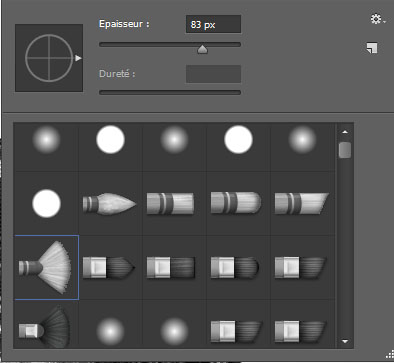
Still on the layer mask, select the fine brush with rounded fan spread, the colour Black and hide the left end of the model like this.
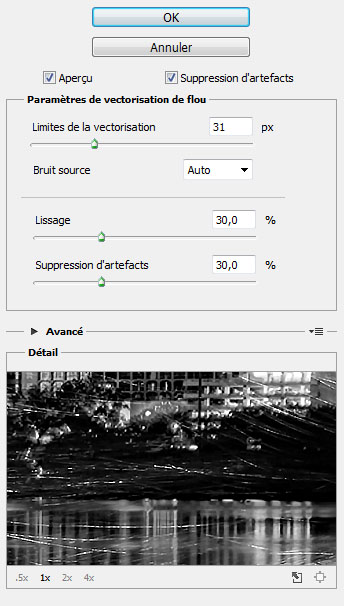
Press the keys Ctrl + Alt + Shift + E to get a copy of the merged layers and go to Menu> Filter> Reinforcement> Shake reduction
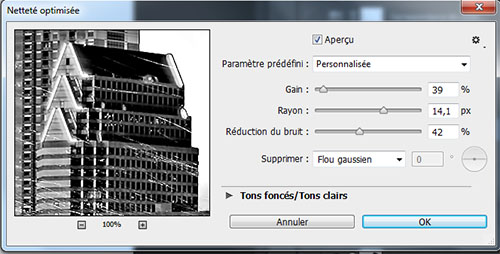
Then go to Menu> Filter> Enhancement> Optimized sharpness.
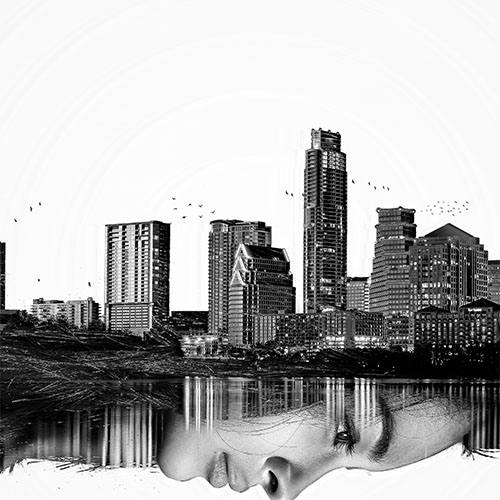
Create a new layer (Ctrl + Shift + N), take the brush tool (B), download the following bird brushes and add some birds like this.
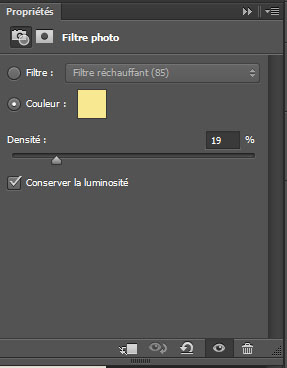
Next, add a photo filter adjustment layer by going to Menu> Layer> New Fill Layer> Photo Filter.
Finally, add a Color Match adjustment layer by going to Menu> Layer> New Adjustment Layer> Color Match (This filter only exists on the version CC and Cs6 of Photoshop but you can use external filters like Color Efex Pro ).

Then change its fusion mode in lighten

And here is the final result