Tutorials

Contour attenuation with Photoshop CS3

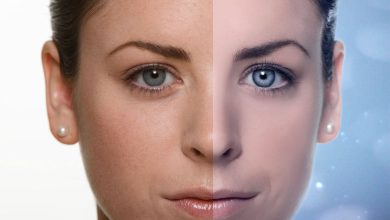
Here is a great method to give your images a less sense of color, more dynamic and more professional.

Open your image and import it into Photoshop

Then go to Menu> Pictures> Settings> Automatic levels

Photoshop tutorial Contour attenuation and saturation with Photoshop

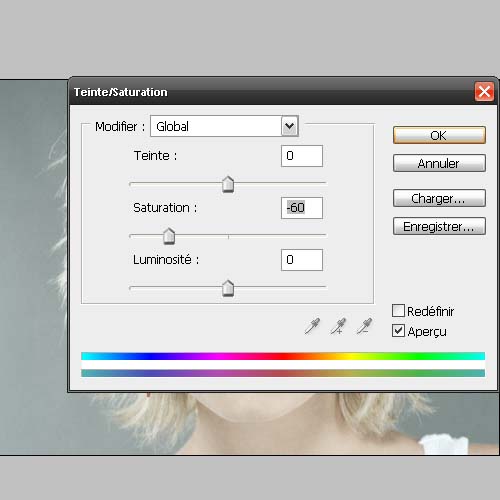
Now we are going to change the saturation of the image for this go to Menu> Image> Adjustments> Hue / saturation change here only the saturation to -60

Photoshop tutorial Contour attenuation and saturation with Photoshop

Photoshop tutorial Contour attenuation and saturation with Photoshop

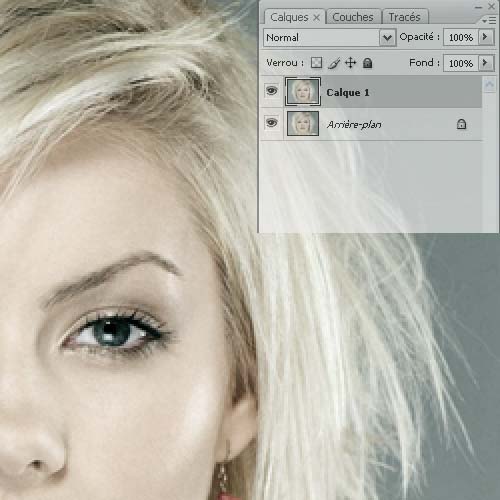
Now duplicate your layer Ctrl – J

Photoshop tutorial Contour attenuation and saturation with Photoshop

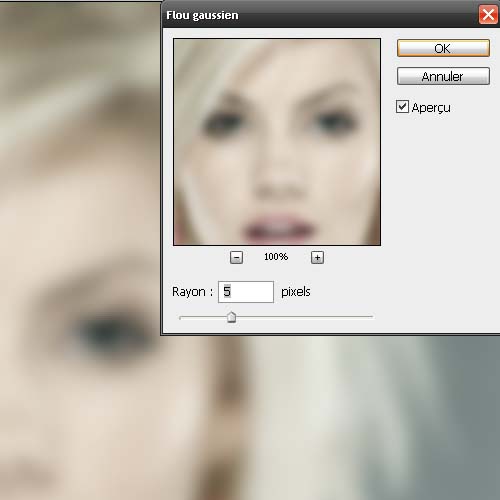
Then go to Menu> Filter> Attenuation> Gaussian Blur Put a radius of 5 pixels

Photoshop tutorial Contour attenuation and saturation with Photoshop

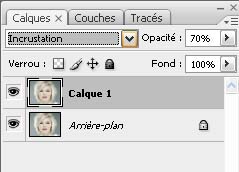
Finally switch the blend mode in Inlay and reduce opacity at 70%

Photoshop tutorial Contour attenuation and saturation with Photoshop

And here is the results

Photoshop tutorial Contour attenuation and saturation with Photoshop

See also  Make Obama's Hope poster using Photoshop
Back to top button

Adblock Detected

Please disable your ad blocker to be able to view the page content. For an independent site with free content, it's literally a matter of life and death to have ads. Thank you for your understanding! Thanks