Retouch a face with Photoshop
Retouch a face with Photoshop
A tutorial to learn how Retouch a face with Photoshop, The technique most used by professionals, in this tutorial we will learn the following techniques:
Completely retouch a face Partial skin makeup smoothing the skin, masking blemishes, blackheads and wrinkles. Give a shine to the eyes. Whiten the teeth if necessary Enrich the colors by adjusting the lights on the face and on the bottom.
Tutorial duration: 2 hours .
Levels: Intermediate .
Resources used
Version of Photoshop used in the Tutorial: Photoshop CC 2017 the tutorial is compatible with all versions of Photoshop .
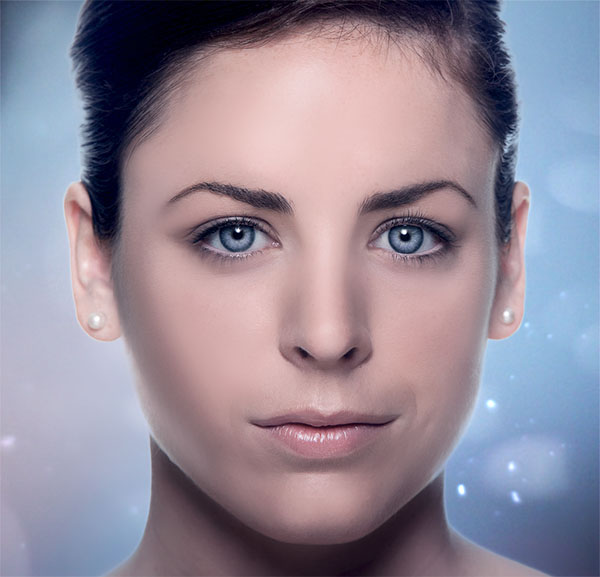
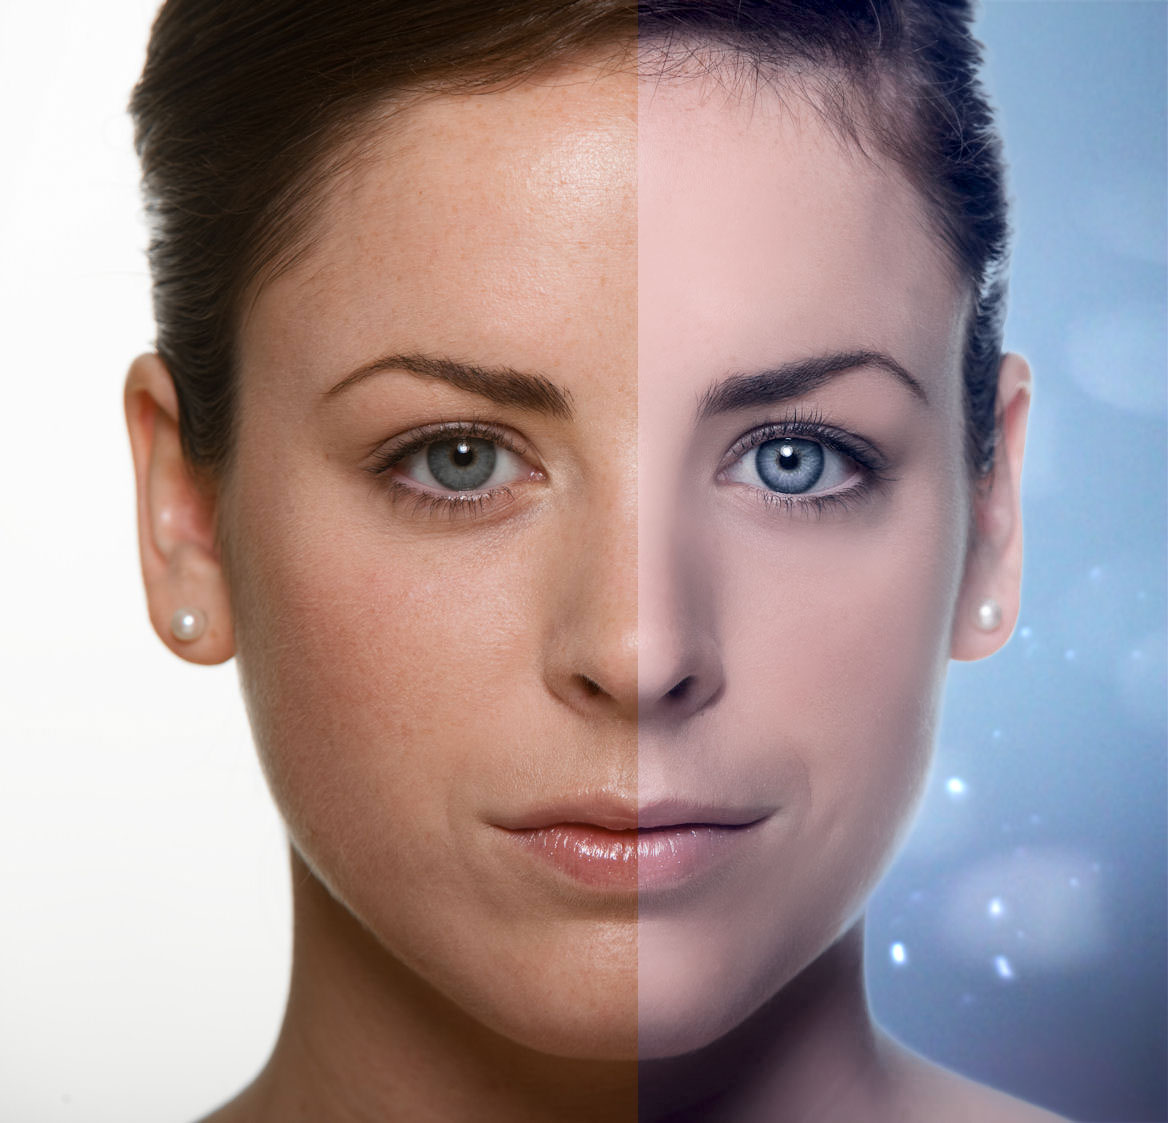
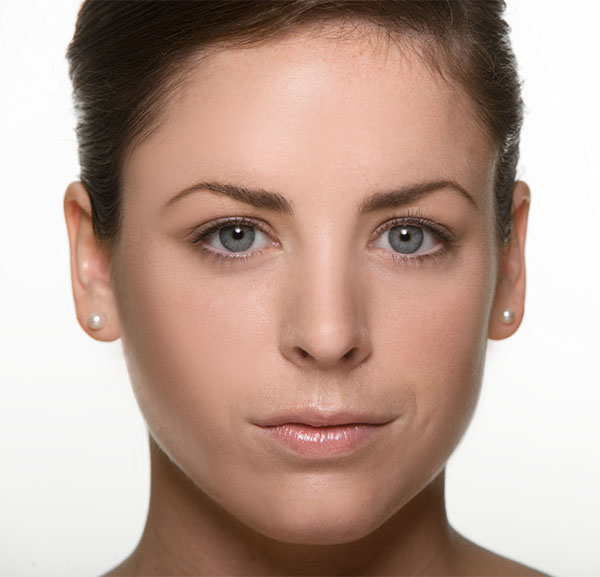
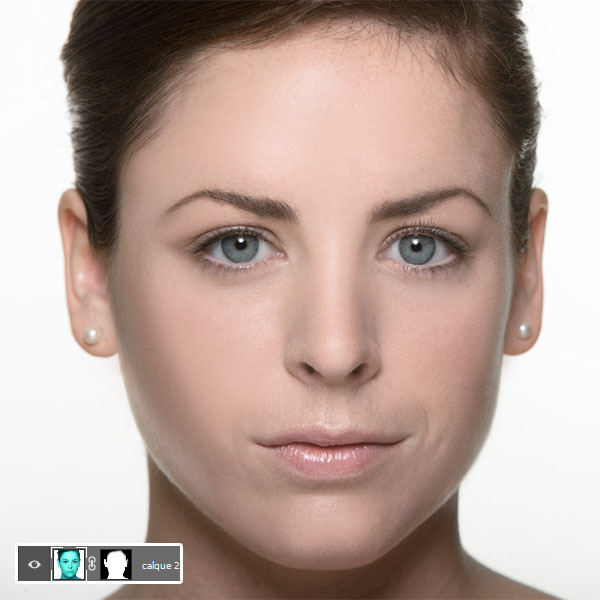
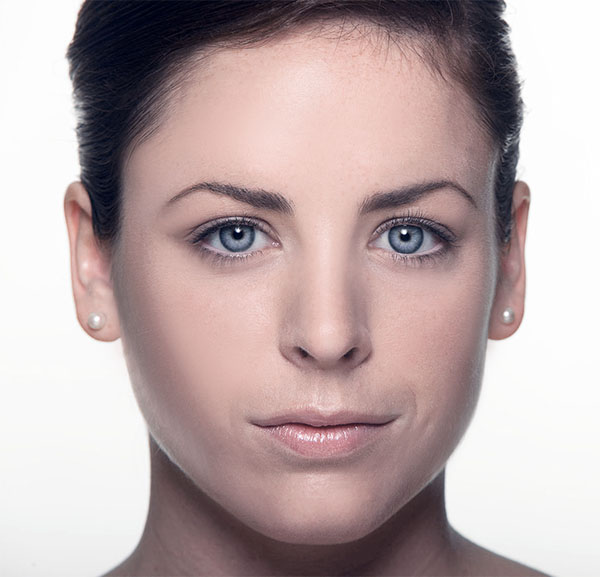
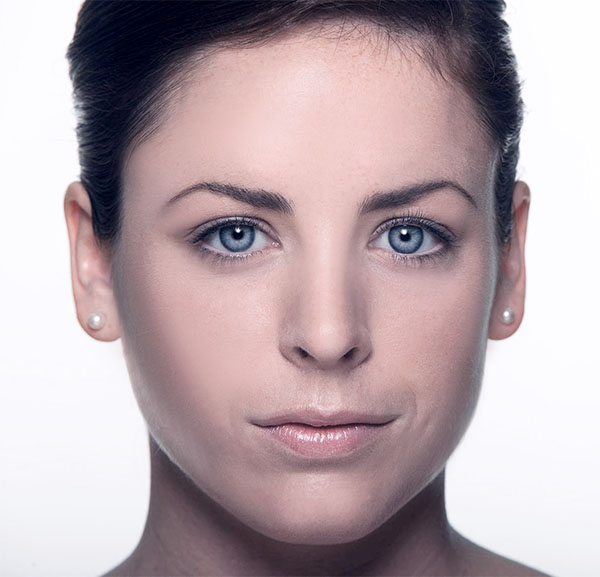
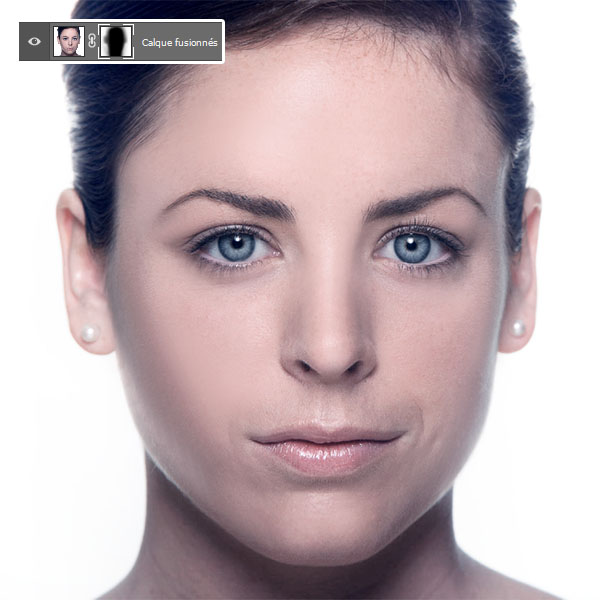
Here is a preview of the final result
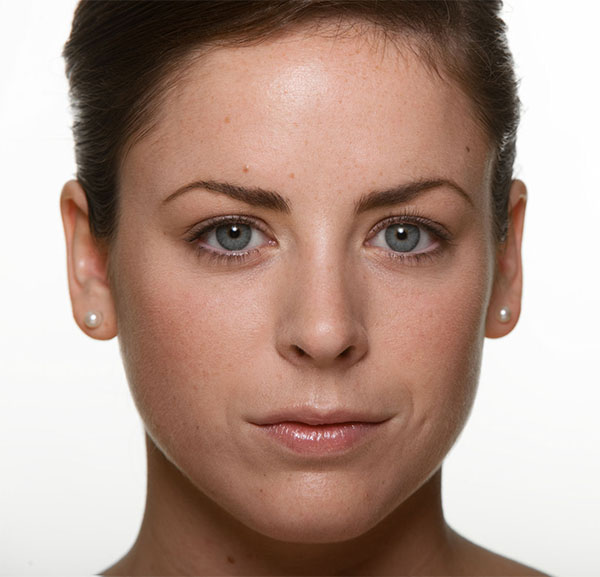
To start the job, open a new document from 1100x1100pixels , resolution 72dpi , colors RGB8bits . Then import the following image into your document.
• Hide imperfections
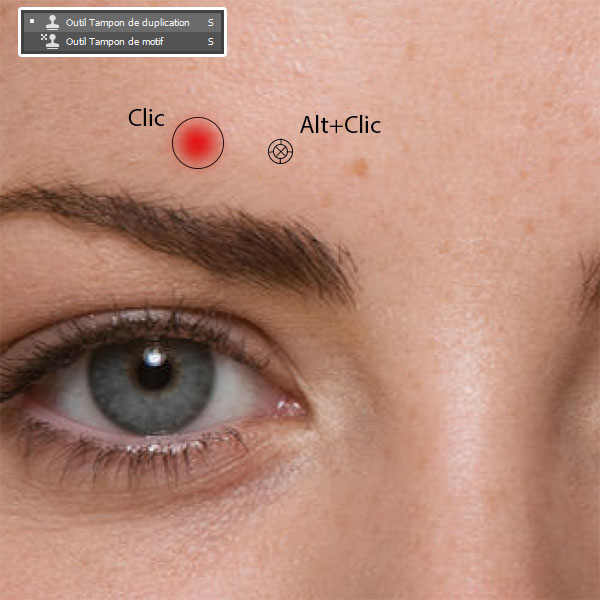
We will start by masking the imperfections of the skin, to do this we will use the duplicate buffer tool (S) , To use the tampon, it is best to take a round shape with a diffuse edge to prevent the changes from being too sharp and showing too much, especially on a face. For our tutorial, take a Thickness of 24 pixels with a Hardness of 0% , the size depending simply on the image used and the modifications to be made.
Hold the key Alt down and click on an area of the skin next to a blackhead or wrinkle (When you press the Alt key , the cursor changes and once you have made your click, through the shape of your cursor, you will see what Photoshop intends to duplicate if you click.) after indicating to Photoshop that it is in relation to this place that the duplication will have to be done click on the black point.
Do the same all over your face to remove any blemishes.
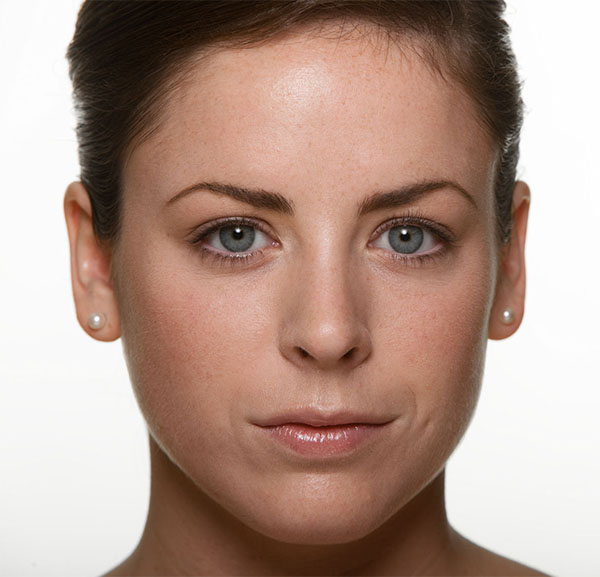
• Skin smoothing
We are now going to use the mixer brush tool (B), the principle and the same as the duplicate tap tool, it is quite easy to use and it is interesting to use it for painting, Namely that you can use this brush to blend colors, and therefore choosing a color filler the method is the same as the duplicating stamps tool. Or work with a cleaned brush to mix existing colors.
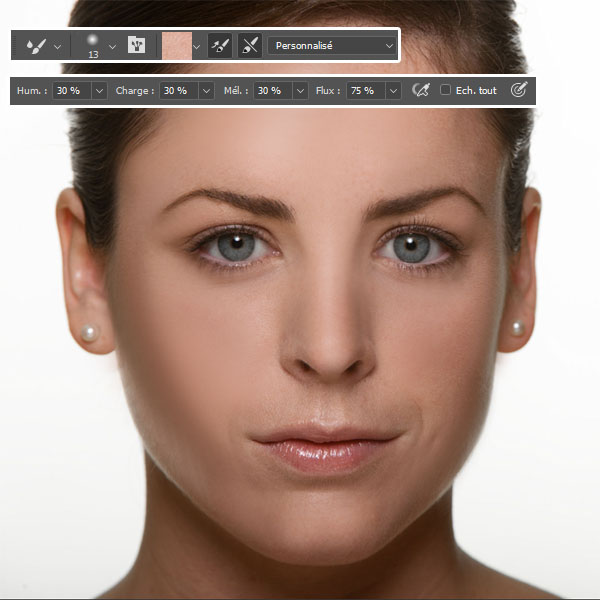
You have to learn how to properly dose the loads. For this, nothing beats tests on your image, each parameter must adapt to what we are trying to do. In our tutorial, it is skin and we are simply trying to smooth the latter, to do so, select the Blender Brush tool with the following parameters.
Hmm: 30%.
Load: 30%.
Mel: 30%.
Flux: 75%.
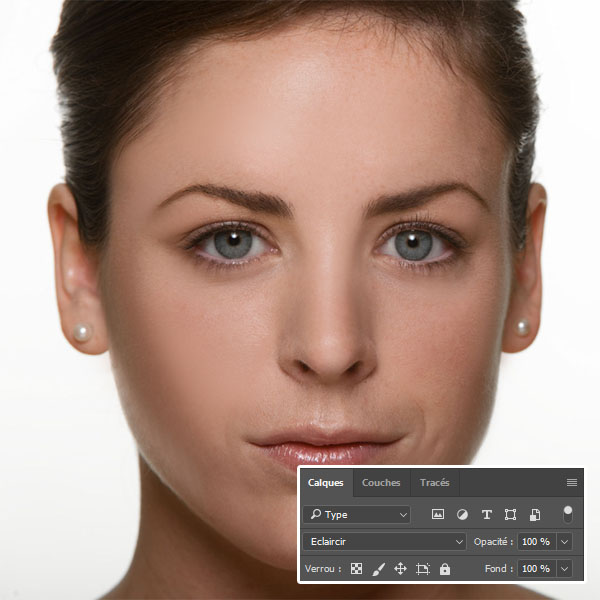
Duplicate the original layer ( Ctrl + J ) and mix the skin colors to get the following result
Then change its fusion mode in lighten .
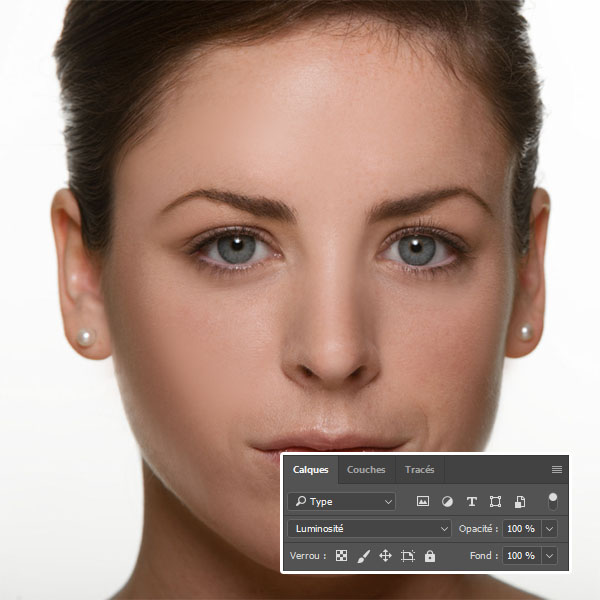
After, duplicate your layer and change its fusion mode in Brightness .
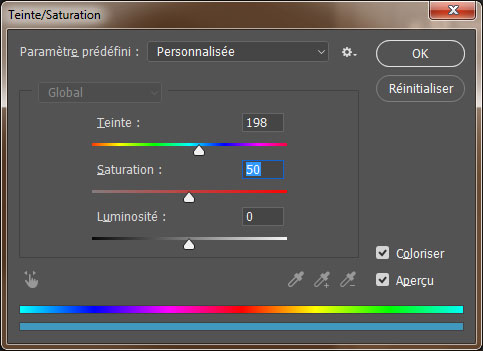
Then go to Menu> Image> Adjustments> Hue and saturation .

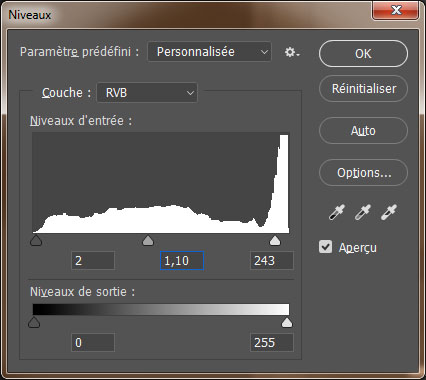
Then go to Menu> Image> Adjustments> Levels .
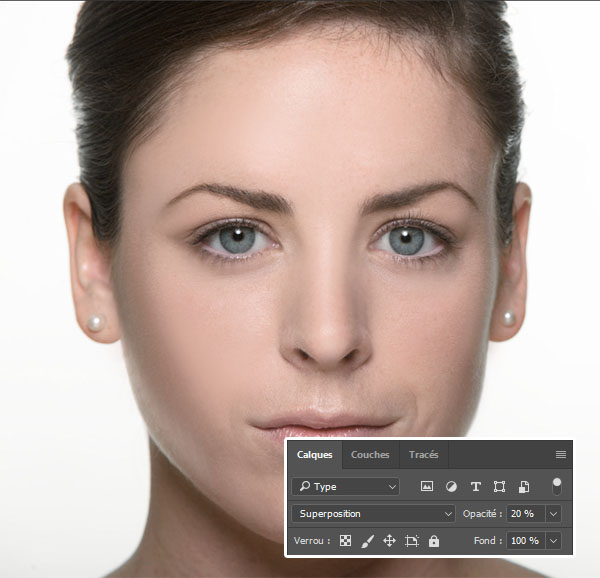
Now duplicate your layer and change its fusion mode in Overlay then reduce its opacity To 20% .
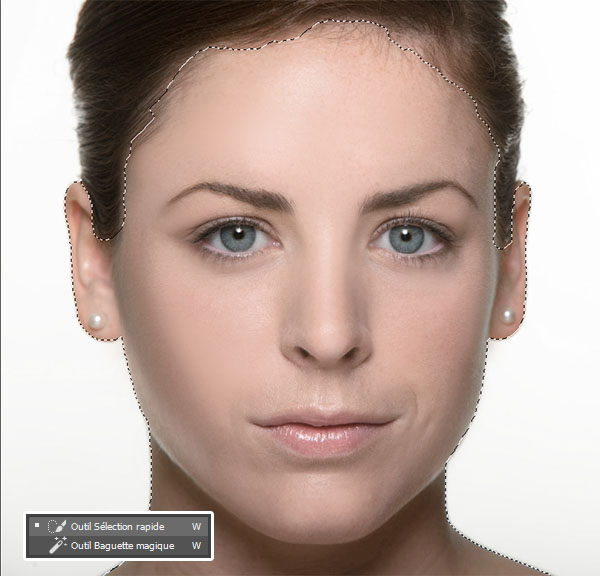
Then take the quick selection tool (W) , and select the face without the hair.
Then go to Menu> Layer> Layer mask> Show selection .
• Give a shine to the eyes.
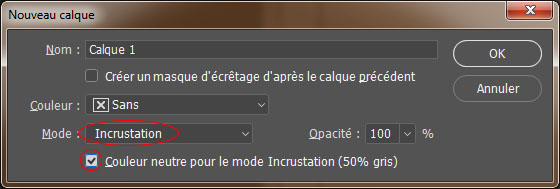
Now add a new 50% gray layer by going to Menu> Layer> New> Layer.
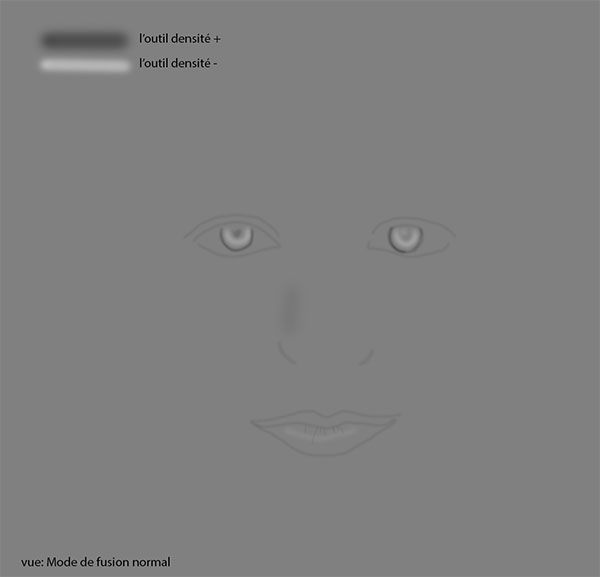
Take the density + tool with an exhibition of 20% and darken the eye contours of the iris, nose and lips. Then with the density tool – lighten the inside of the iris and the lower lip.
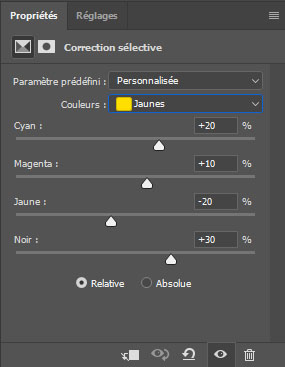
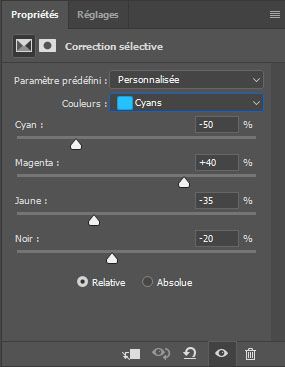
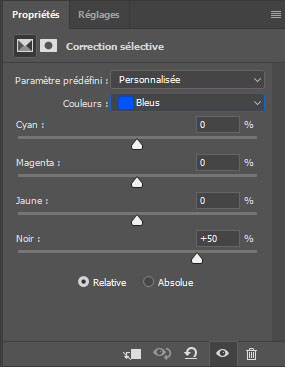
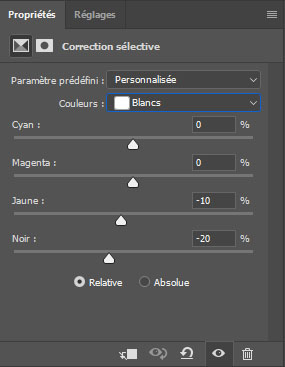
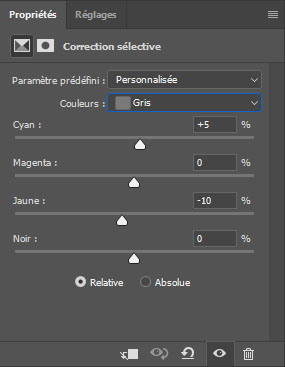
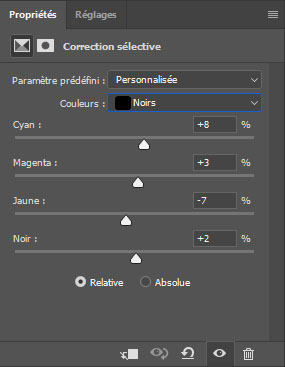
Then add a Selective Correction adjustment layer by going to Menu> Layer> New Adjustment Layer> Selective Correction .
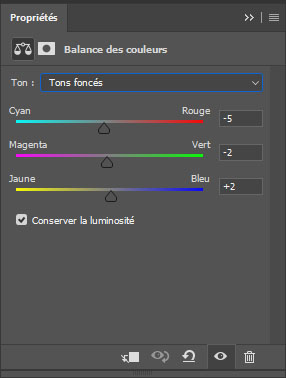
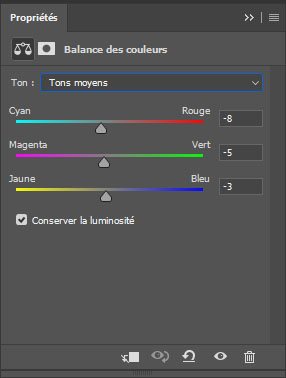
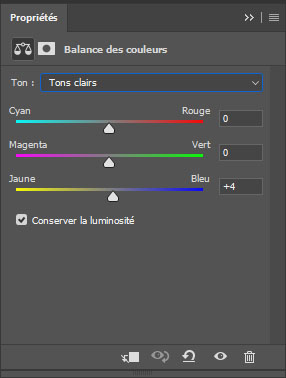
Then add a Color Balance adjustment layer by going to Menu> Layer> New Adjustment Layer> Color Balance.
• Enriching the colors by adjusting the lights on the face
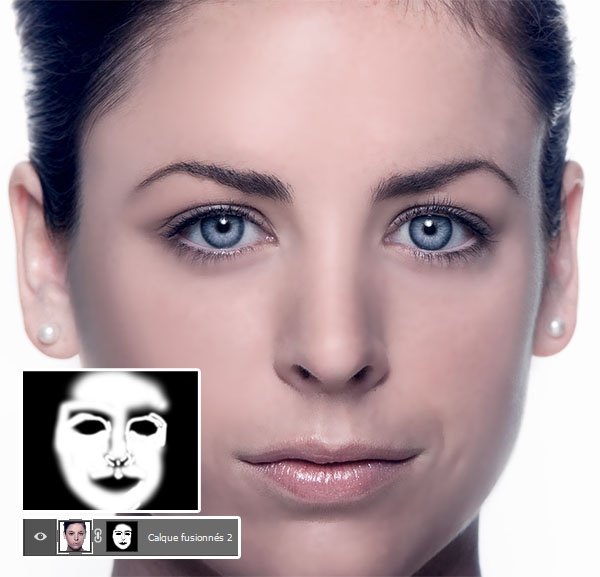
To start, make a copy of the merged layers by pressing the shortcut Ctrl + Alt + Shift + E and change its blend mode to Overlay .
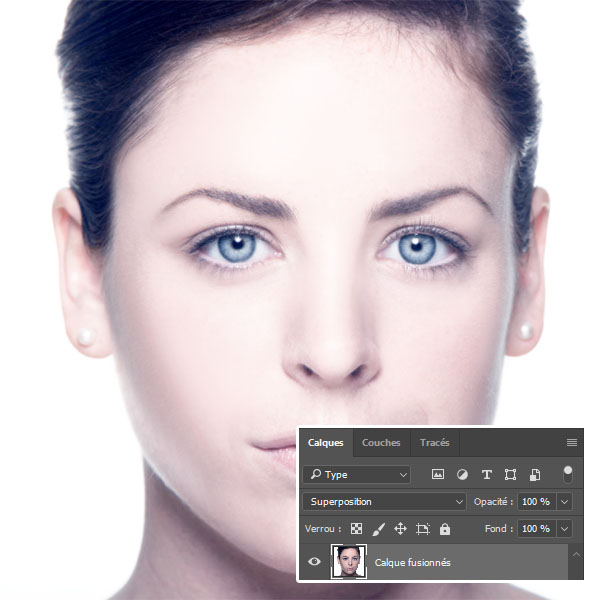
Add a layer mask by going to Menu> Layer> Layer mask> Show all .
![]()
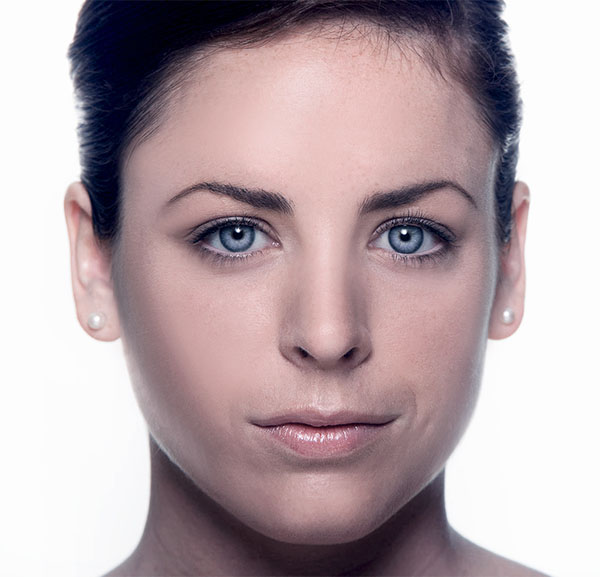
Stand on the layer mask and paint in the center with black and a soft shape to reveal only the contours of the face
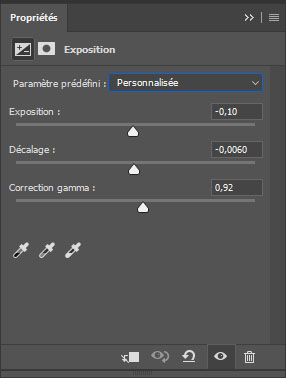
Now add an Exposure adjustment layer by going to Menu> Layer> New adjustment layer> Exposure .
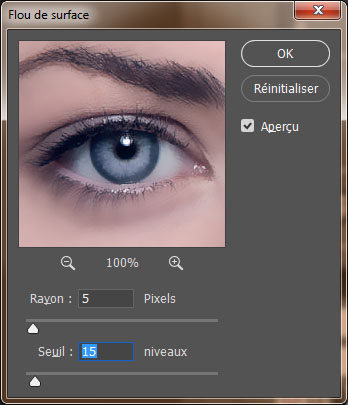
Make another copy of the merged layers by pressing the shortcut Ctrl + Alt + Shift + E and go to Menu> Filter> Blur> Surface blur .

Then add a layer mask on it by going to Menu> Layer> Layer Mask> Hide All . Then take the brush tool (B) and paint with white on the skin.
• The bottom
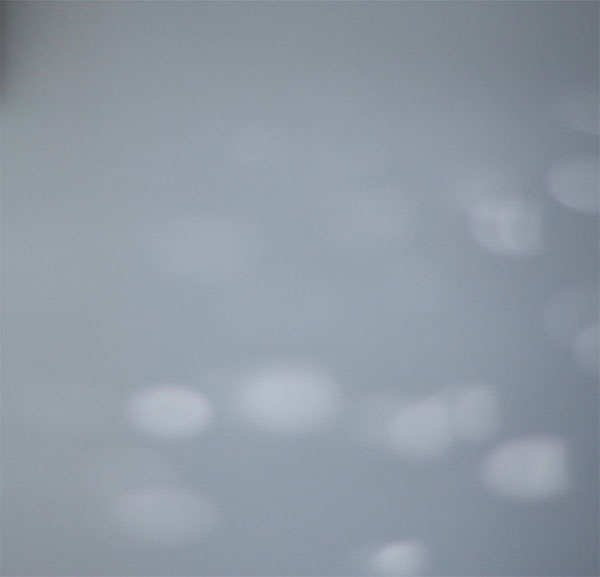
Open a new document of the same size as your working document, in our tutorial it is 1100x1100pixels , then import the first texture like this.

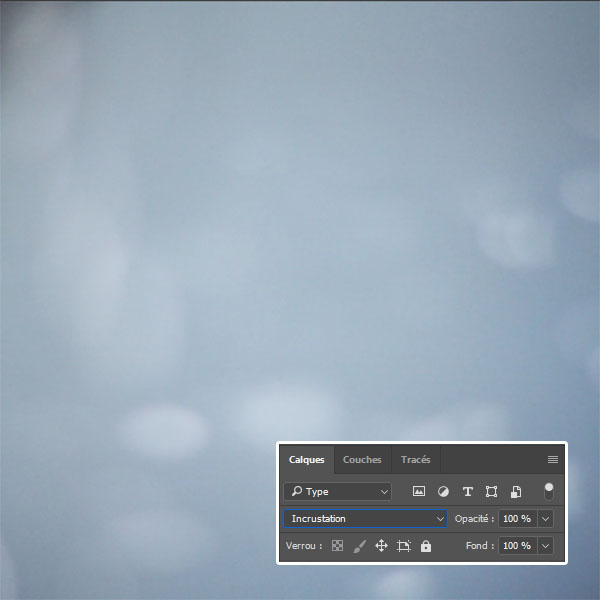
Do the same for the second texture.
Then, change its blending mode to overlay.
Then add a new layer ( Ctrl + Shift + N ), take the brush tool (B) and paint over it with the following colors # 7592b4 , # bc8086 , # 40465c , # 361c25 as shown in the picture below.
(Note: if you have difficulty mixing colors, apply a Gaussian blur filter to it)
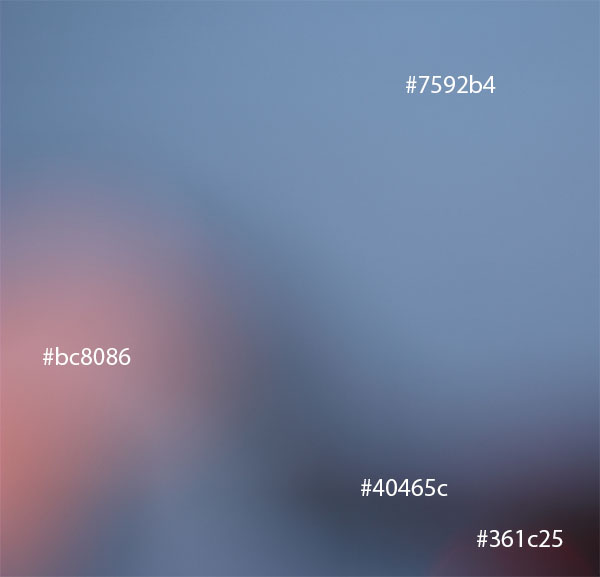
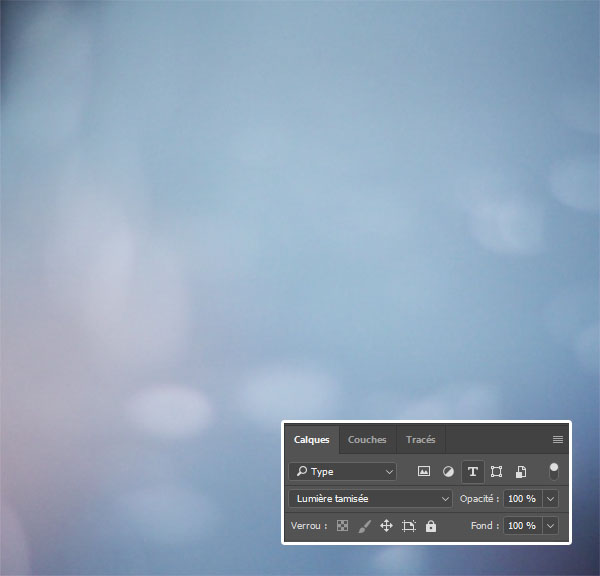
Then change its fusion mode in Dim light .
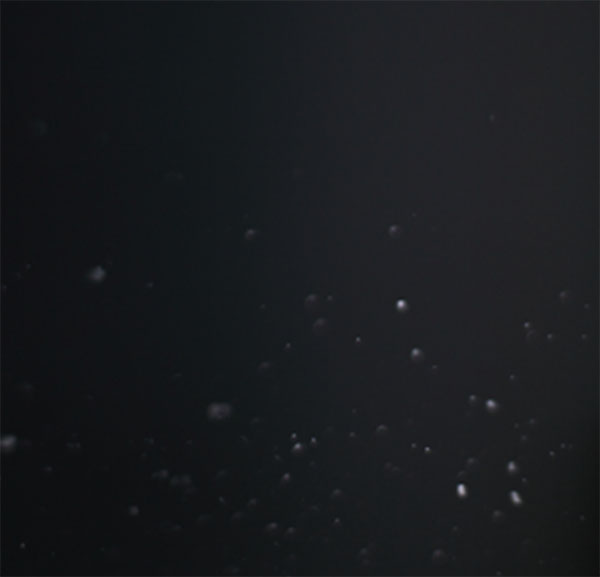
Now import the last texture into your document.
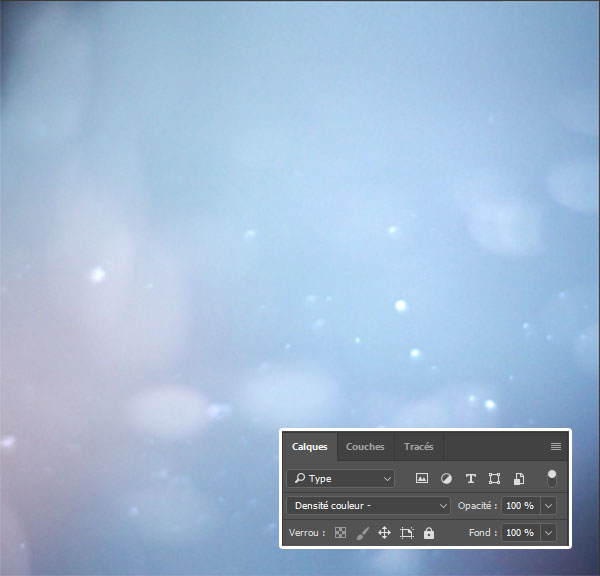
Then change its fusion mode in Colour density –
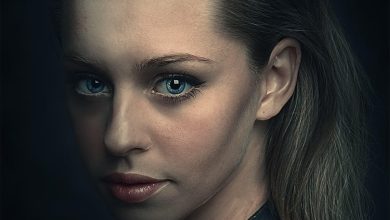
Finally, go to your main document, make a copy of the merged layers (Ctrl + Alt + Shift + E) , take the magic wand tool (W) and click on the white background, then invert the selection by going to Menu> Selection> Swap (Ctrl + Shift + I) .

Under Photoshop Cs5, Cs6, CC and CC 2015 , go to Menu> Selection> Contour enhancement and use the following tutorial for perfect hair trimming
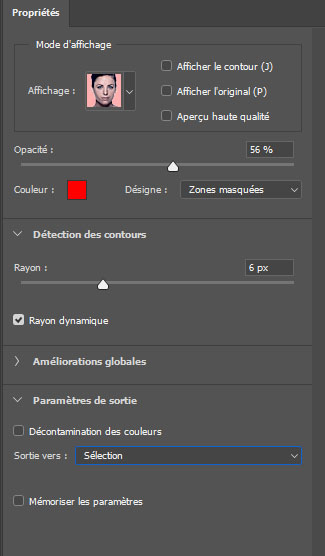
And under Photoshop CC 2017 it’s more complete and a little more complex than the previous versions of Photoshop, i don’t know what they do at adobe but their thing is to complicate things. In short go to Menu> Selection> Select and hide, Check the box Dynamic radius and put 6px for the Ray , then take the contour improvement tool (R) and click on the white areas at the hair level.
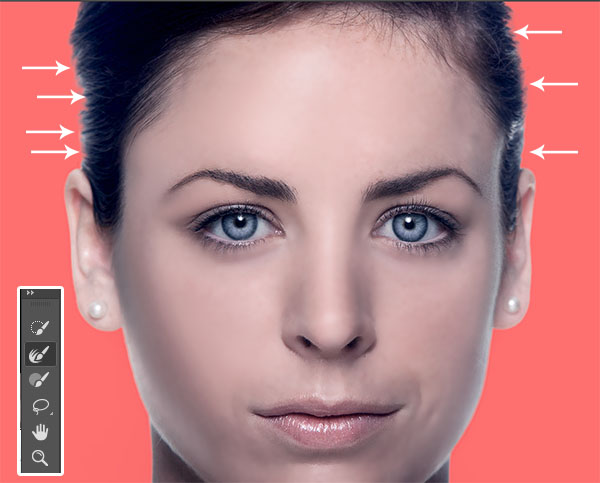
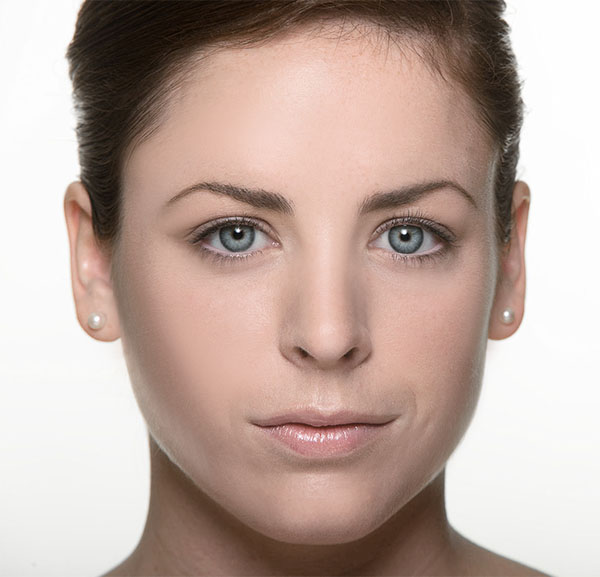
After having obtained a perfect selection, make a copy paste in your second document in order to obtain the following final rendering.