Tutorials

Black and White Contrast effect tutorial

Black and White Contrast effect tutorial

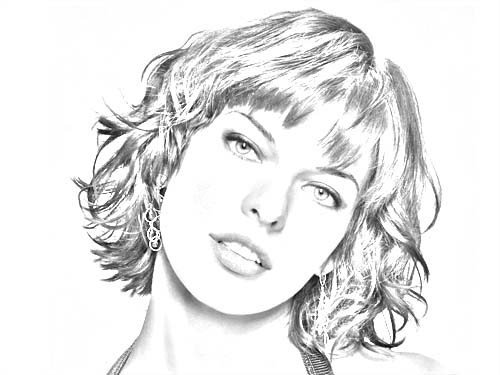
a very cool result a tutorial that can be done in 3 easy steps, a very easy tutorial to start your learning in Photoshop.

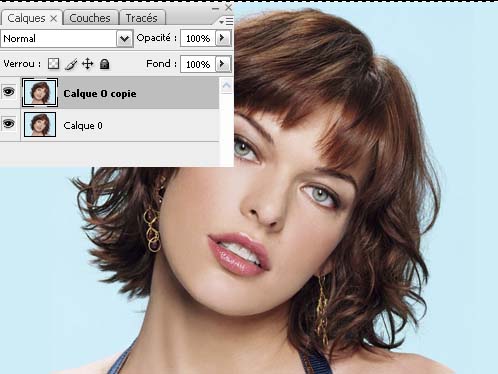
To start import your image in Photoshop to apply this effect I chose the photo of the superb Milla Jovoviche

To start, duplicate your layer by pressing the keyboard shortcut Ctrl + J

Photoshop cs3 tutorial apply black and white contrast effect with Photoshop cs3

Then press the buttons Ctrl + Shift + U for desaturate the image or go to Menu> Images> Settings> Desaturation,

Photoshop cs3 tutorial apply black and white contrast effect with Photoshop cs3

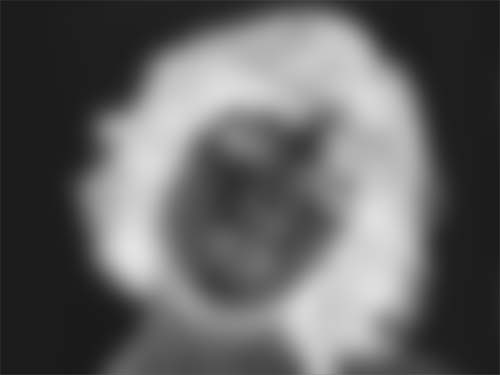
After Duplicate this last Ctrl + J and go to Menu> Image> Adjustments> Negative (Ctrl + I)

Photoshop cs3 tutorial apply black and white contrast effect with Photoshop cs3

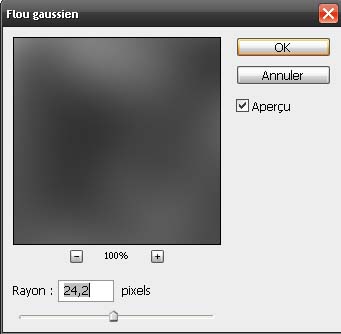
Then apply a filter on it Gaussian blur Menu> Filter> Attenuation> Gaussian blur.

Photoshop cs3 tutorial apply black and white contrast effect with Photoshop cs3

Photoshop cs3 tutorial apply black and white contrast effect with Photoshop cs3

And finally change the fusion mode in Colour density –

Photoshop cs3 tutorial apply black and white contrast effect with Photoshop cs3

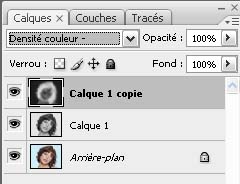
And here is the work

Photoshop cs3 tutorial apply black and white contrast effect with Photoshop cs3

you can read the english version of the tutorial here

See also  How to enhance photos with Adobe Photoshop
Back to top button

Adblock Detected

Please disable your ad blocker to be able to view the page content. For an independent site with free content, it's literally a matter of life and death to have ads. Thank you for your understanding! Thanks