How to set up Vtube Studio
For those who have a 2D model today I am going to talk about how to start using Vtube Studio and how to configure it to be able to use this program. The best thing about Vtube Studio is that it is a free program but it includes a watermark (the truth is that it is not very annoying) but if you like you can pay a small price to remove it.
Until now Vtube Studio is one of the best programs for Vtubers, since it has many options to interact with your character, from changing the background to being able to put Assets (clothes or extra elements) on your character.
But how can we start using it? Here I show you the step by step.
Contents
Installing Vtube Studio
Vtube Studio is on Steam, we can download it from the Steam app at the bottom you will find the download link, as I already have it, “use it now” will appear.
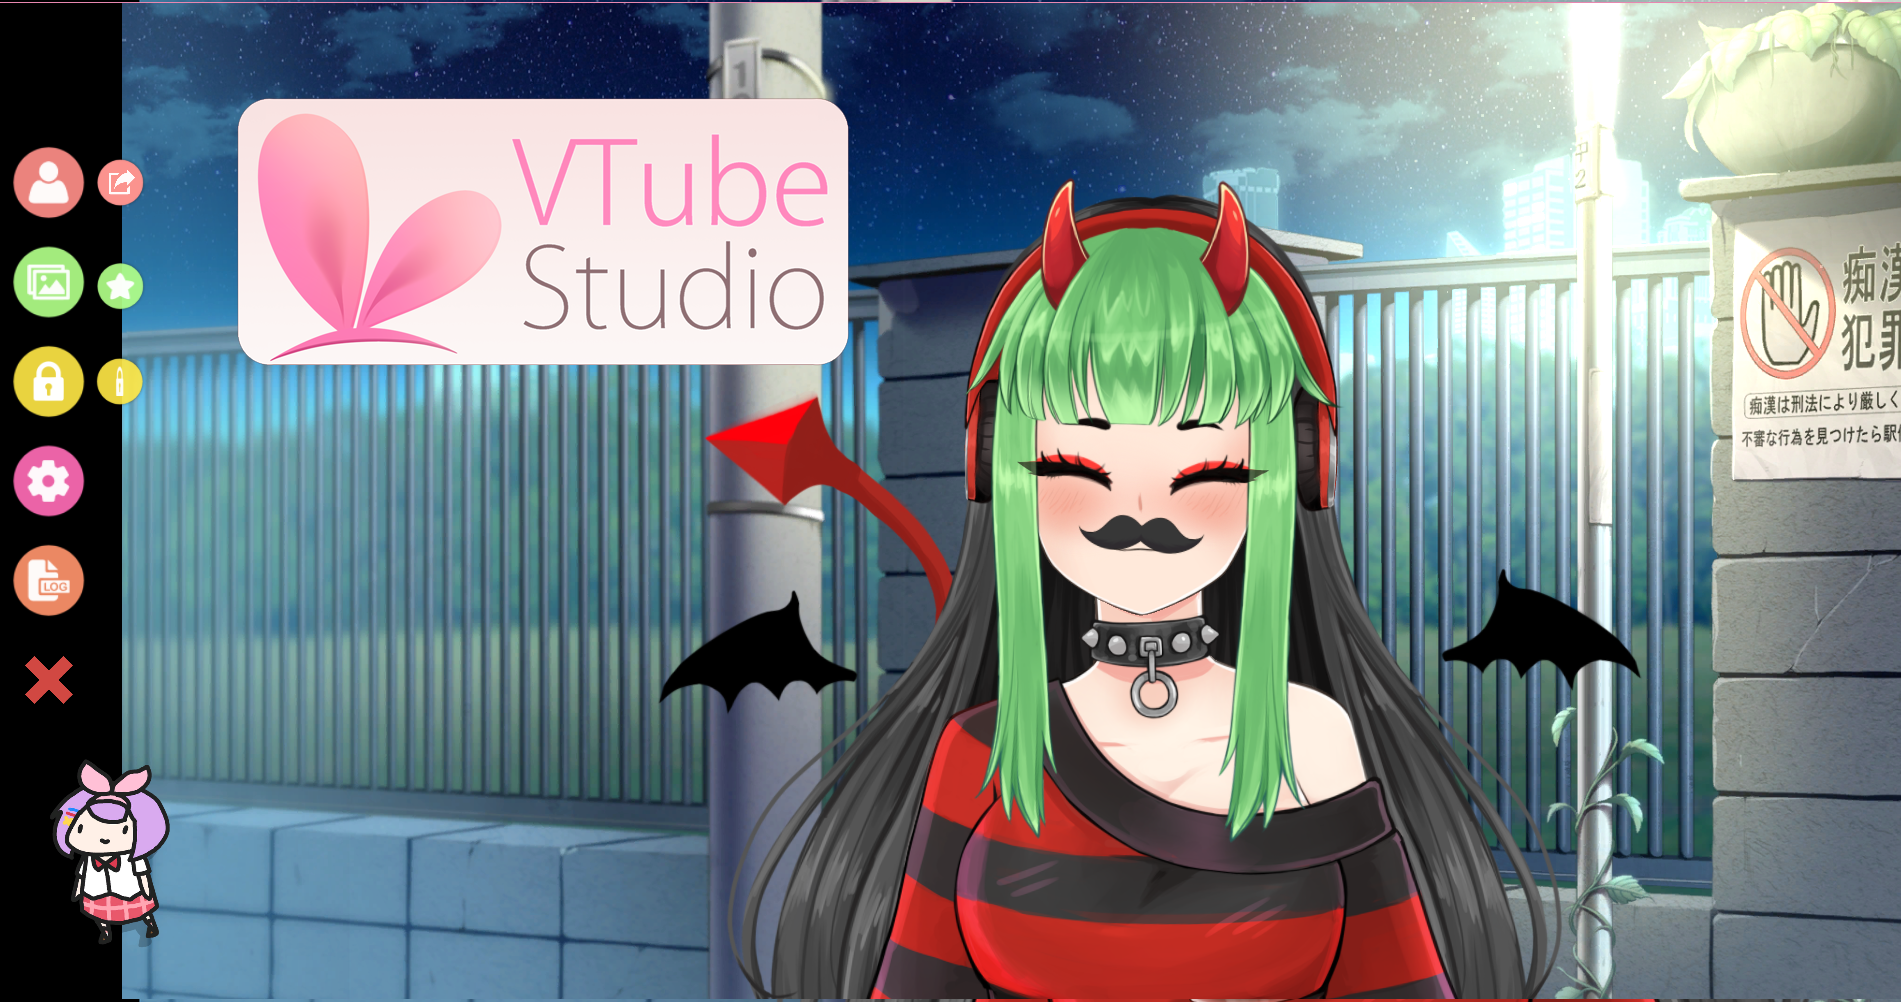
When you just install it, this window will appear:
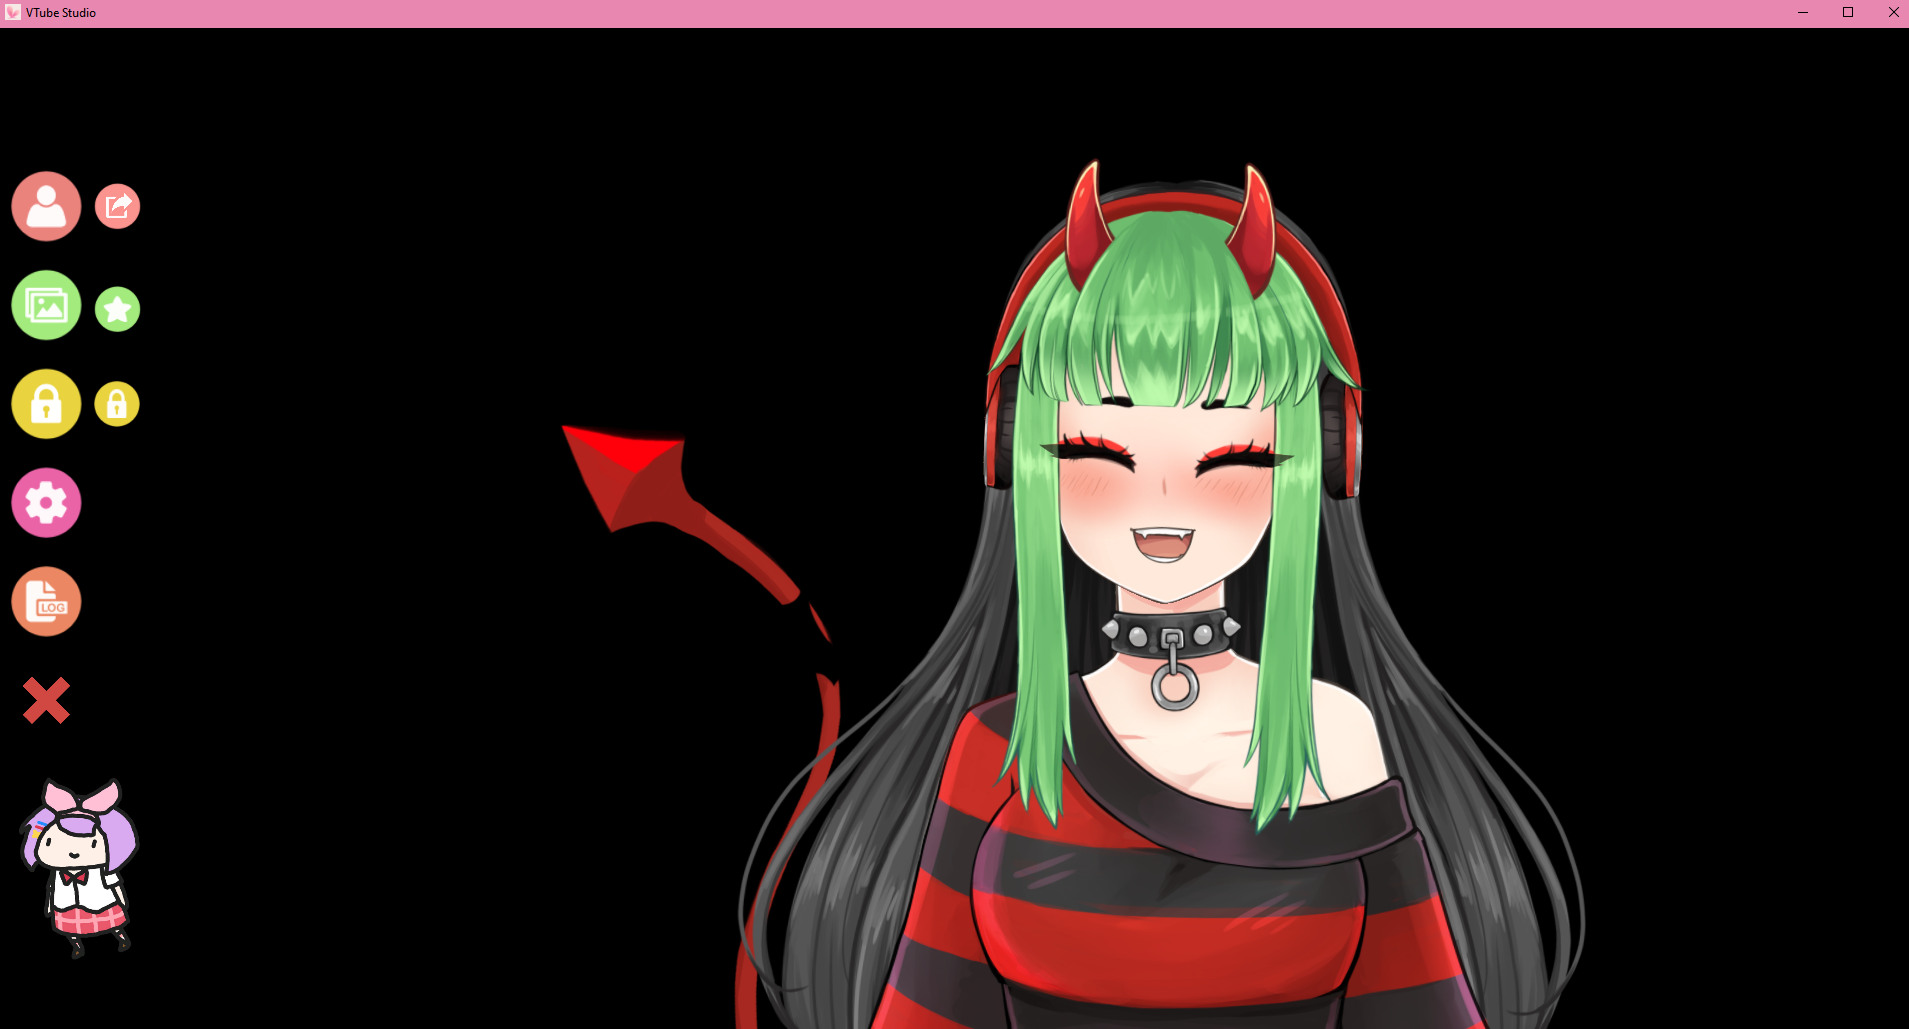
On the left side you will have several options, then we will see each of them.
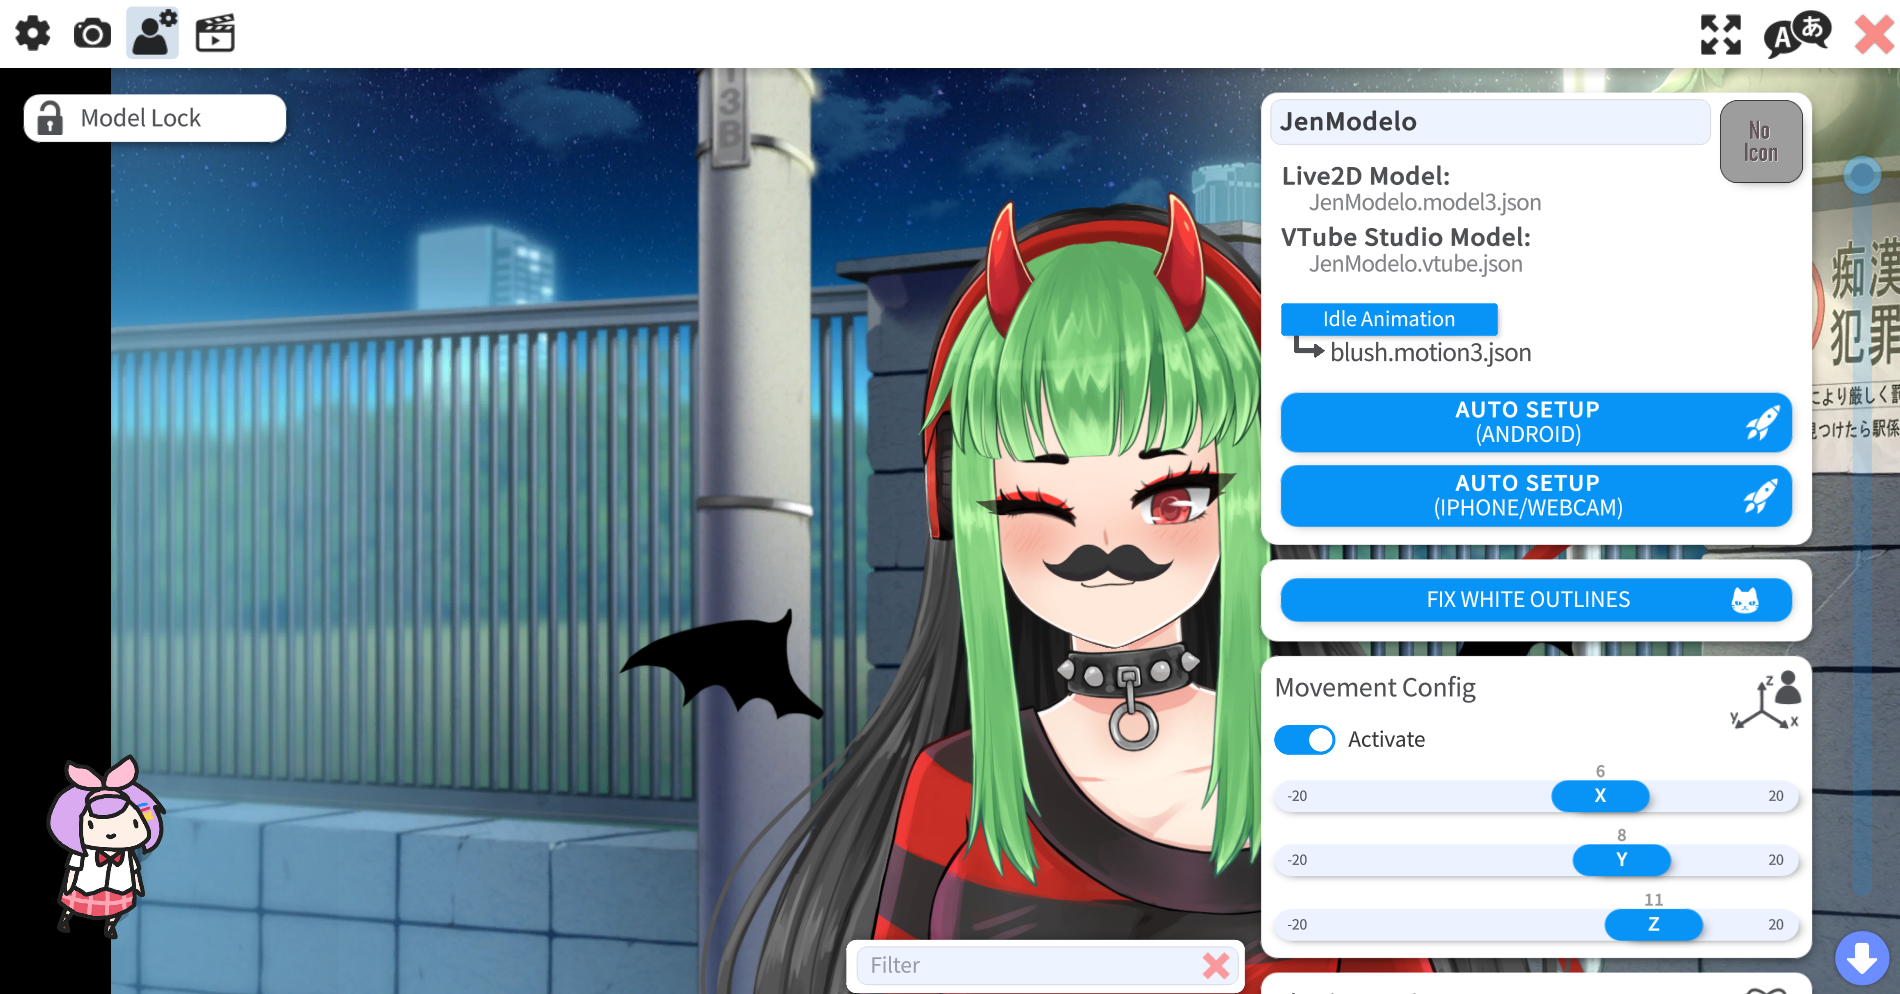
Import your model:
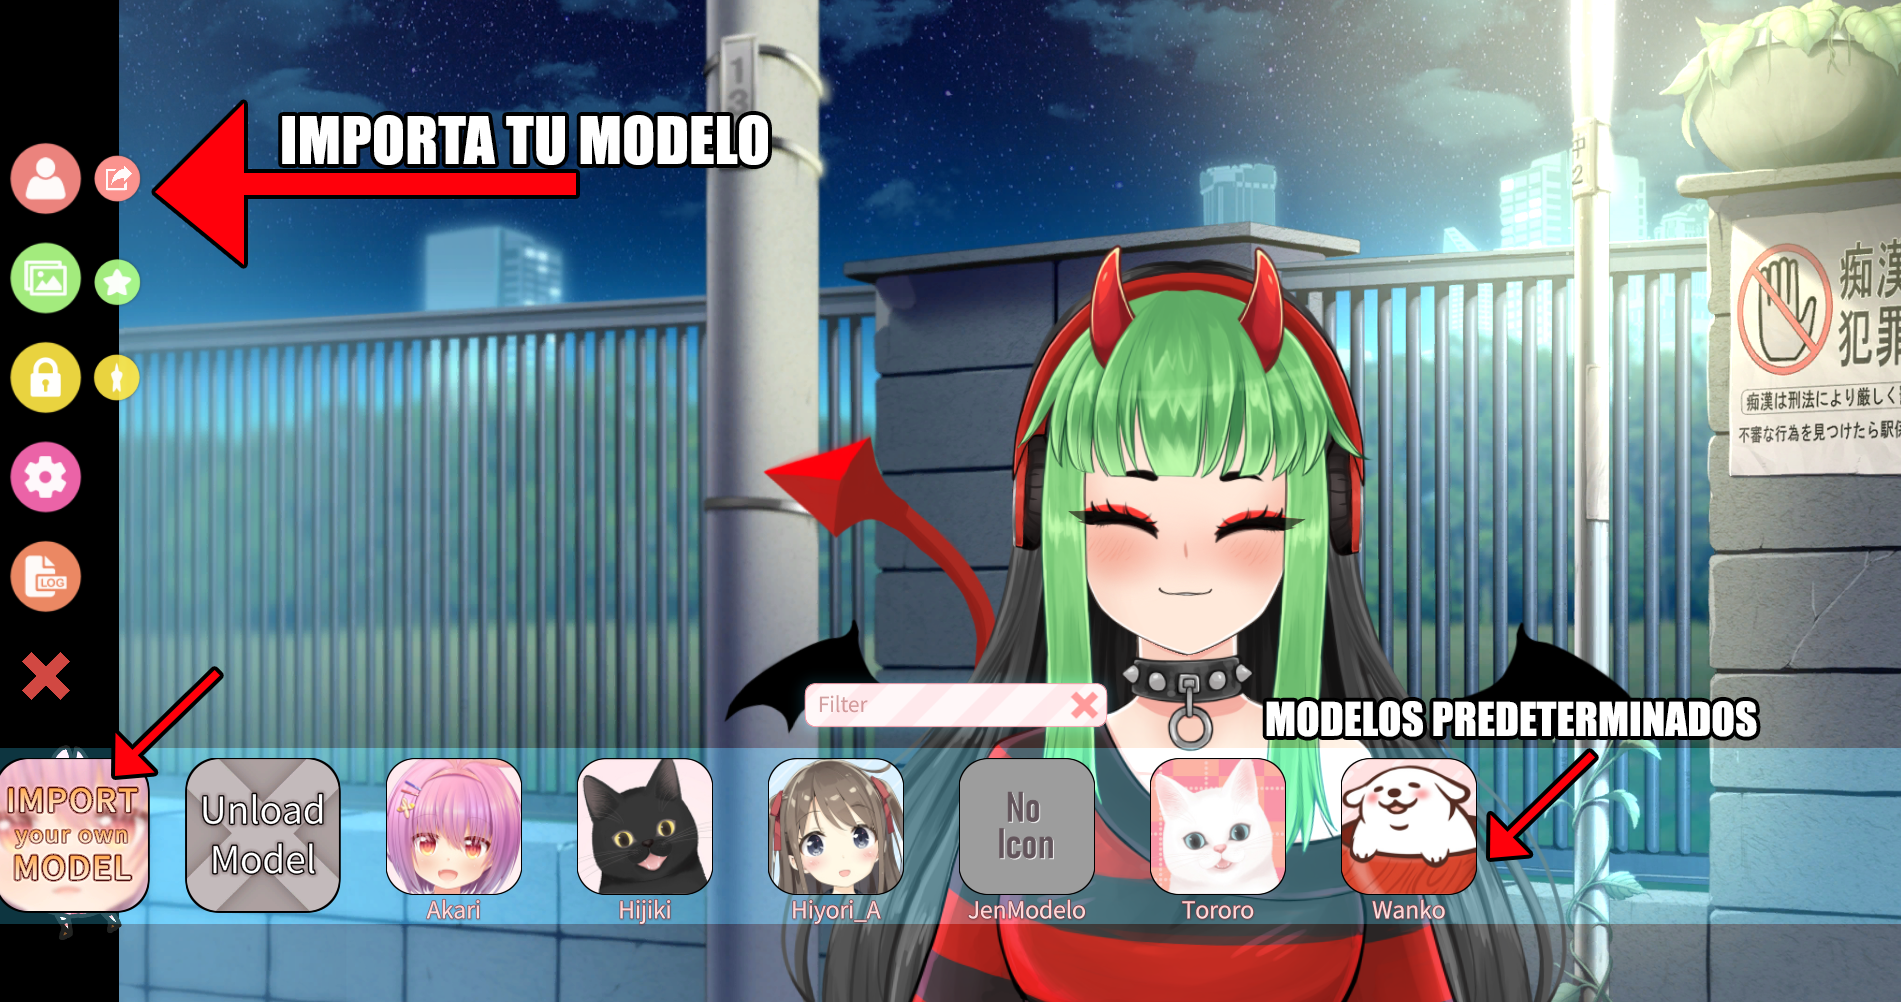
Here you can import your own model or use the default models of the program.

When you import, you will have to create a folder in the address that asks you where you will place the files of your Live 2D model, doing this your model will appear where the default models appear with the name of your folder.
Money:
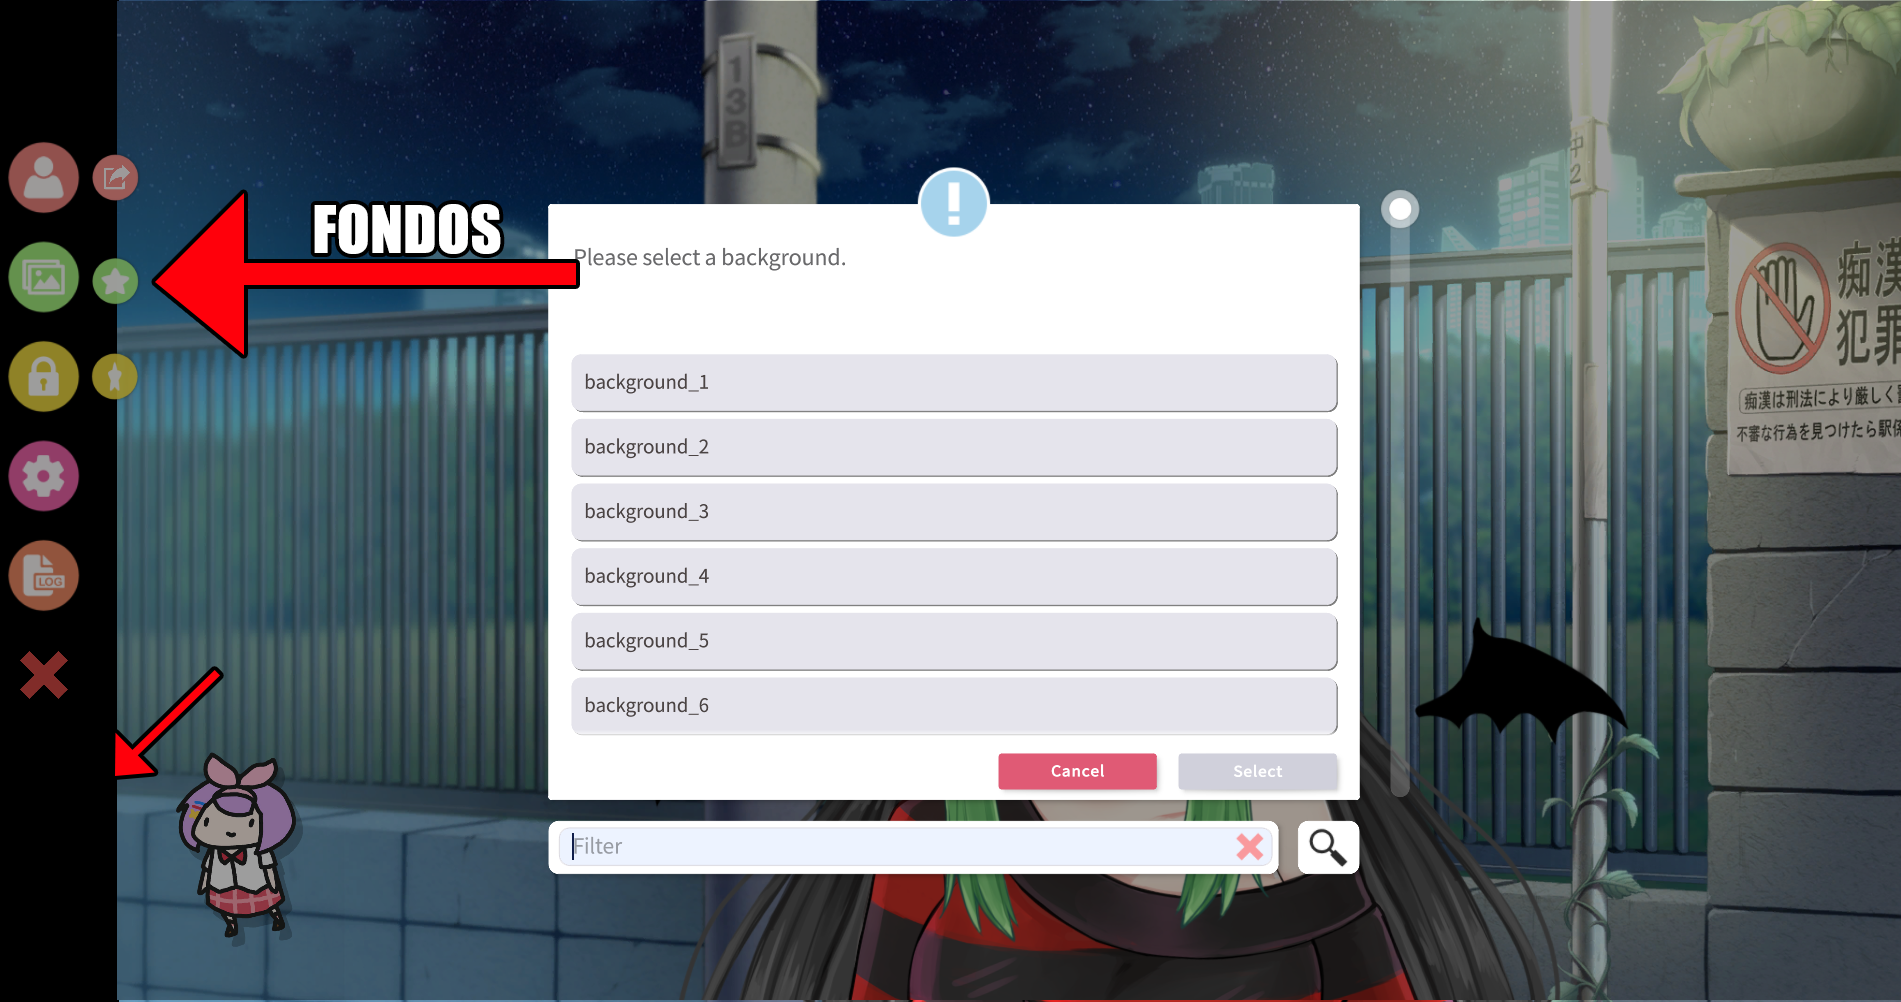
In the second option you can use a default background or add your own.
Add your own background:
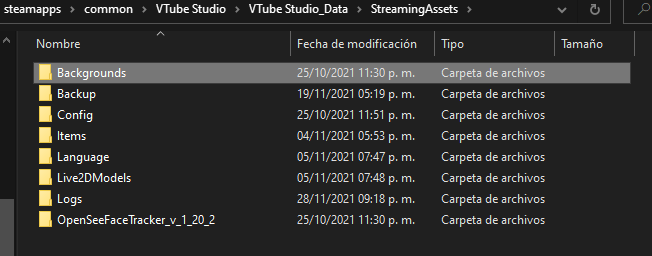
To add your own background you need to open the folder where Vtube Studio is installed and in the folder “Backgrounds“, add the image.
Add extra elements (ASSETS).
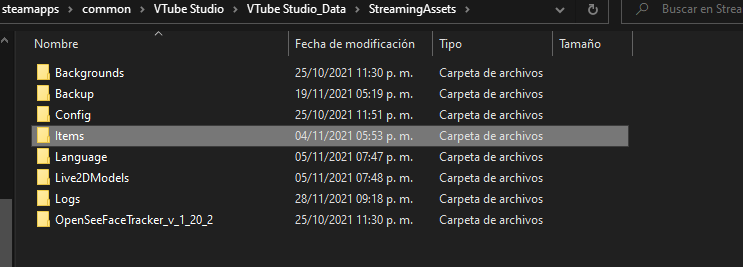
It is the same as adding the background but in the part of “items“, here you can add the items you have downloaded from asset creators or upload your own.
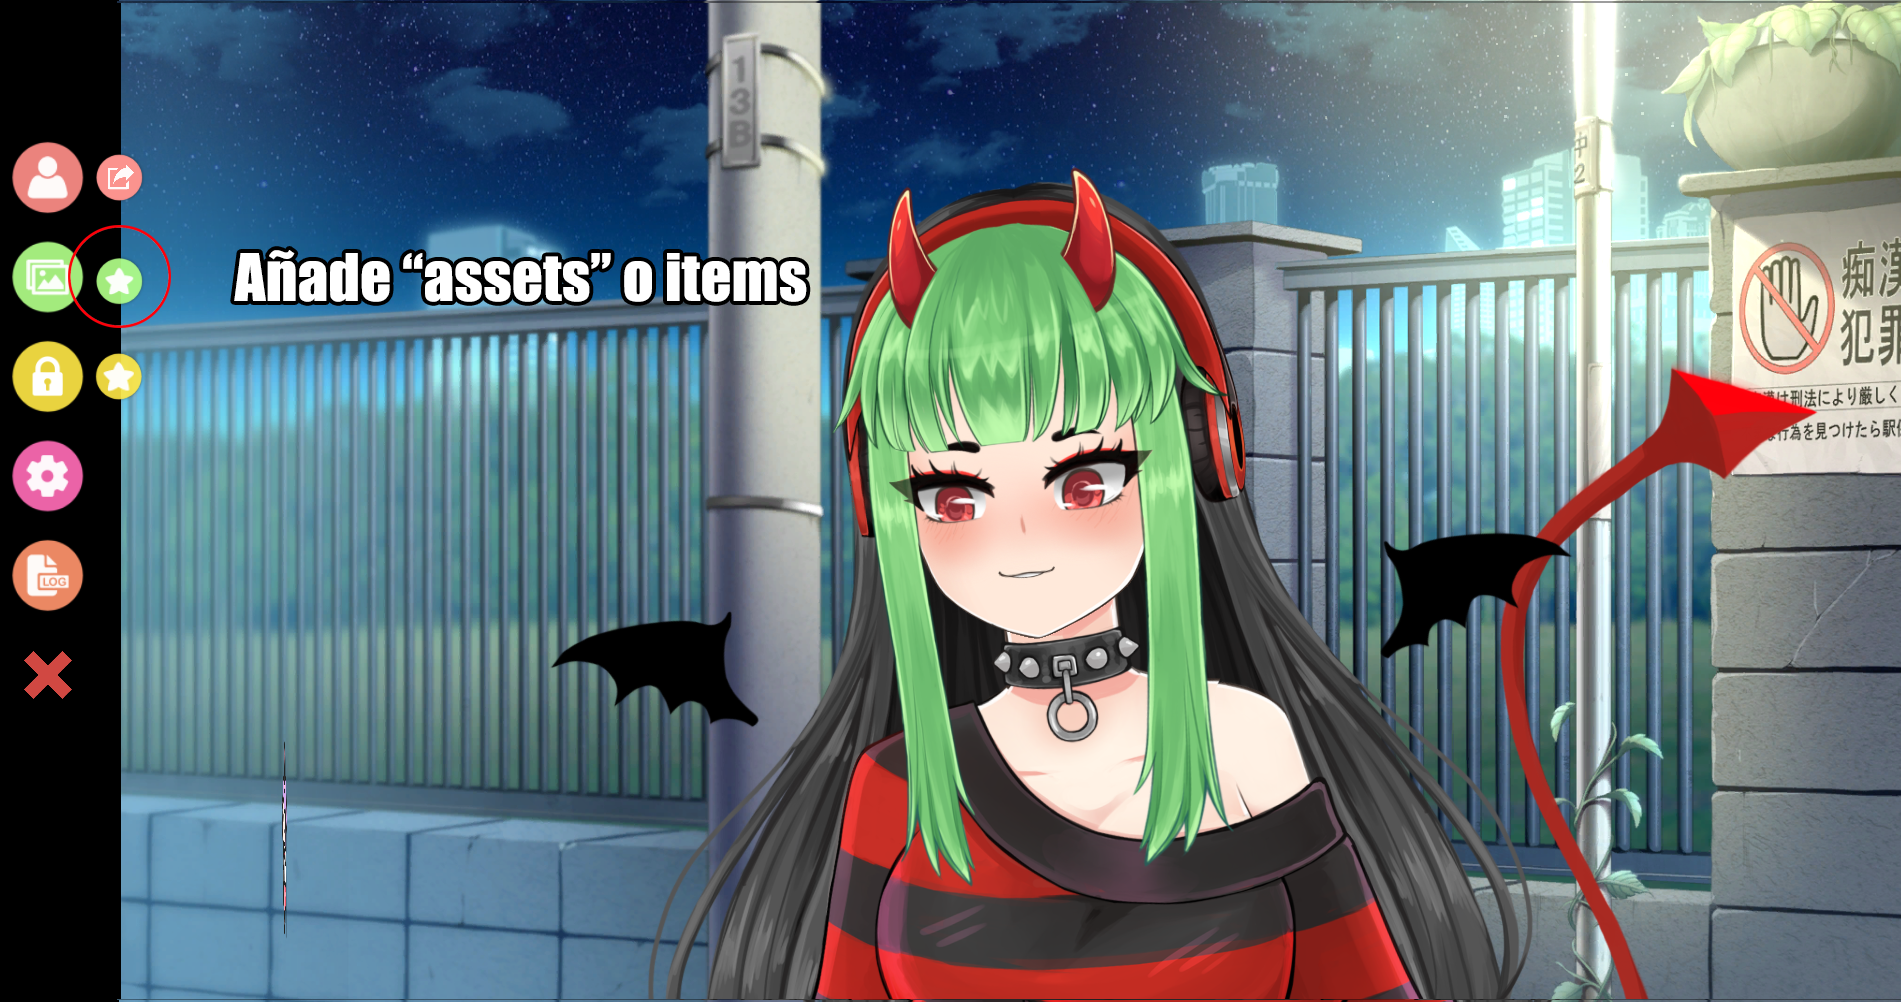
When you have uploaded them or want to use the default ones, we will click on the star, which will open the following menu:
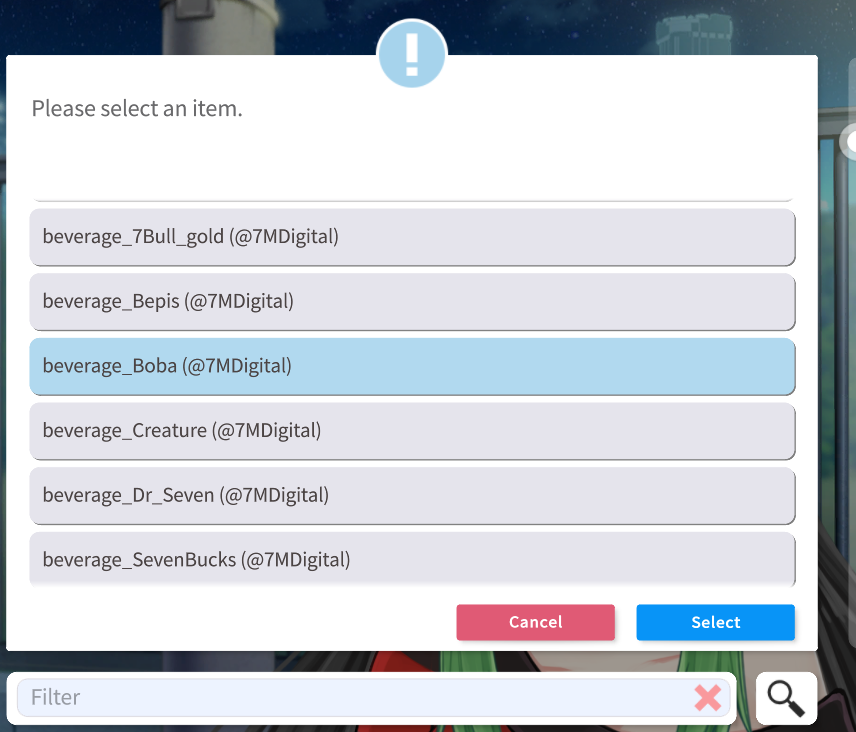
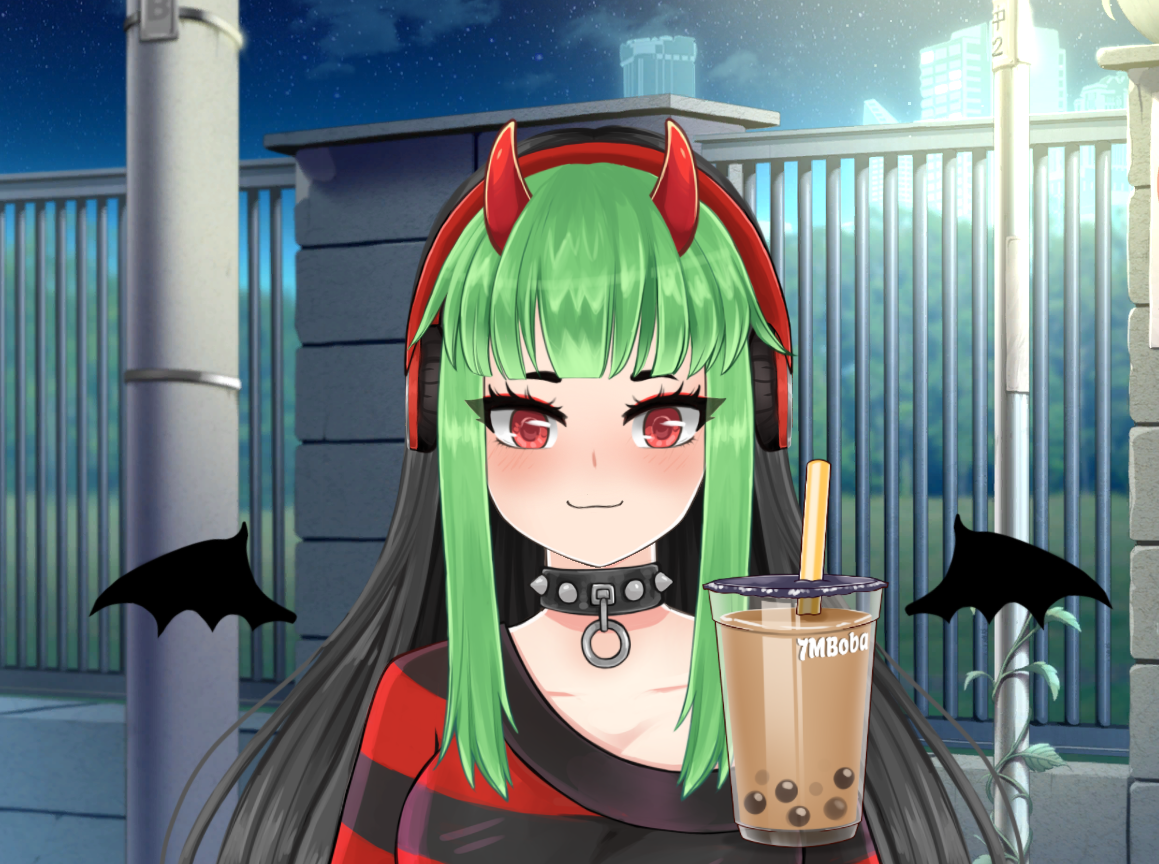
Here we will choose the elements that we want to appear with our character, I will choose a boba tea drink, pressing select will open another window:
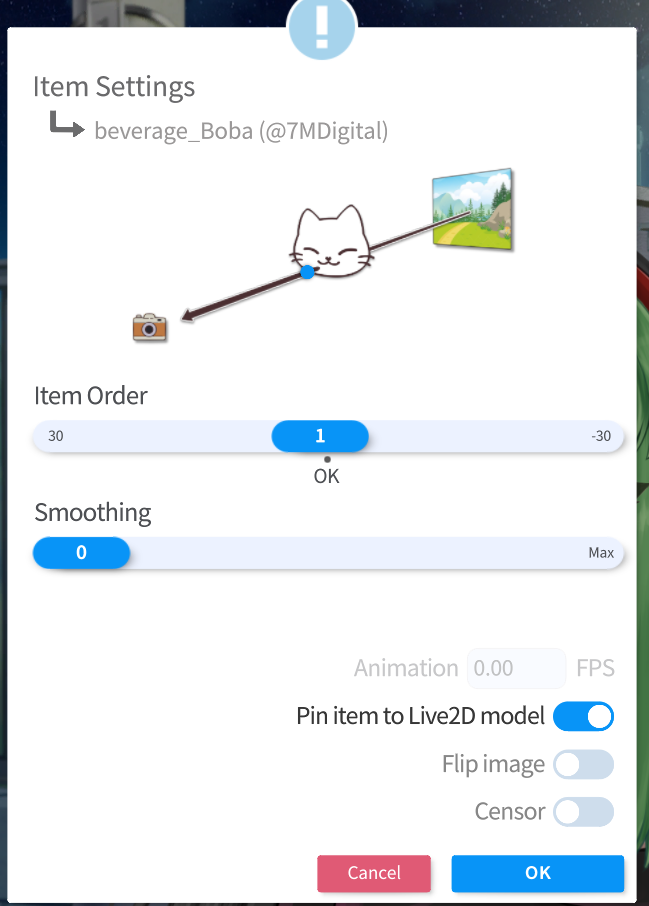
This window shows us several options, the first “item Order”, is used to locate where you want the item to appear, if in front of our character or behind him, I will choose in front of him.
Animation: In this option is when you use an animation, here you will put how many frames you want it to be seen.
Pin item to Live2D model: Here we will enable the option if we want the item to be fixed on our character or to be totally independent of it.
flip image: Change the address of the item.
Censor: Censors the image type pixelated and out of focus.
And this is what the item would look like with the character.
Block items:
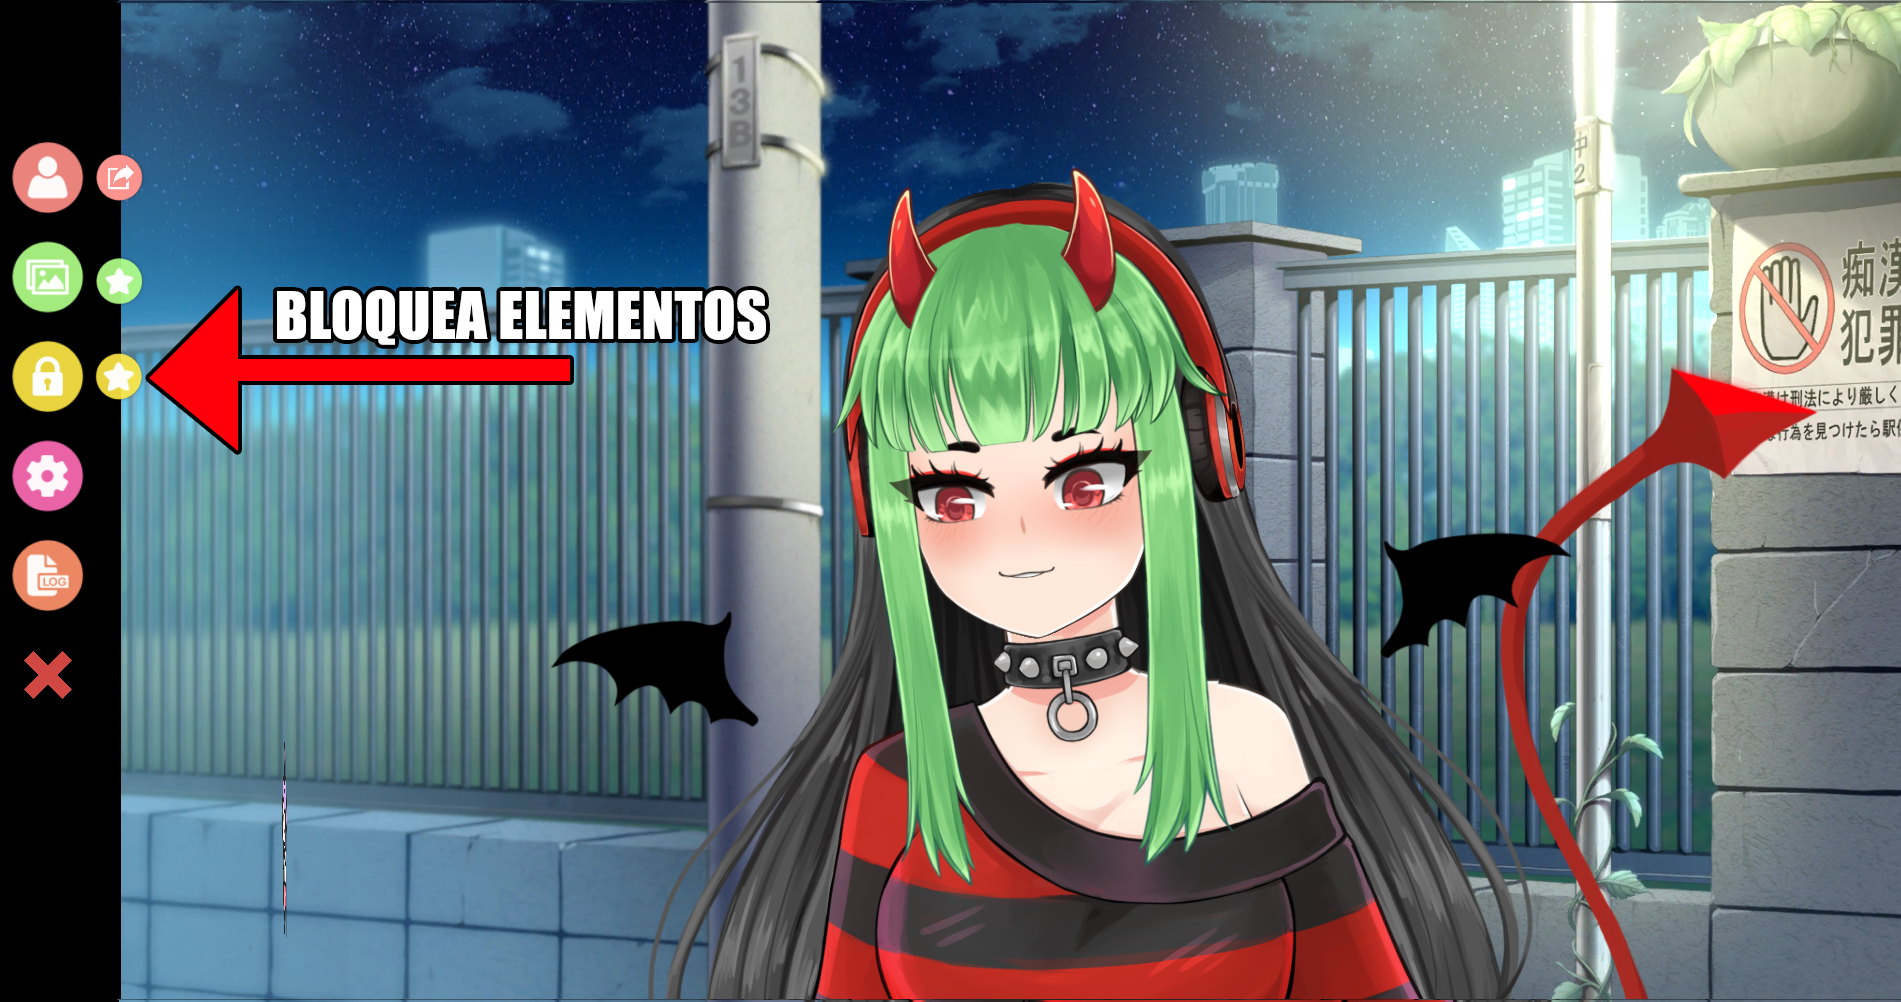
This option allows you to lock the elements that you have added in case you do not want them to move from their place.
Setting:
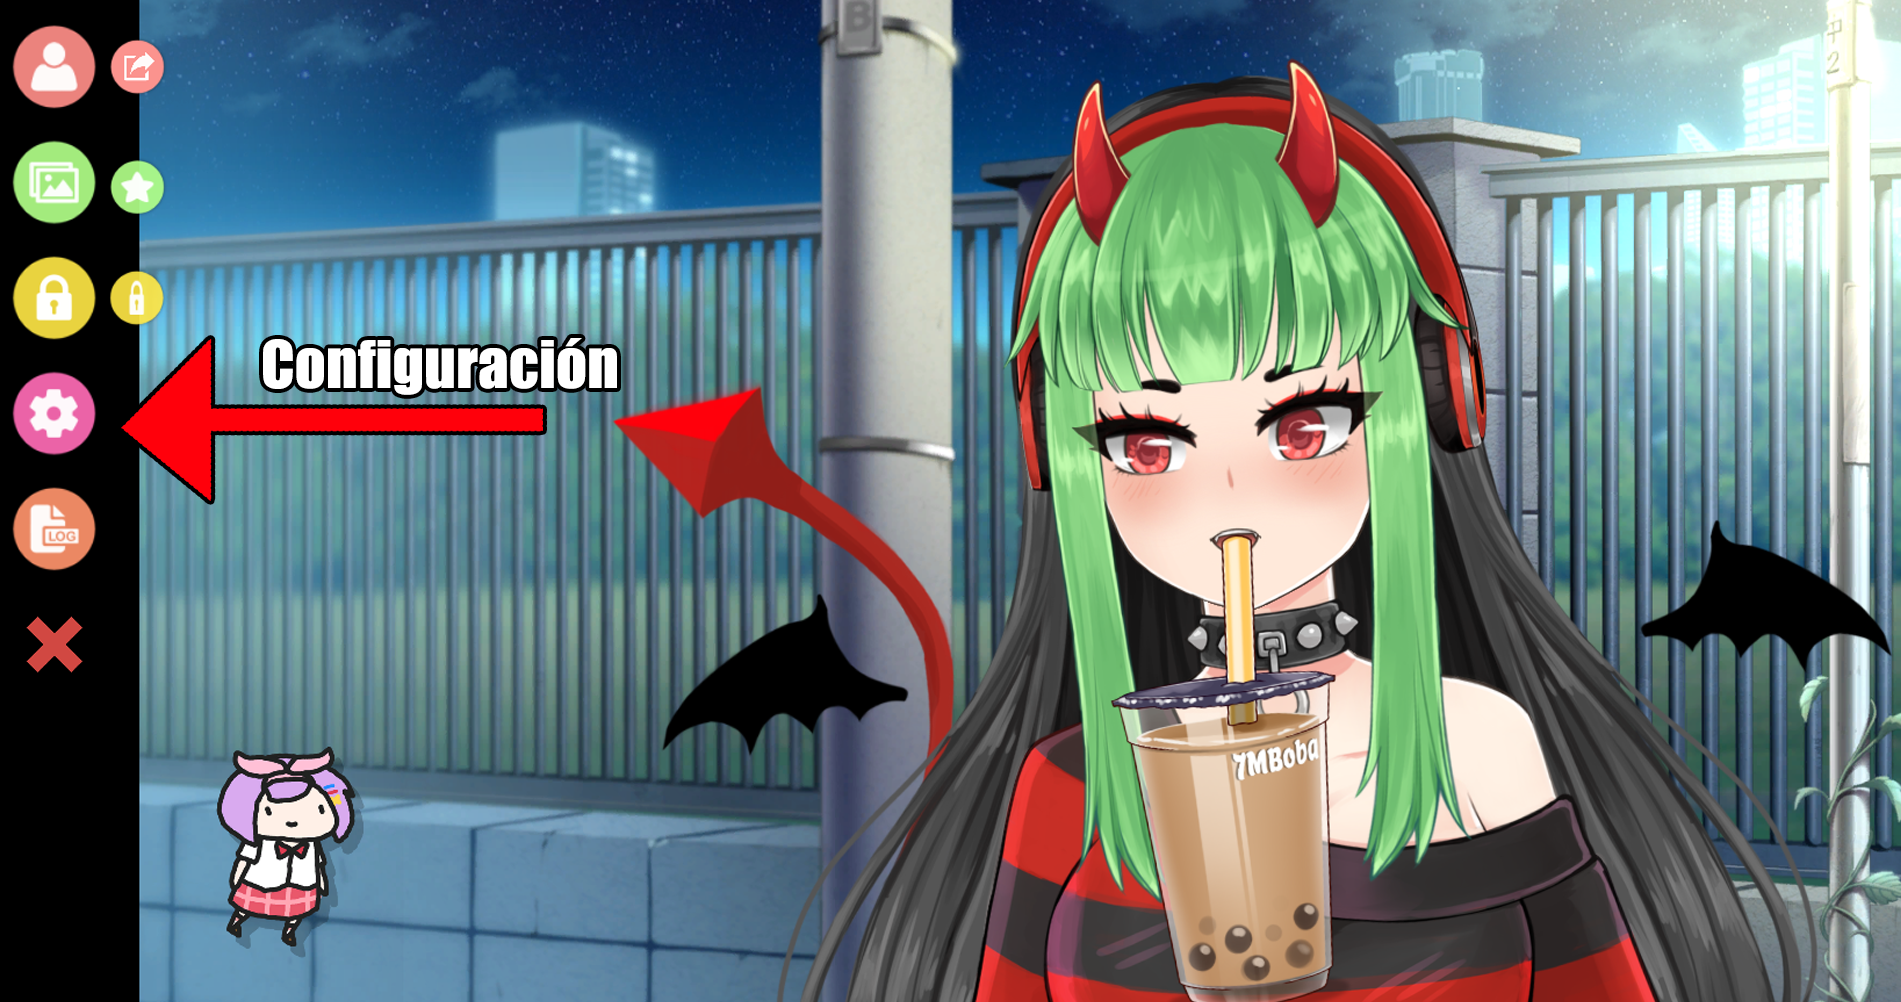
Here comes the good part, the configuration.
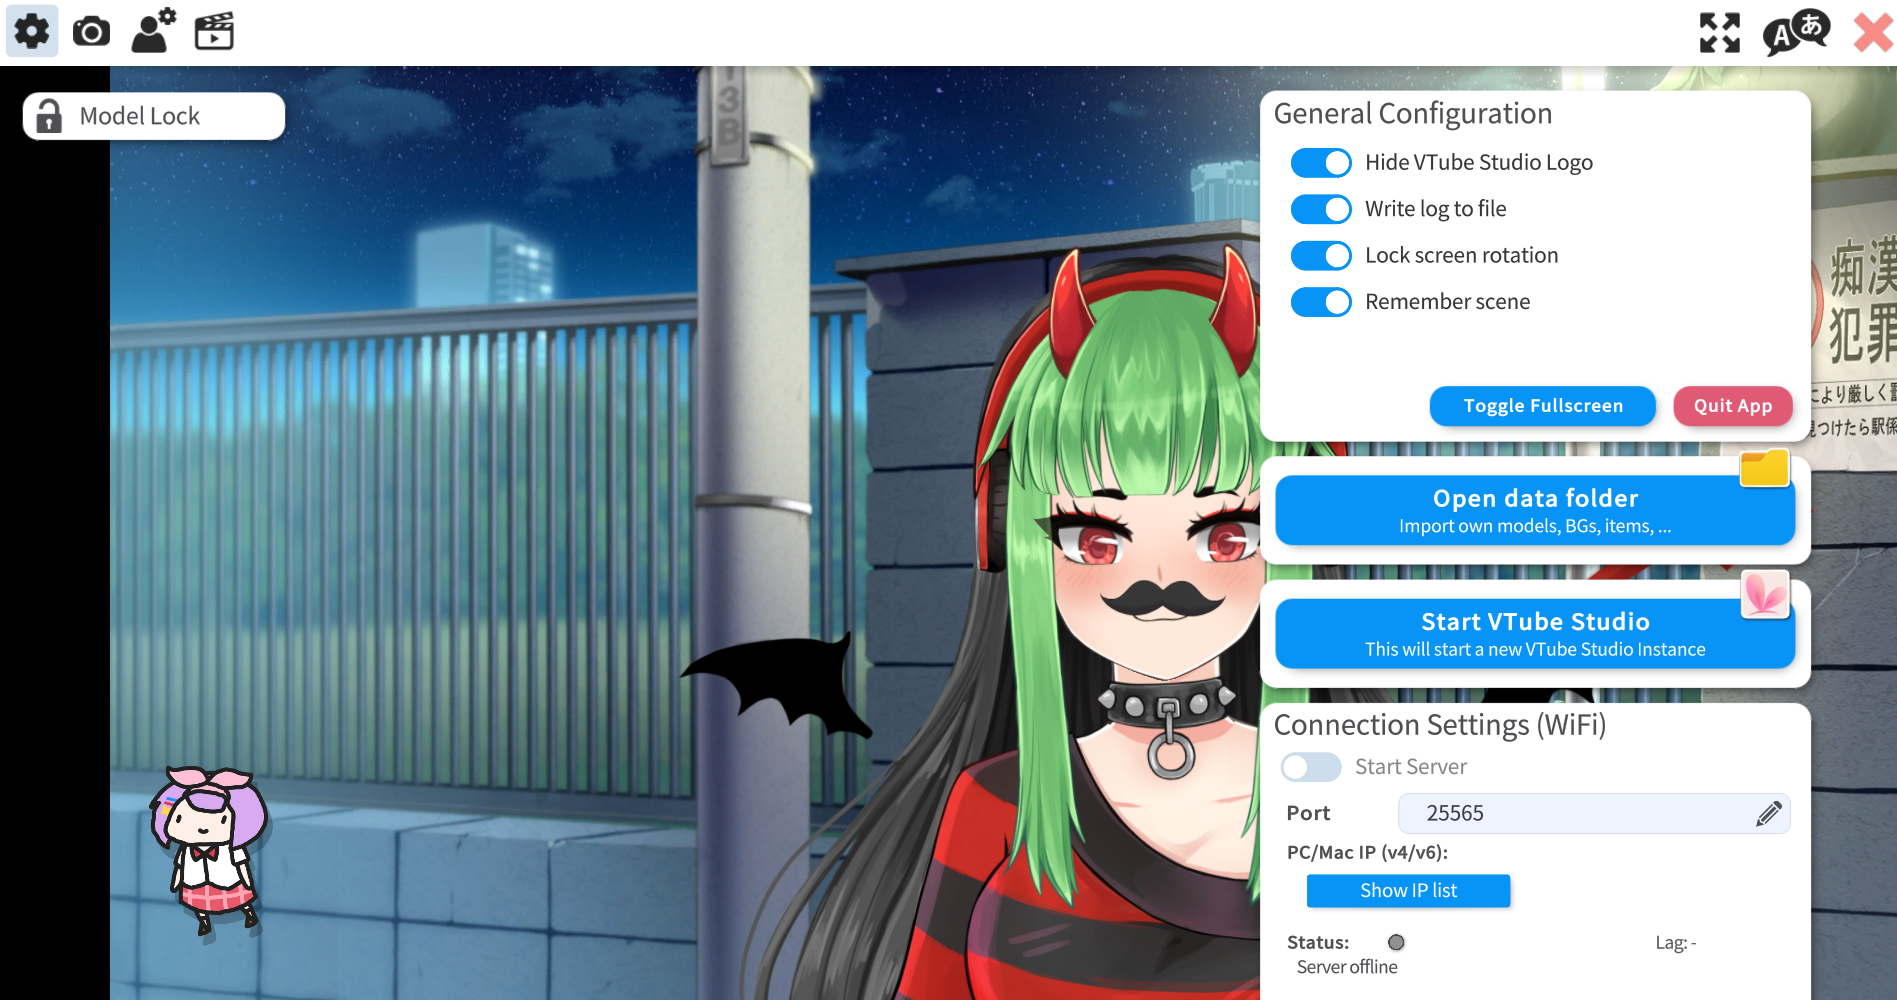
The truth is that the configuration is quite intuitive so there is no loss, I know that at the beginning your model will not match your eyes or mouth, but later I will tell you how to fix it.
I recommend you not to move anything from this area, since it is not very important, you could only use the following option:
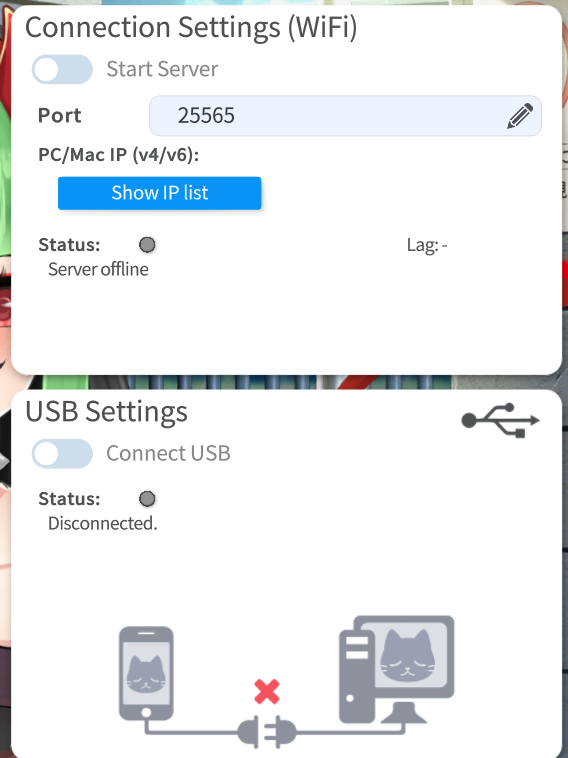
USBSettings:
If you use a tablet or cell phone as a camera, you will have to configure it from this option.
Webcam tracking:
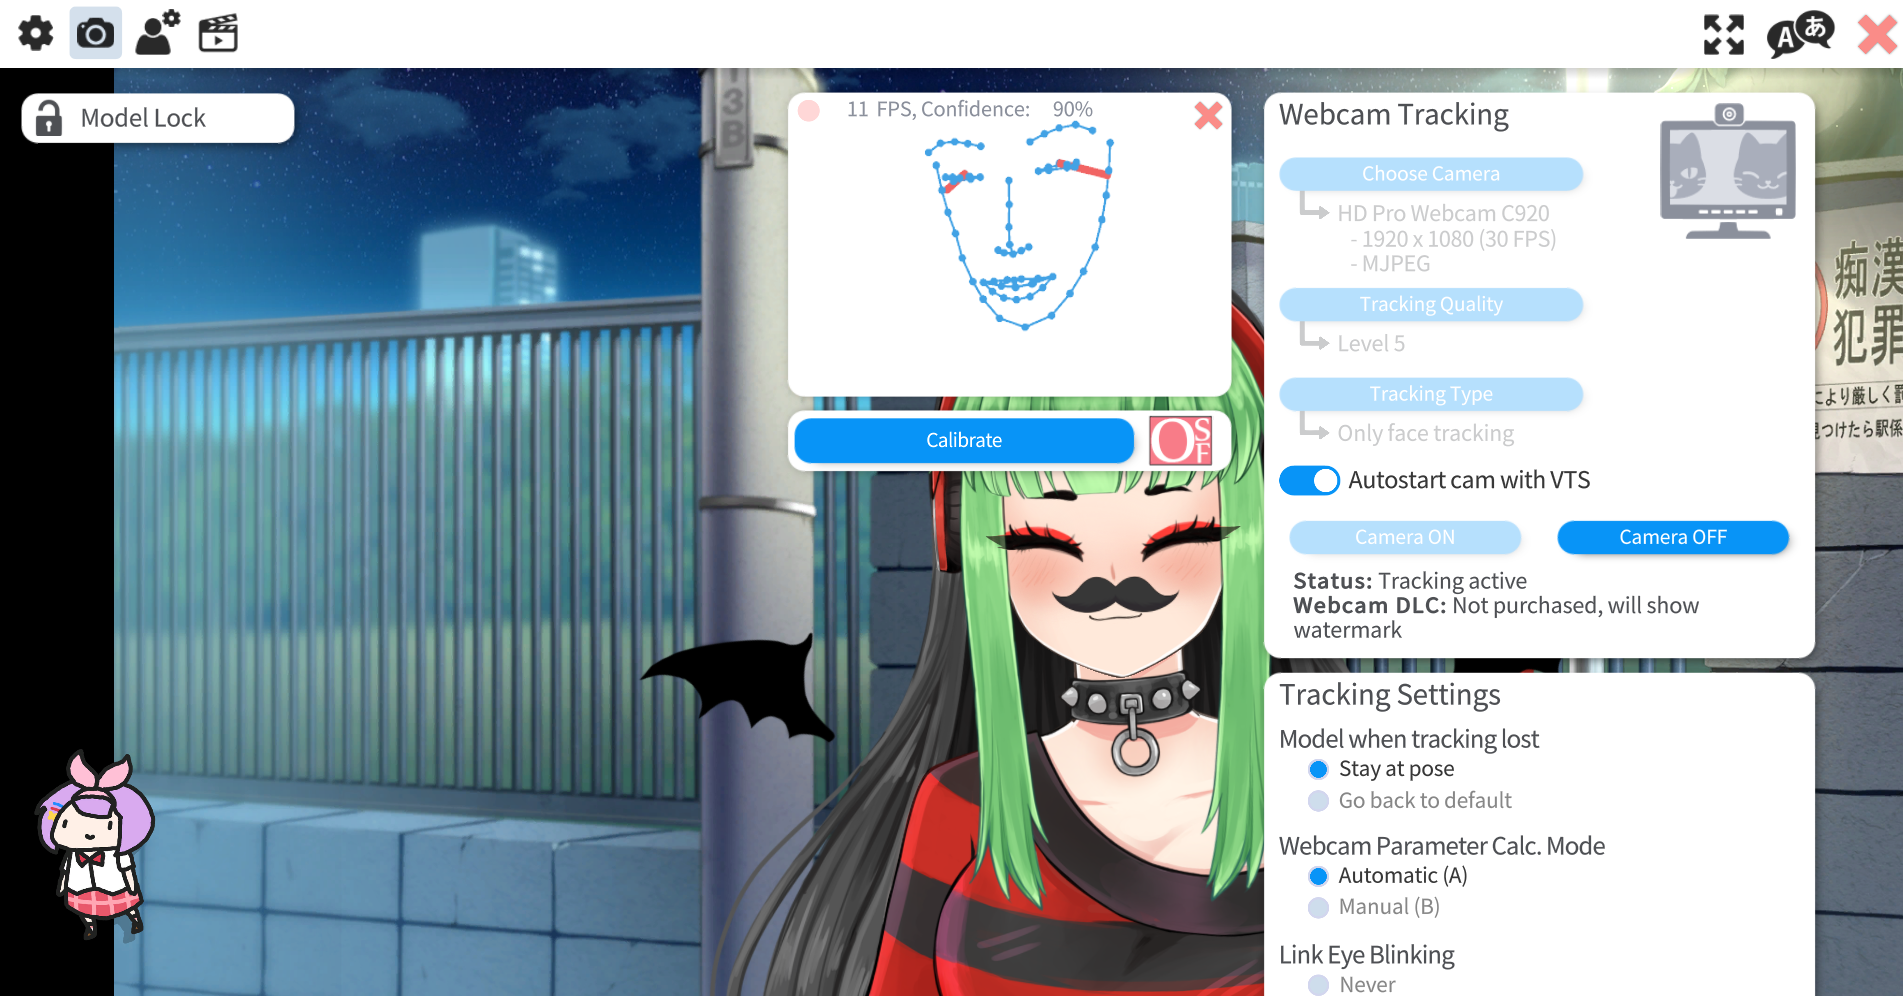
Next to the gear we will click on the camera, this is a very important step, where we can configure the camera to capture our facial expressions, unless you do not have an ipad, the tracking will not be very accurate, so do not worry .
Calibrate yourself:
Here we will have to put ourselves well in front of the camera, and when you get a high percentage, it does not matter that it is not 100%, it can be 95%, 96%, you will hit “calibrate“.
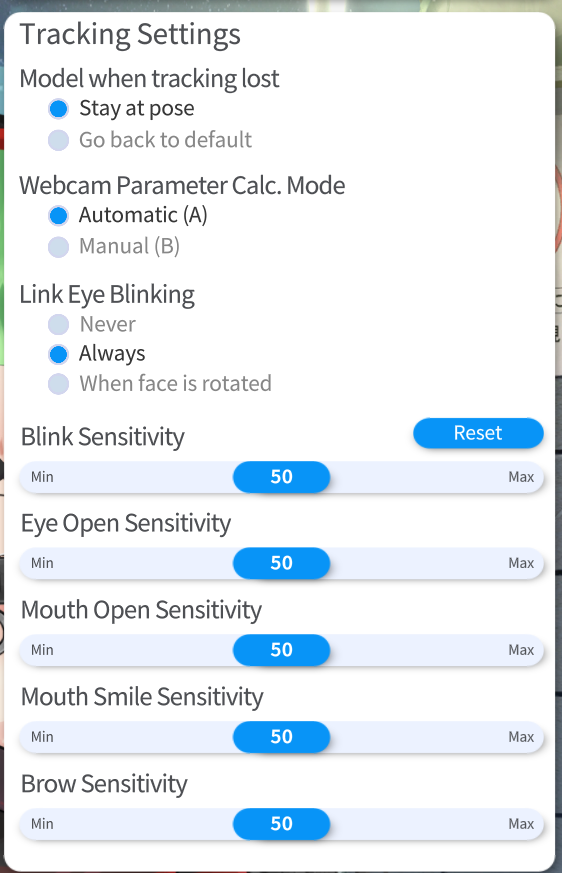
OTHERS:
On the right side we will find more options, here you will have to play with it depending on the results you expect, both the sensitivity of the eyes, the blinking or the mouth.
Animation and Physics:
In the option that follows the camera, we can configure the physics or the animation of the character. Here it will vary a lot depending on your model, so you can experiment with the options.
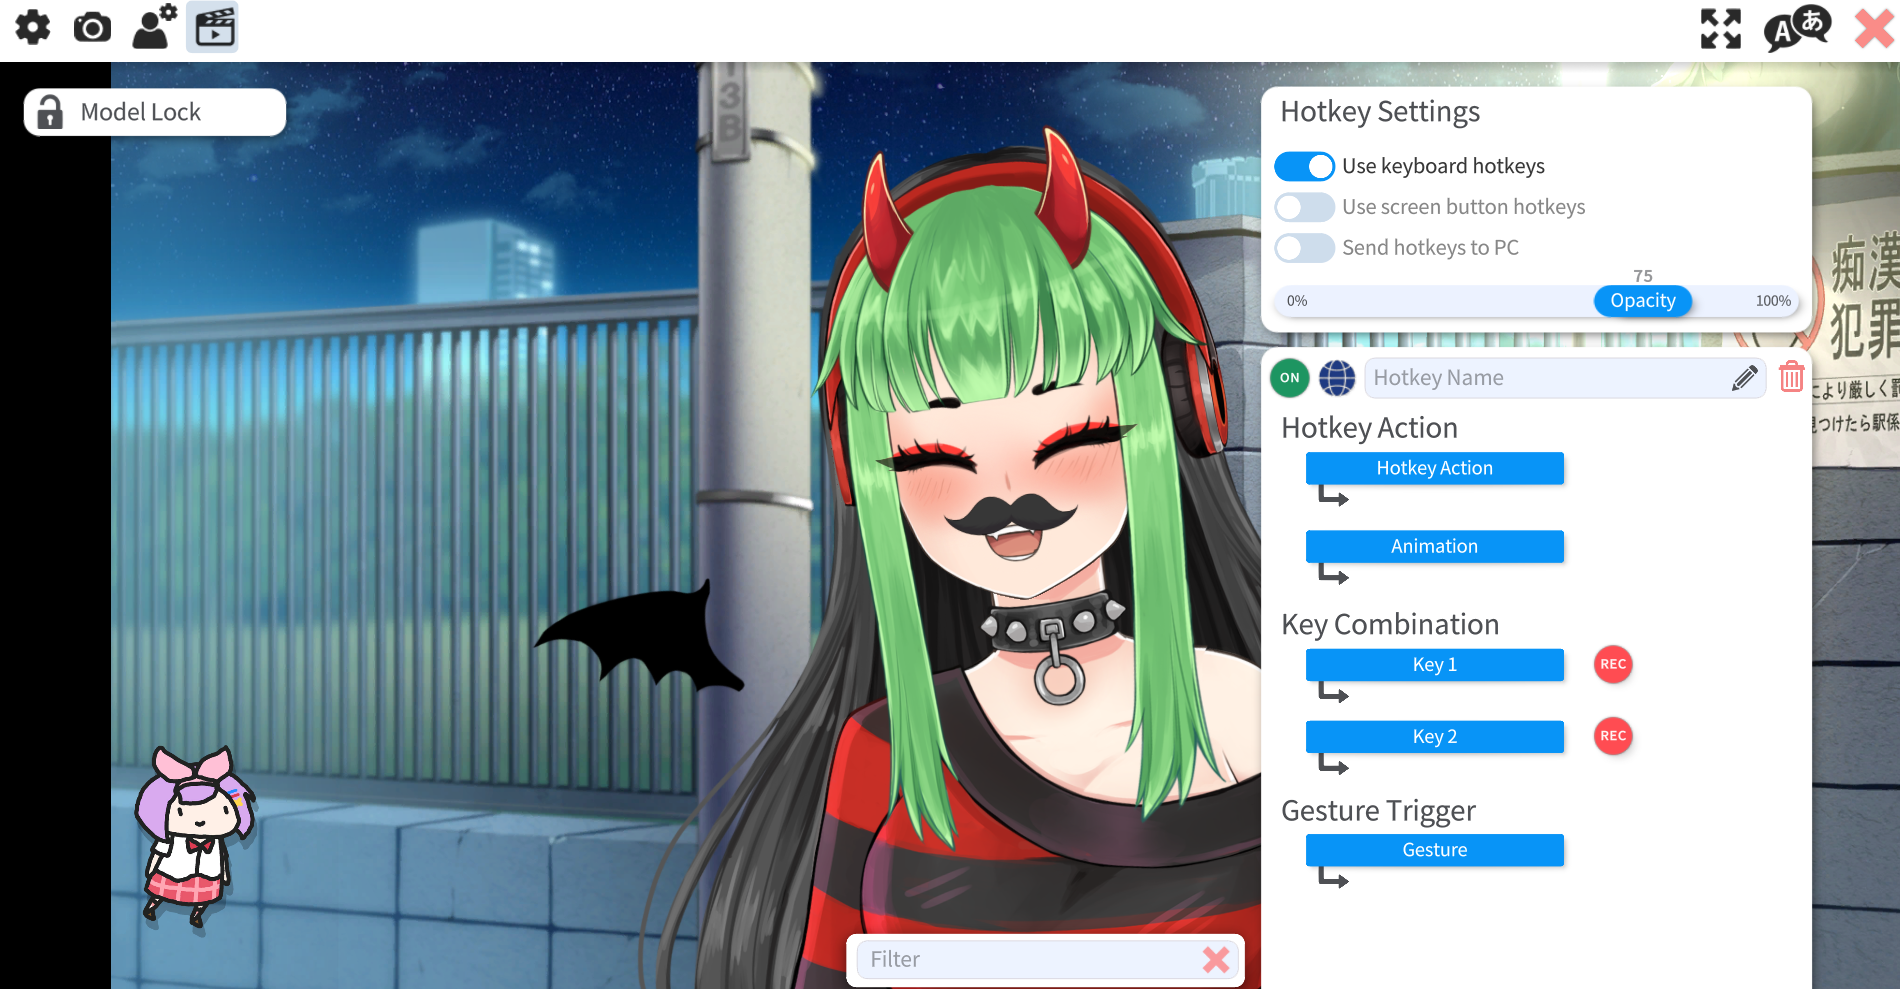
Hotkey:
In the next option with the “video” icon, if your character has extra animations, here you can configure the keys to activate the movements or extra animations, these will be indicated by your rigger.
Imagination is just the beginning.
Now having learned the basics of this program, it’s your turn to start playing with all its options and countless items that you can add.
You can also find free assets or items on different social networks or on the web, so start enjoying this program and be creative!