Procreate in 5 steps and tips!
Contents
Useful tips to adopt
Using Procreate for almost 3 months, I could quickly realize what I was missing, the main practical or necessary functions I needed to know, to be able to draw without too many pitfalls.
So I’ve put together for Procreate users, 5 tips or tricks that, if you don’t know them yet, will certainly be very useful on iPad Pro:
Draw a perfect line or shape
Erase a selection with the help of your hand
Quickly fill a large volume with color
Merge or group layers
Get help from the application with StreamLine
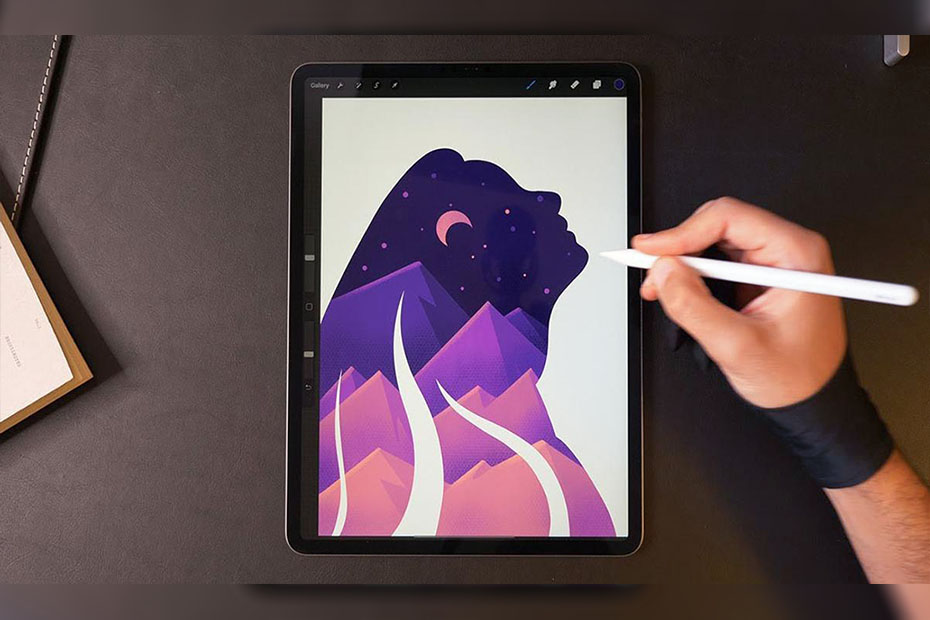
Procreate Tips and tricks for better drawing on iPad Pro.
Tip 1
Draw a perfectly straight line
Even though Procreate is far from being the right program for drawing regular shapes, unlike Illustrator or Affinity Designer, it can sometimes be useful to make do with it to make a project easier.
In fact, nothing could be simpler than this. Draw a line irregularly and hold your Apple Pencil to the screen at the end. The software will magically correct the line and turn it into a perfectly straight line. Don’t release the pressure, you can still manipulate it as you like by moving it around the screen.
You can do the same thing with a square, a rectangle, a circle, etc…
For the circle for example, draw it approximately, keep it pressed, the app will correct it for you. By keeping the pressure of the pencil while moving it, you enlarge or reduce its size.
Tip 2
Delete a selection with your hand
One thing that annoyed me very quickly while using Procreate was not being able to perform a very simple, basic task, which on Photoshop was set with one click:
How do you erase an element that you have just selected?
No key at hand. Yet totally indispensable.
Of course, I finally found it. Which may not be the case for you yet. You’re eating your fingers and pulling your hair out. I’d rather put an end to this:
Go to the Actions menu at the top left of the app, identified by the “wrench icon”.
Then click on Prefs among the available choices.
Then Touch Commands.
Go to Erase Layer and activate the Erase slider with 4 fingers by rotating it from left to right.
From now on, when you make a selection of an element on a layer, by putting 4 fingers at once on your screen, the part of the selection will be erased as if by magic.
Tip 3
Quick color fill
Simple, but very useful. When you want to fill an area by choosing speed.
Let’s take a shape as an example, any shape, except that it must be properly “closed”. If it is not, the entire surface of your design will be covered.
Choose your color, in the upper right corner, as you are used to doing. Click with your Apple Pencil on the small circle displaying the color and while holding the pressure, move your pencil to the area concerned. Release the button. Procreate will fill the area.
Tip 4
Merge or group layers
Also very useful when the pile of layers is seriously complicating your work. Maybe it’s time to clean up and reduce the number of layers.
There are ways to group layers, but also to merge them.
Merging them is a way of flattening them. This means that once you have made this choice, you no longer have a way to work on them individually. This is still the case when they are grouped.
- To merge several layers at once, simply “pinch” them together by grasping the highest layer with one finger and the lowest layer with another. Then apply this pressure, as if you were squeezing something with your fingertips. Now you’re left with one layer.
Don’t try to merge too many layers at once, but do it in several steps. - To just group them together, select one layer with your pencil, hold it down and drag it to a second layer. This action creates a layer group. Then simply add more layers by placing them on top or underneath. Not on top because that will automatically create a new group.
Tip 5
Drawing with the help of StreamLine
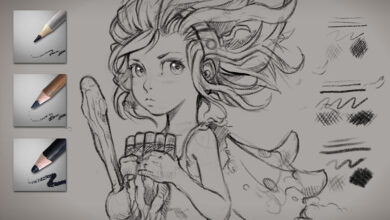
The brushes part of Procreate is certainly the most complex because it is the most complete. Even if you don’t have to venture into it and get lost in the different settings, there is one line that you should not neglect: StreamLine.
In the brush menu (the brush icon), click on the tool whose settings you want to change.
Go to Stroke then Stroke Properties.
There you will find several lines, including that of StreamLine.
By acting on the slider at the level of the percentage, you can make the software accompany your movement more or less when you draw, and correct your uncertainties or imperfections.
This is highly recommended for calligraphy, to draw your letters more gracefully, and to have a beautiful handwriting.
But not only. I use it sometimes in my drawing, dosing it just enough not to distort my line, but enough to correct my sometimes too pronounced tremors.
I hope that you will have discovered some tips that you didn’t already know. If so, I hope they will be useful in your next projects.