How to make a color gradient in Procreate?

You have just discovered Procreate, the reference drawing software for ipad, faithful ally of creatives! Today I answer your question: how to make a color gradient in procreate ?
Contents
How to make a color gradient in Procreate?
Make a degraded can be very useful when Colorant of your illustration in Procreate.
Also, before continuing, I invite you to consult my article How to color with Procreate that explains the different coloring techniques and gives you some tips for Colorant without exceeding.
But back to our sheep: how to make a color gradient in procreate ?
To do this, you have 3 options: you can make a degraded thanks to the motion blur tool, thanks to the progressive contour or thanks to the Gaussian blur.
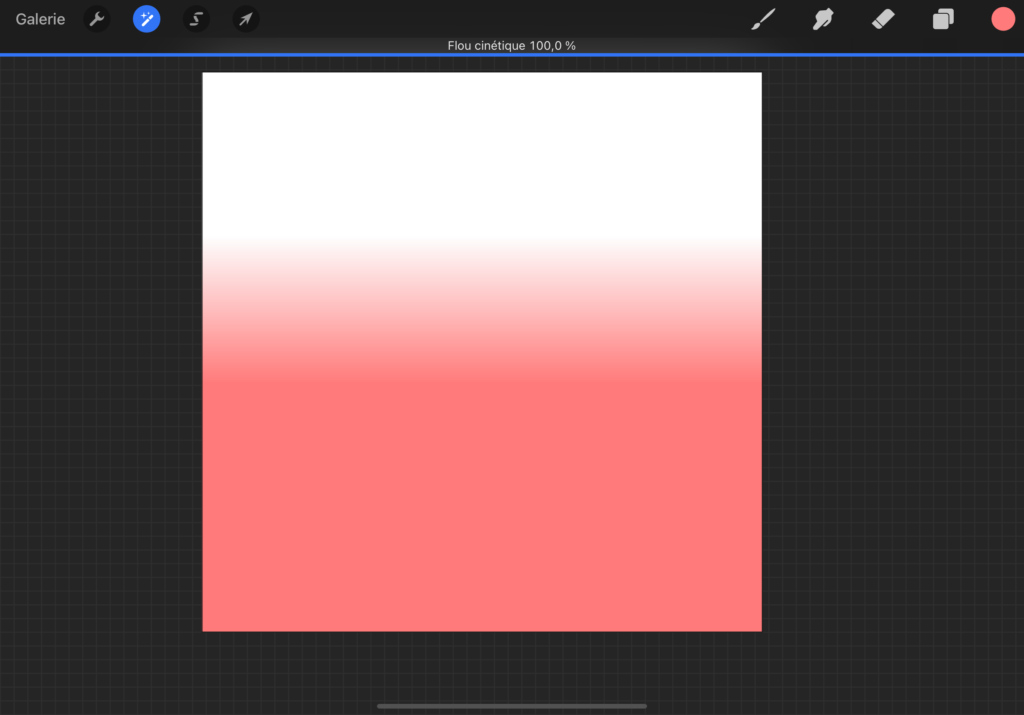
Make a color gradient with motion blur
- With the Selection tool (third S-shaped button), select a rectangle and fill it with color
- From the Adjustment tab (second wand-shaped button), click on “Motion Blur”, then swipe down until you reach the % of blur that suits you best.
Make a color gradient with pen.
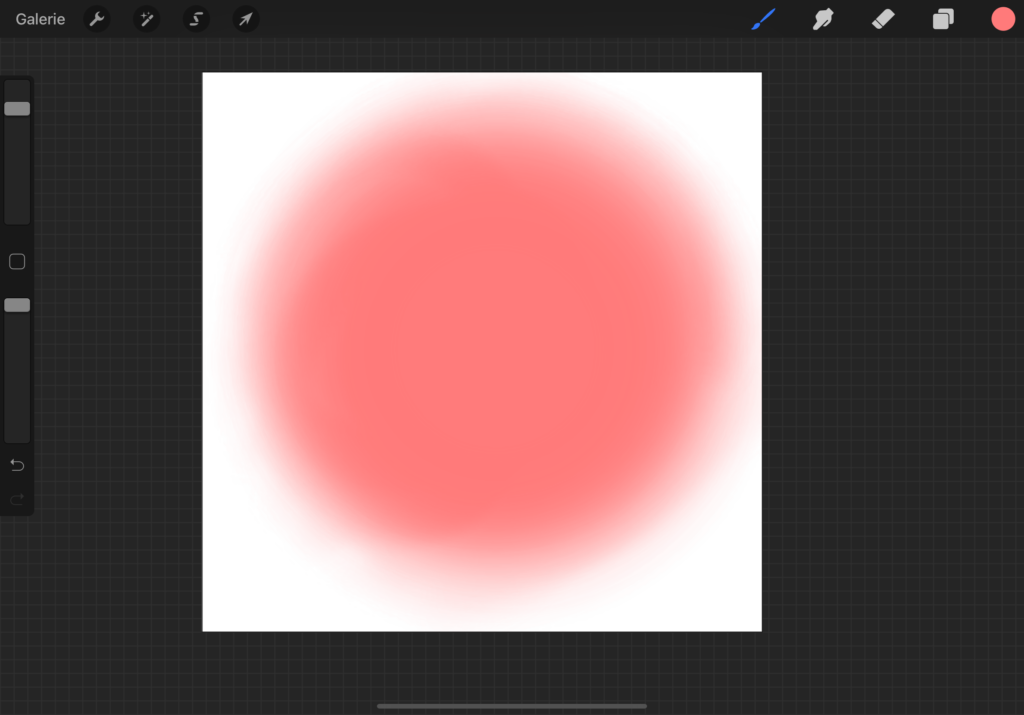
- With the Selection tool (third S-shaped button), select a shape (here, for example, a circle with gradient outlines), then click the button below “Progressive outline” and adjust its intensity
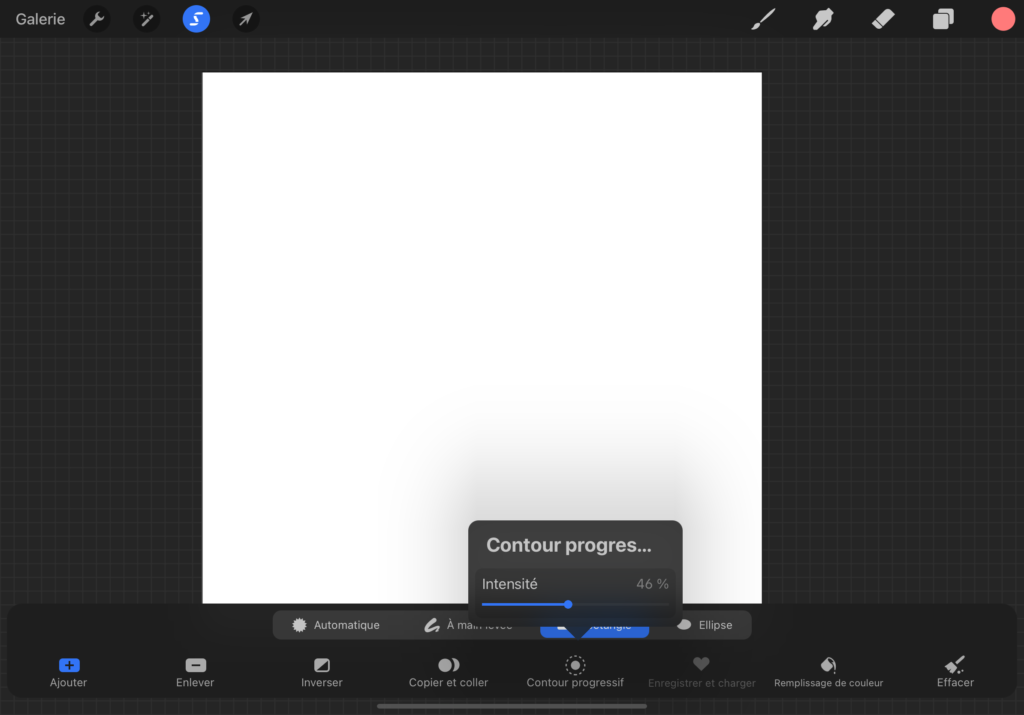
- Fill in this circle. As specified above, its outlines will be softened according to the chosen intensity.
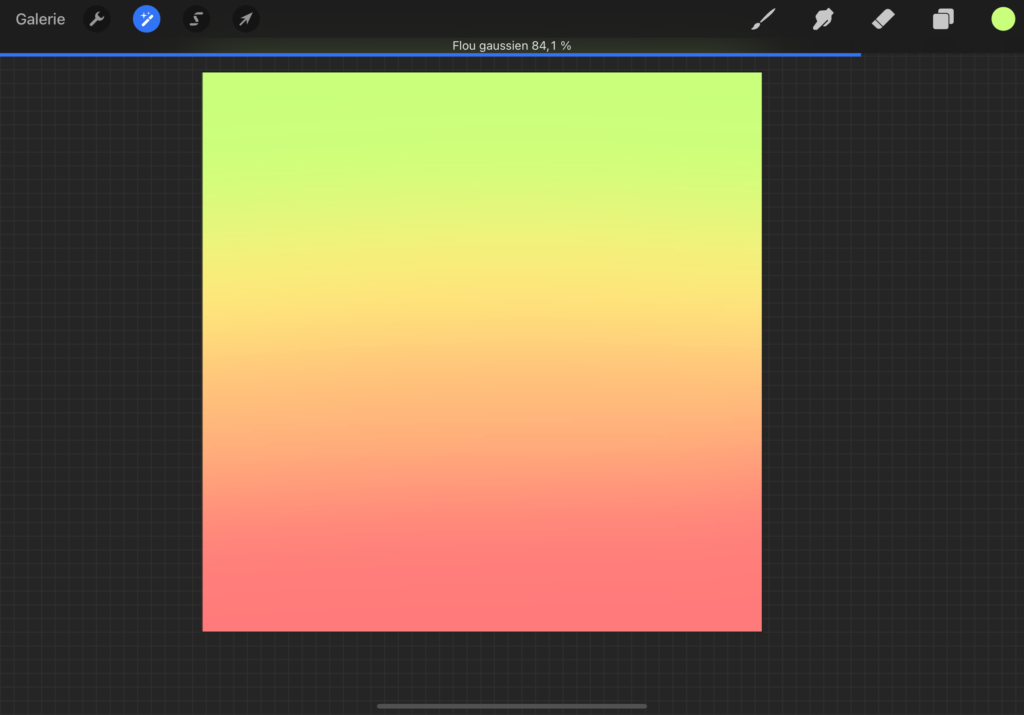
Gaussian Blur Gradient
The third method is the one I use personally, because it is well suited to a gradient with more than two colors.
- Color your layer with the different color layers you want in your gradient
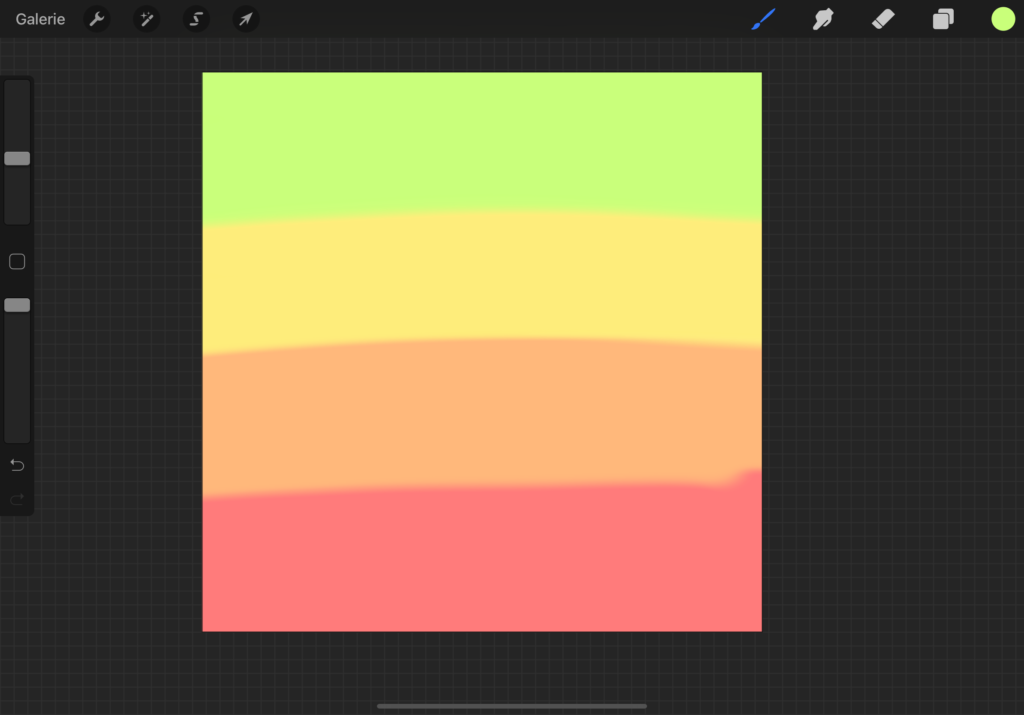
- Go to Adjustment, select “Gaussian Blur”
- Adjust the intensity of the blur by dragging your finger across the screen. The more you blur the image, the more the colors will blend.
Gradients have no secrets for you anymore! Think carefully about saving your work in Procreate, and feel free to read my other articles on the subject.
Do you have any questions about Procreate? I invite you to ask me in comment, I will do an article on the subject.