How to perform the Earth Zoom effect?
Sure it may seem complicated, but it is not so much. You’ll know as soon as we show you this simple trick. It is a very common resource in the cinema to take the viewer to where the action is being produced or even indicate what is being seen from an artificial satellite.
As you can see, it is a resource that can be useful in an architecture project to locate a building, for example. Likewise, the zoom out is also used when you want to change location or terminate an action. Do you want to discover how it is done in a very easy way and in a very short time?
Tutorial for the Earh Zoom effect
The first thing you should download is the google earth app. To do this, do a search on Google. This application works for both PC and Mac.
This application allows us to record the images it offers from the sky to a specific point or vice versa. For this, it offers us an interface with different actions that you can see in the menu located at the top.
By default the Planet Earth It comes with many indications, but if you want it, it is a planet. as realistic as possibleyou must carry out the following actions:
- In the lower left menu you will see that you have marked different types of information. Since we are looking for a realistic effect, we will deactivate all the boxes.
- In the upper right part you have some controls that allow you to scroll up-down, zoom in or out (zoom) and rotate.
- Adjust preferences. In the Tools
- In the menu View> Leave activated only the toolbar and the sidebar, the atmosphere and the surface of the water.
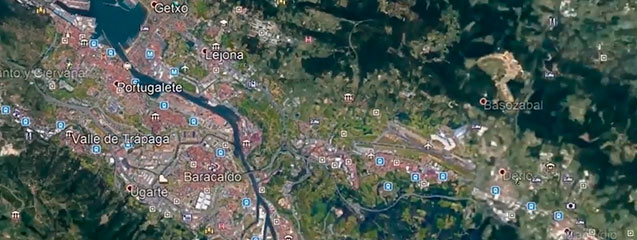
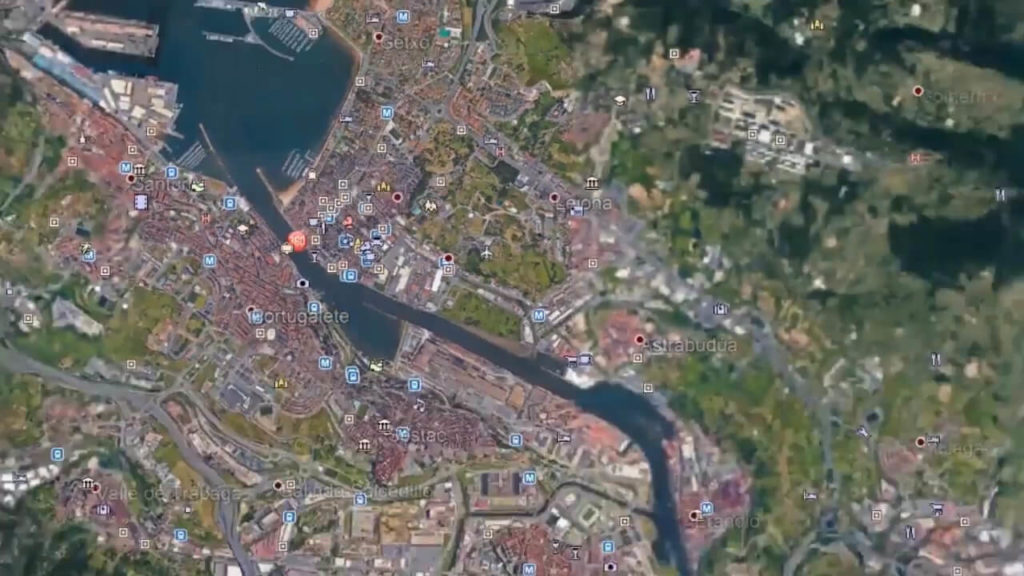
- In the search engine we will indicate the place you want to visit.
- Find the place where you want the video to end and to do this, use the marker (it is shaped like a yellow pushpin). Pressing it opens a new placeholder window where you can give it a name. Then remember to deactivate it in the menu on the left so that the pin is not visible.
- Now make a zoom out to see our planet again. To give it a more realistic effect, rotate the sphere a bit.
- We have everything ready to record. Press the button called “Record a trip” located in the icon menu.
- Now a timer with record and record sound buttons opens. Press the red dot or REC button and followed in the location that we have created in the places menu.
- You will see that the animation begins until the indicated location. When it arrives at the destination for the animation.
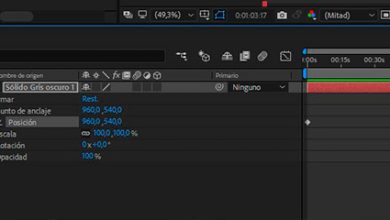
- Export. The last step will be to export it so that it can be used in Adobe Premiere or Adobe After Effects. An icon opens below to save it, click and give it a name. Press accept. Now go to the top menu Tools>Movie Creator. Select the trip you have saved. Select the folder where you want me to save it. In video parameters, select HD (720p) or Full HD (1080p) quality. And in file type choose MJPEG (.mp4). It only remains to click on Create Movie.
- You will have to wait a few seconds until the process bar of the export window finishes and you will be able to close the Google Earth application.
As you can see in the video example, once the material is ready you can import it into Adobe Premiere or Adobe After Effects.