How to customize a brush in Procreate?
Procreate is an application of He drew for iPadwhich is full of possibilities to satisfy everyone creators ! Today I show you how customize a brush in Procreate.
Contents
The steps to customize a brush in Procreate
Create a new brush directory
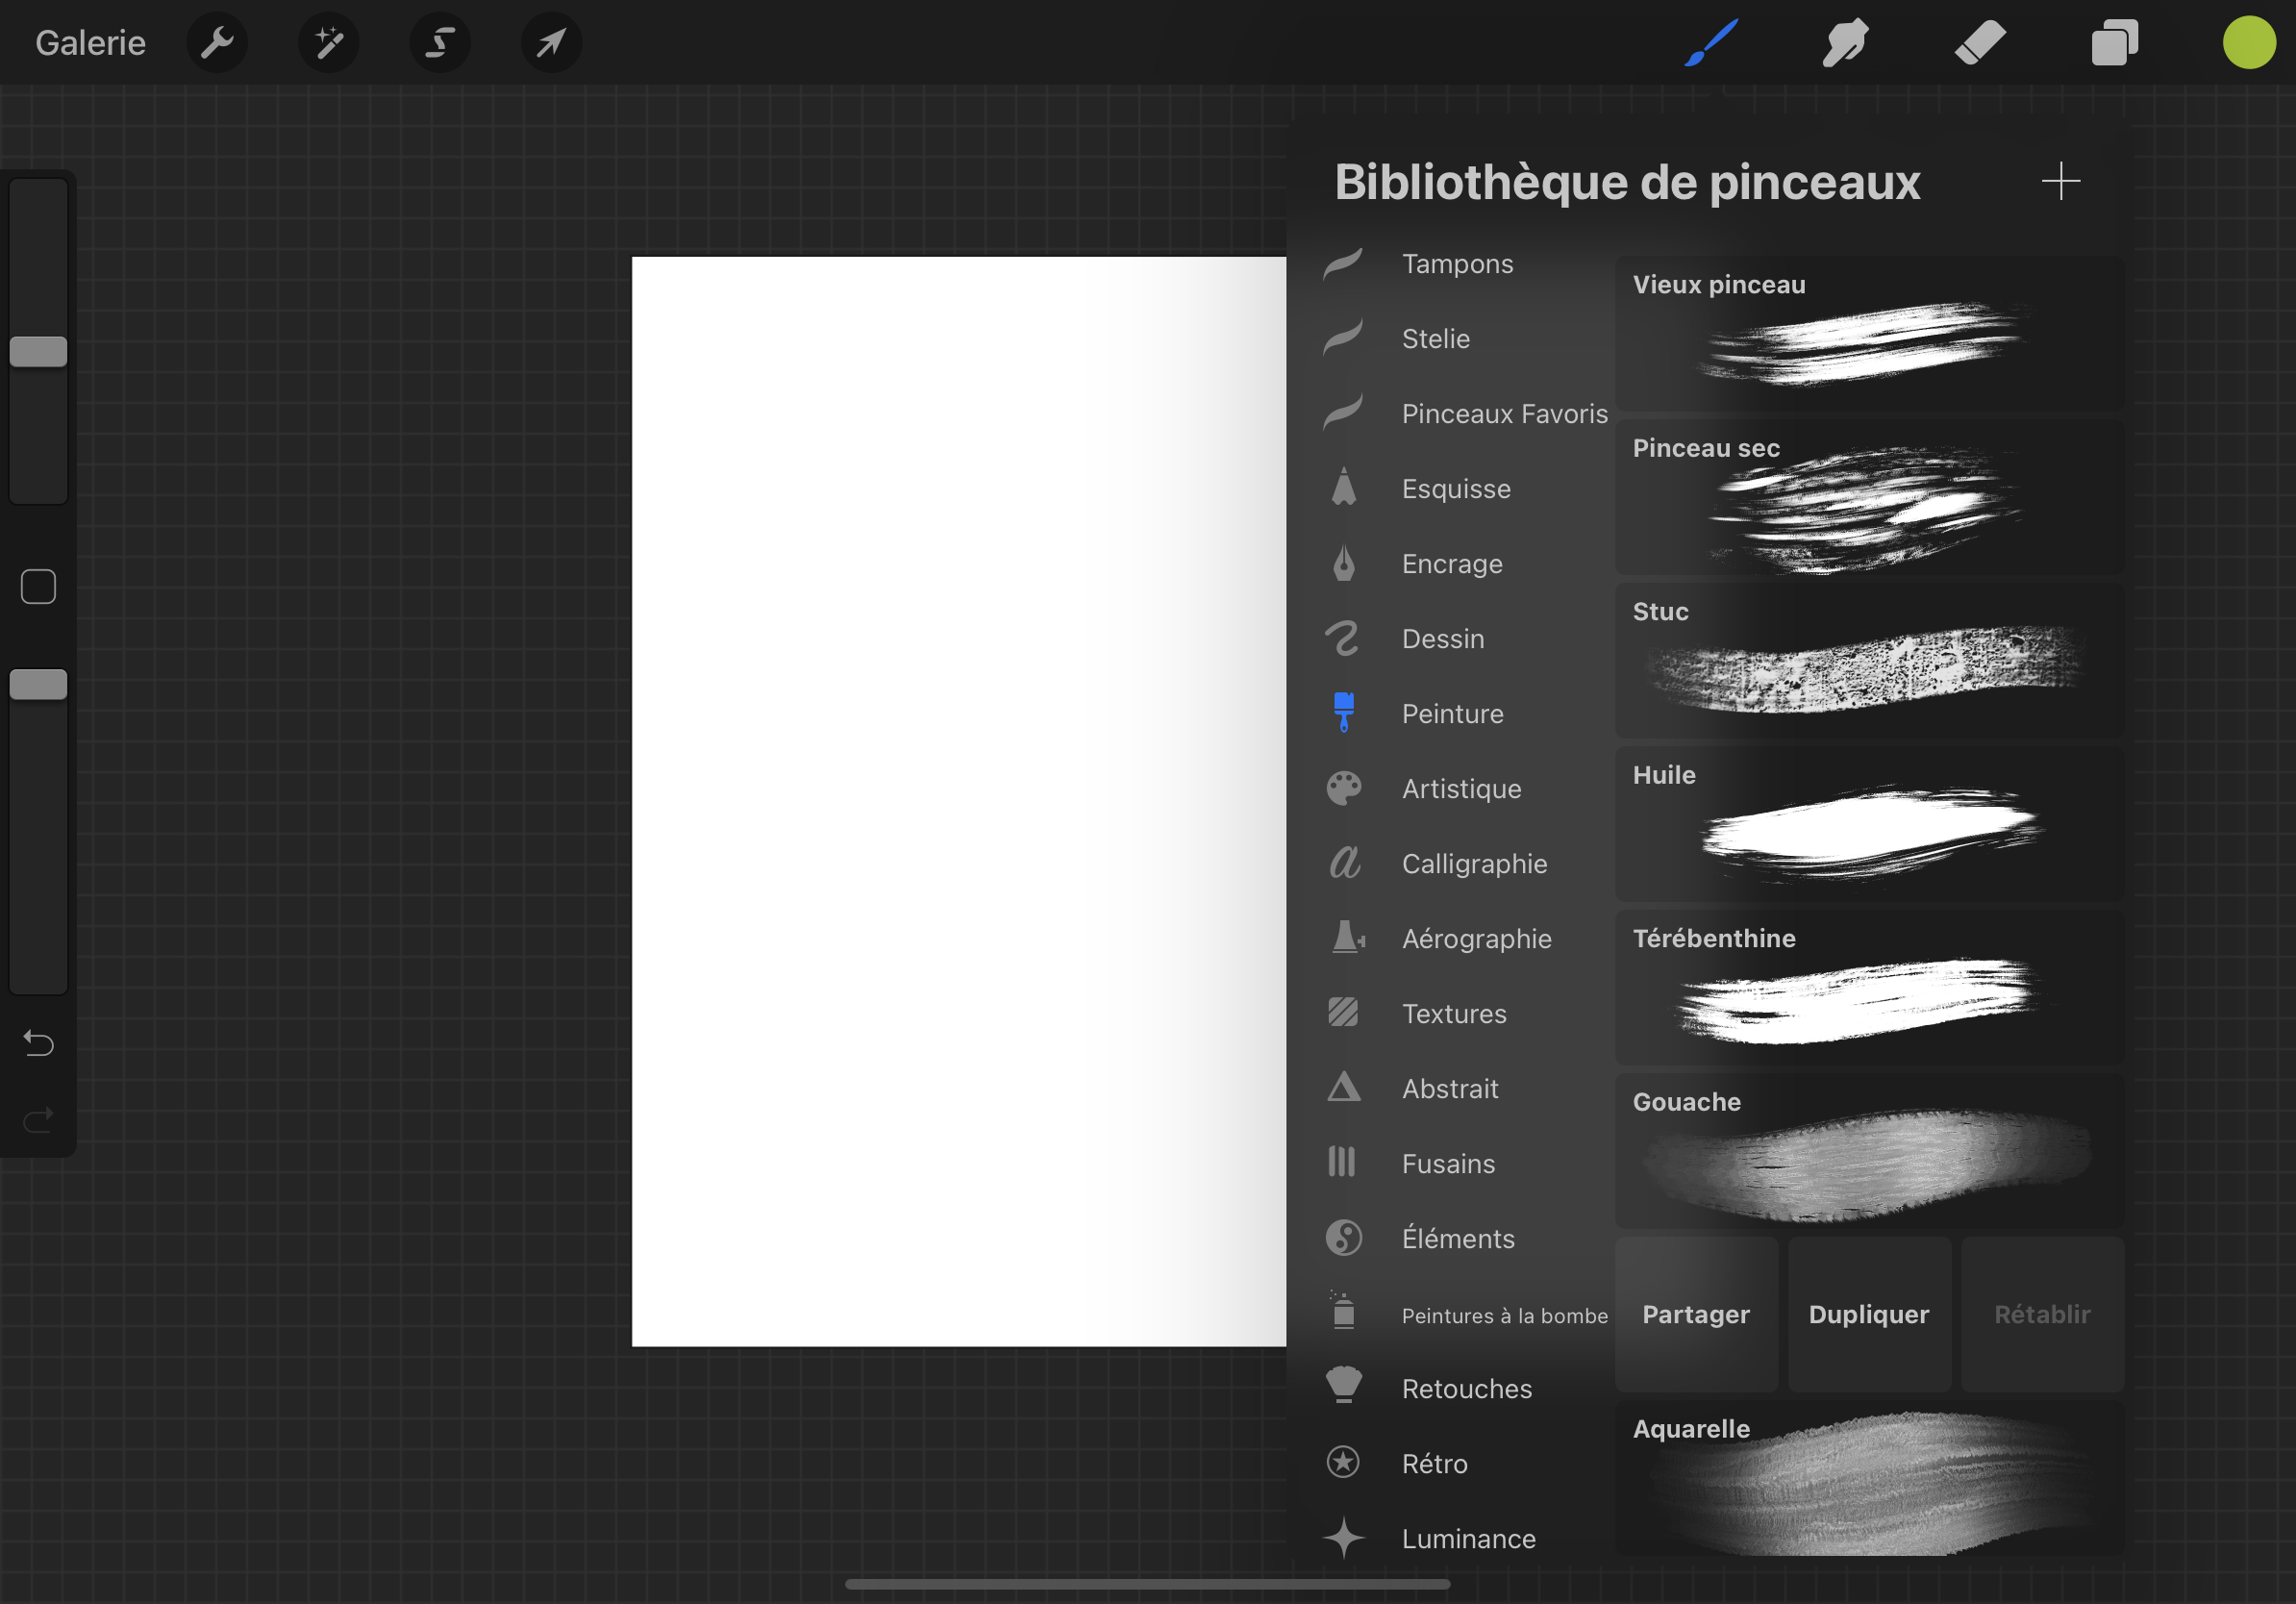
Access the dashboard brushes by clicking the paintbrush icon at the top right of the screen.
Their brush library is displayed: you can create a specific one to store the brushes you create or modify, so as not to lose the existing content.
To do this, click the + at the top left of your library and rename it.
Duplicate an existing brush
private, to edit an existing brush without crushing it, you can duplicater sliding your finger on it to the left. For example, I will editing brush “Fresh” found in the “Paint” directory. To do this I duplicate it, and by dragging and dropping it I will store it in the directory I just created.
To modify it, I double click on it.
The settings to customize a brush in Procreate
I access the brush settings, through its different tabs. From each of them, I can live test my brush in the Drawing Pad window on the right of the screen. When it’s full, I can delete it by clicking the Sketchpad / Delete button.
Line drawing
- spacing : the more we increase it, the more we will distinguish the drawing of the brush. The more we reduce it, the more we get a homogeneous line.
- Face is a tool to smooth the strokes and make them more precise. This is very useful when inking, to make clean and smooth strokes.
- variation it allows you to exploit the patterns of the brush, as I showed you in my article How to create a brush with Procreate.
- mitigation : As the name implies, this option allows you to smooth the strokes at the beginning and end of your brush
narrowing
In this tab, you have plenty of time to adjust your brush strokeincluding the beginning and the end (the tips) of your line.
Way
As I explained in my article. How to create a brush in Procreate, this is where you load the form it goes from create your brush. May change by clicking on the button provided for this purpose. So different options are available to you:
- Upload a picture : this will allow you to create a new brush from a shape you have imported
- Import a file – This allows you to import existing brushes found on the web
- source library – Here you can browse the many shapes in the Procreate library.
- necklace : You can paste an image.
It’s important to put attention on Procreate you will use the white surface to create your brush. That is why you have the option to negate the imported image by two-finger clicking on the uploaded image.
After making your changes, be sure to click OK.
Below the shape, you can set its behavior, as well as its scatter angle.
grain
This is where you will set the material that will be diffused into the shape of your brush. Similar to the way, you can import a photo, a file, a source library file, or paste an image.
Next, you will be able to configure the behavior of the grain:
- Mobile phone : the grain will move at the same time as the pencil
- Texture : grain will appear as you move, like “scratching” something to see through
- The scale allows to adapt the grain size
- The depth its sharpness
- brightness et contrasts … no need to explain 🙂
Representation
Here you can change the look of your brushmaking it smoother, like a varnish.
Options fusion they allow the colors to interact with each other, just like real paint. You can choose from a variety of options to adjust how your traits interact. You can control the dilution of the pigments and the way the colors mix. It is also possible to adjust the flow of your brush and create the effect of wet edges, burnt edges and more.
Flow : Adjust the amount of color and texture that flows from your brush onto the canvas.
I invite you to do the tests in Sketchpad to experience it yourself and better understand these parameters.
wet mix
Here you can configure the humidity of your brush, and therefore, the interaction that your stroke will have with other colors present in your drawing and with your canvas.
- Dilution : the more you increase it, the more your brush will be loaded with water and therefore the less color it will have (just like in real life!)
- Position allows you to set the amount of paint applied to your brush when you start a stroke. Like a real brush, the further the stroke progresses, the less color it will load. The brush will refill with paint each time you rest your pencil on the canvas.
- Attack allows you to cover your canvas evenly and thickly, like thick paint.
- Draw allows you to set the strength with which your brush will pull colors that are already on the canvas and interact with it. A great way to mix colors and get a more organic look.
- The humidity variation allows you to have a random amount of water on your brush throughout your work, for a more realistic rendering.
I invite you to try the “oil” brush in the “Painting” category and analyze its reproduction and color parameters. This will explain the parameters to make in order to obtain an oil-like color mixture.
color dynamics
This incredible option allows you change the color of your line while you draw.
To do this, you can choose to modify your color according to: the hue, the saturation, the lightness, the darkness and the secondary color of your stroke.
You can choose to vary the color of your stamp, your stroke, and the pressure of the stylus.
Dynamic
It allows you vary size and opacity of your stroke according to your speed or, randomly (from the variation parameter).
Apple Pencil
Here you can configure how your Apple Pen interacts with your tablet. In particular, you can set the size, opacity, flow, smudges, and smoothness of your stroke based on pen pressure.
Tilt allows you to set these same effects, depending on how tilted your pen is on the tablet.
Properties
Here you can set the preview of the brush in the library, as well as its size and opacity scale. You also can restoreaccording to its basic parameters.
about this brush
this is where you go rename your brushand in case you want to market it, you can put the creator’s name and a signature on it.
You have reached the end of this article: that’s it! The brushes no longer have secrets for you, you already know that how to customize a brush in procreate ! Feel free to share your comments and questions with me.
If you want to know How to create a brush in Procreate, read my article on the subject.