How to use natural light to enhance your photography
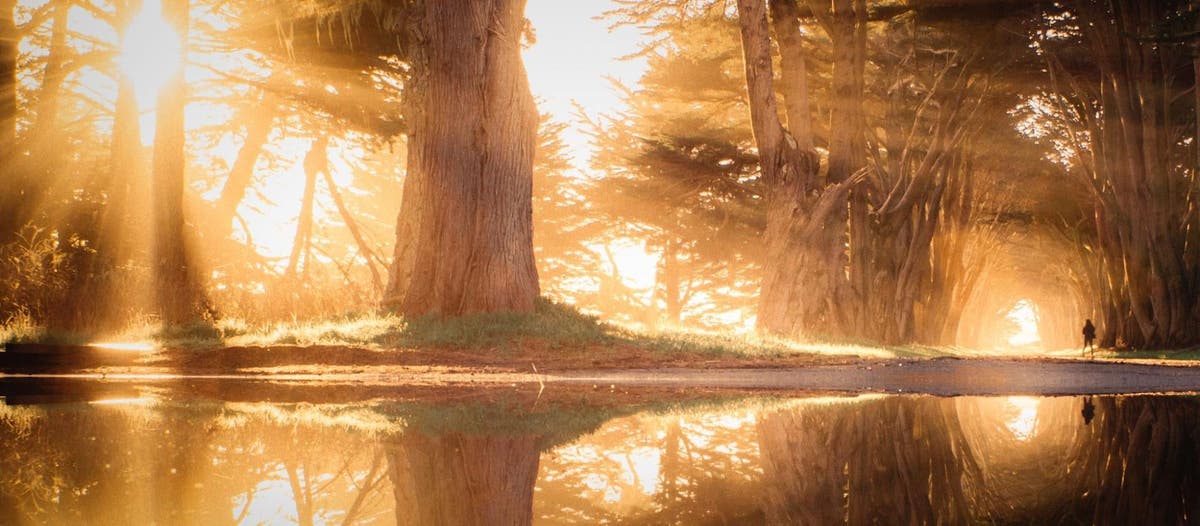
Image credit: Jude Allen. When I’m out photographing landscape scenes or people, lighting is everything. The term we photographers know all too well is “chasing light”. Whether it be golden hour after sunrise or before sunset, we are constantly watching the weather and light so that we get the best shot possible. The above image was captured during an epic sunrise golden hour. Upon arrival, I was pleasantly surprised to find a huge puddle from a recent rain which made it all the more amazing to photograph.
You may have heard the terms “golden hour” and “blue hour” before, but what exactly do they mean and why is natural light important in the world of photography? In my work, I’ve found that shooting during blue and golden hours has helped me shape the mood of my photography and allowed me to really convey my intended message to the viewer. My planning often revolves around when and where light will be to paint my subject, whether it be a person or place, and cast the mood. I’m constantly using weather apps and photography planning apps to see where the sun will be, and what time I’ll need to be at a certain location to get the shot I’m looking for. When I’m out shooting, I’m also thinking of ways to enhance what I’m seeing and what tools I can use in Photoshop and Lightroom to bring my vision to life.
Contents
Golden hour
The golden hour is the duration of time right after the sun rises or before the sun sets each day when the light becomes softer. It is not always an hour — but close to it — depending on the time of year and where you might be in the world. The angle of the sun and its light produce a soft lighting effect that is aesthetically very pleasing to the eye. Photographing during these times will often lend to a warm glow effect that many photographers and viewers admire.
Blue hour
The blue hour on the other hand, is the time before sunrise and the hour or so after sunset each day. It is the best time to get even light, but you will need to use a tripod to capture this as it usually involves long exposures of a second or more.
There are many tips and tricks to shooting during golden and blue hour, but often the best way to learn how to do it effectively is to examine photographs shot at these times of day and the editing workflow that goes into them. When I get back from a photo shoot, for example, I always import the images into Adobe Lightroom for base tonal adjustments and to keep my library of photos organized. After tonal and simple editing adjustments, I then bring the images into Photoshop for more elaborate edits such as those that involve compositing, content-aware tools, and advanced brushwork.
Below, I’ve broken down some of my favorite photographs and the process that went into creating them. After all, seeing is believing, and when it comes to photographs that make really great use of natural light, the results are almost unbelievable.
Making use of natural light and enhancing natural light rays in Photoshop.
Sonoma County, California. Golden hour
Sometimes planned things turn out really well and other times things just happen and you’re in the right place at the right time. In addition to getting up on time for sunrise, I encourage you to also explore and do things that aren’t planned once in a while. You’d be surprised at what you can stumble upon. For this shot I drove around northern California’s wine country during sunrise looking for different subjects or views to photograph. I had never seen this road before, nor had I seen anyone share a photo of it which made it that much more special to me. The light was still fairly golden, and the rays were fingering their way through the trees onto the road.
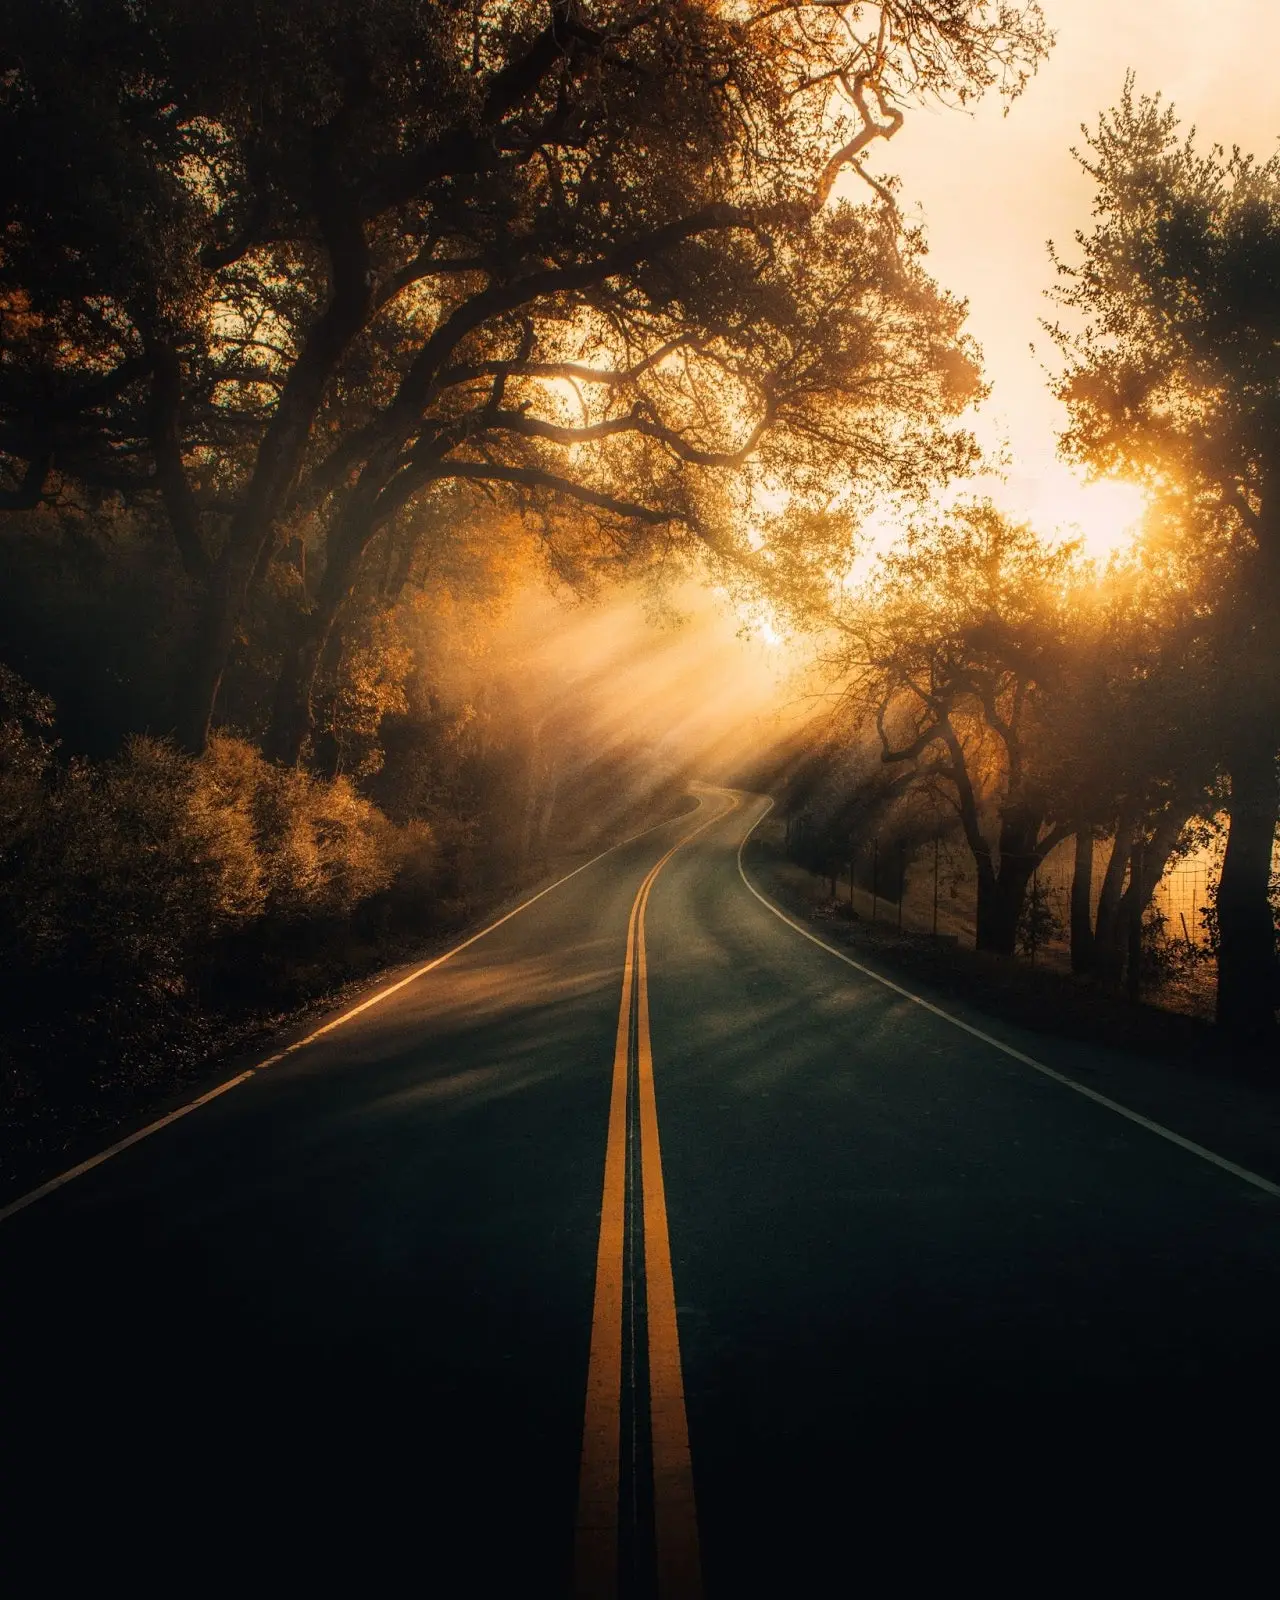
Image credit: Jude Allen.
I found that the light rays did not translate from real life to the photograph very well, so I enhanced them using the Photoshop brush tool. To darken and lighten other aspects of the photo I used the “Dodge and Burn” technique. I wanted the light to remain natural but have a glowing effect, so I painted some gaussian blur on the already existing light sources. As for the darker areas or shadows I painted them to appear darker therefore bringing forward the light to front and center.
Using the dodge and burn tools in Photoshop
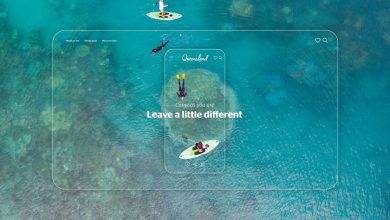
Copenhagen, Denmark. Blue hour
Here is a shot that was planned for blue hour. I wanted even light on the scene so I could later control the lighting in post editing. I set up the shot and had my friend shoot six different photos of me (yes, that’s me in the red) that I later merged together using layers and selection tools in Photoshop to create a composite photograph.
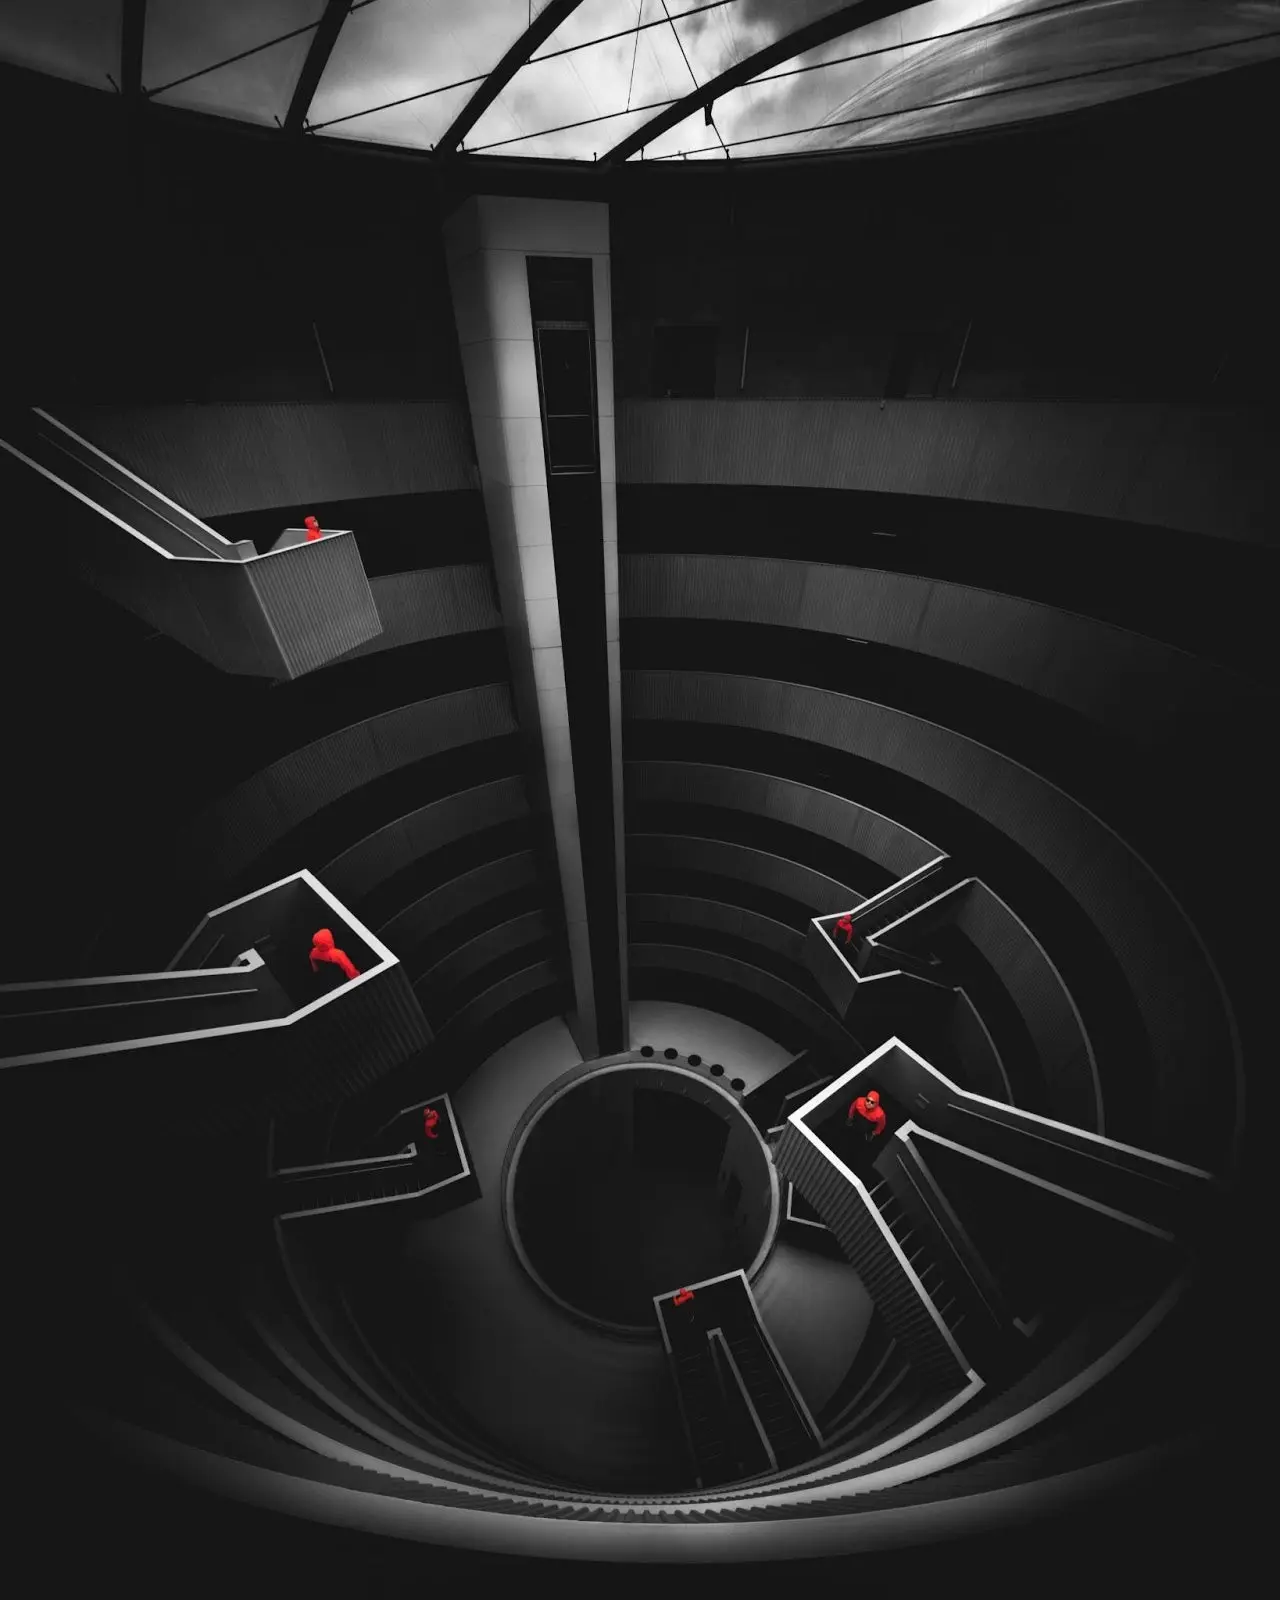
Image credit: Jude Allen.
For me, the quickest and easiest way to do this is to make the selection, fine tune it accordingly, make a new layer out of the selection, then finally to drag it over to the desired background layer. I also again used the “Dodge and Burn” technique to bring forward any naturally occurring light. Selective color was also used in this but the building already lent itself to that, so I just desaturated the background layer then brought the colored layers of me over.
Removing unwanted Items with the clone stamp and content-aware tools in Photoshop
North of San Francisco. Golden hour (sunrise)
Here is a scene I planned with a friend of mine who was visiting from out of town. The way the sun is hitting the end of the tree tunnel is only possible during a sunrise as it faces Southeast.
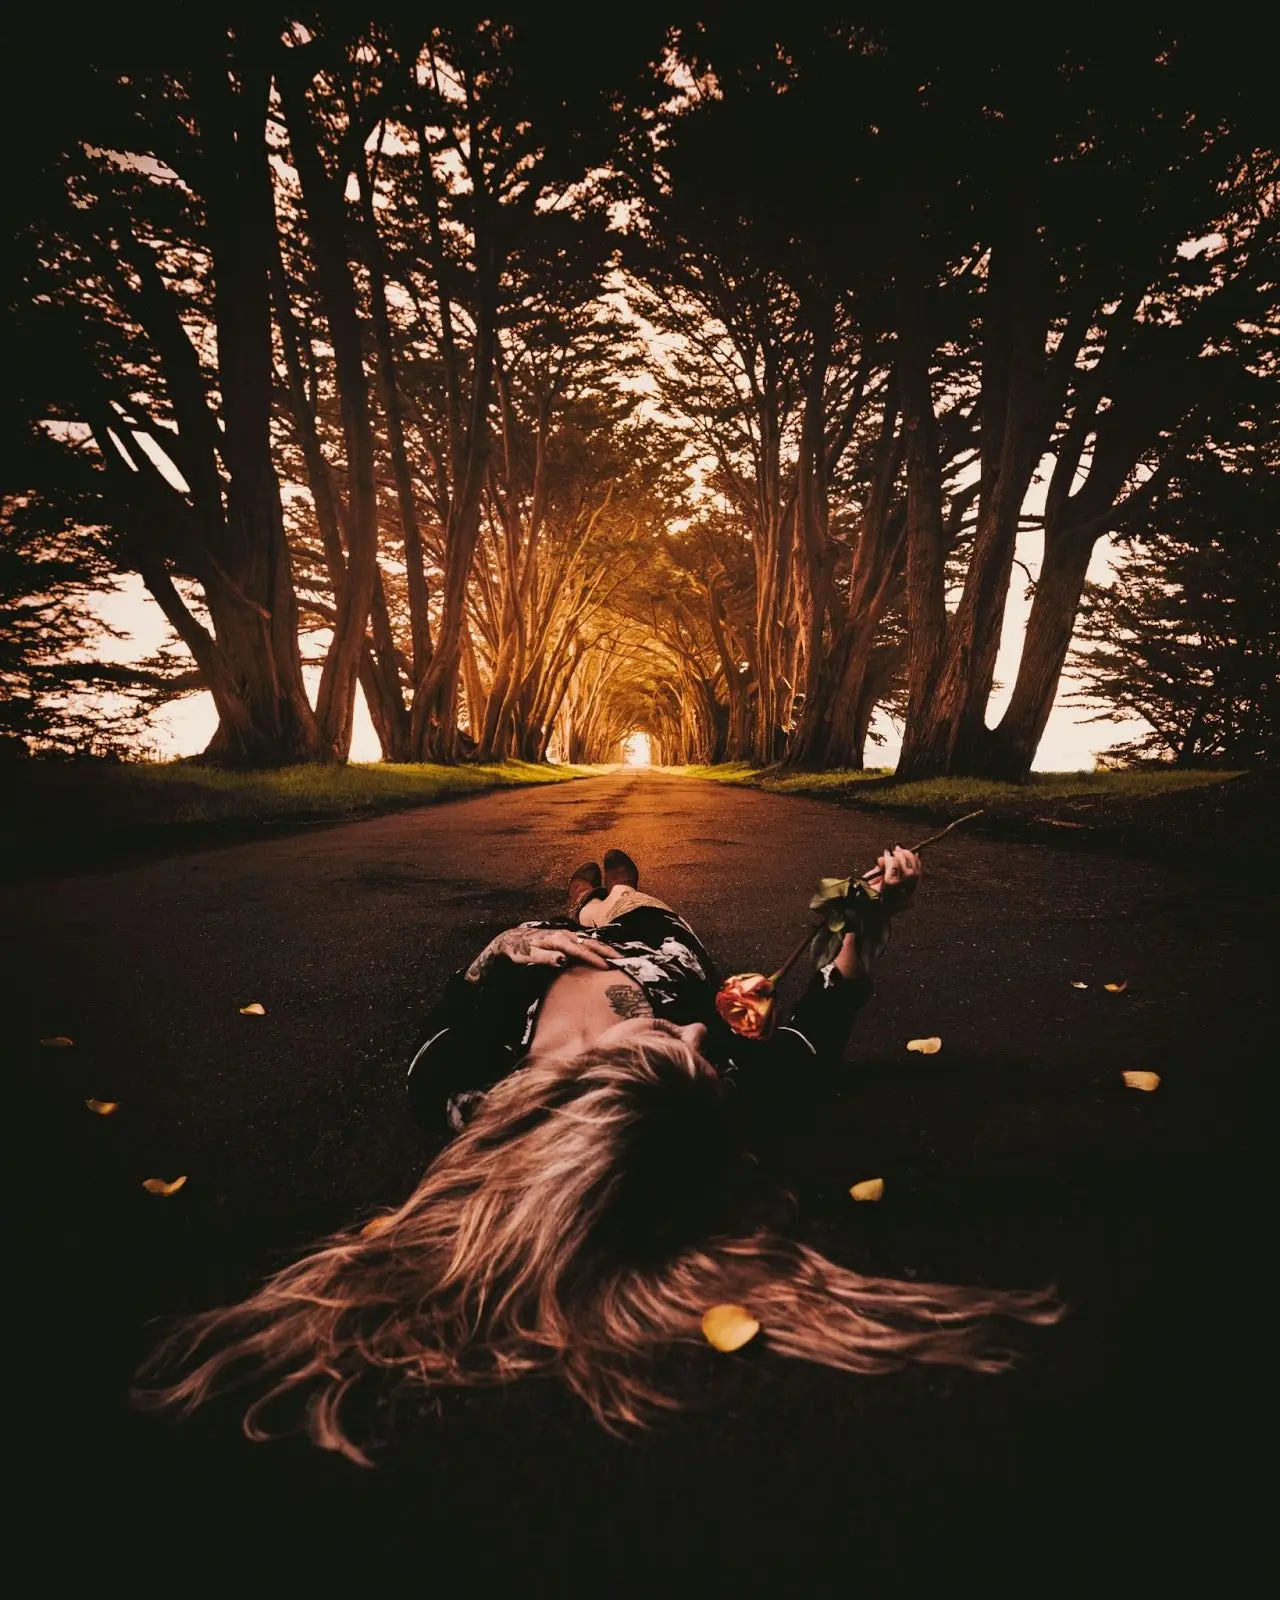
Image credit: Jude Allen.
We got up early and drove an hour north of San Francisco, discovering that the clouds were good to us that day and let the light shine through the trees. We also used a rose and its petals to create more of a three-dimensional foreground for the shot. This is just one photograph that I brought into Photoshop to enhance the light to remove any unwanted distractions using the Clone Stamp and Content-Aware tools.
Using brush tools in Photoshop to enhance natural light and darken unwanted background
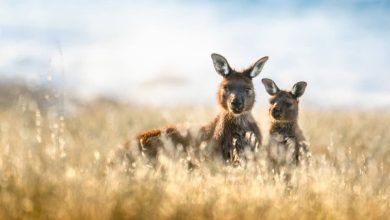
The owl, California. Golden hour
This owl shot was taken during an outdoor event I attended a few years back. Not a planned shot, I just happen to be a bit fascinated with owls and had wanted a shot of one for some time. This owl was sitting beneath a tree during golden hour, which caused soft dappled light to paint it in a way that really stuck out to me. I brought the image into Photoshop and then darkened or blacked out all of the background using brush tools. I sharpened and enhanced other areas of light with layers and brushes accordingly.
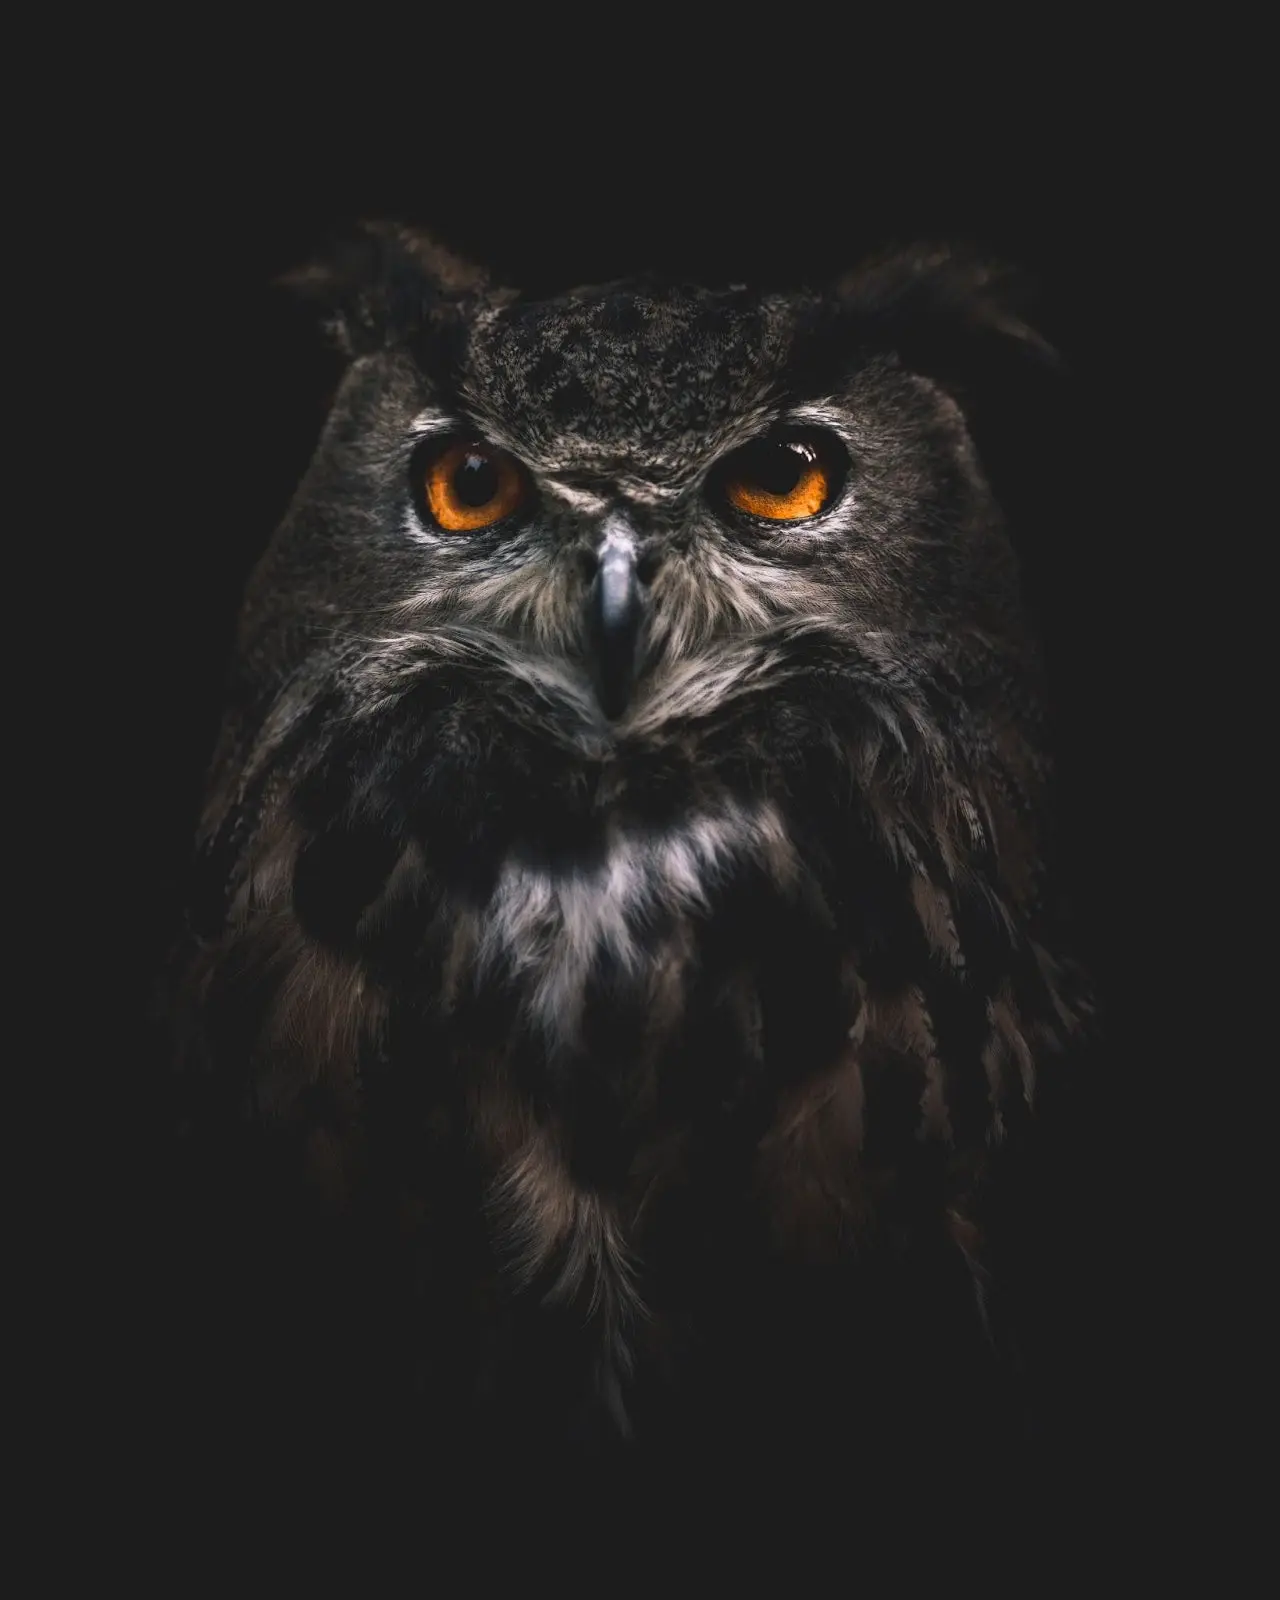
Image credit: Jude Allen.
Bringing out the gold in golden hour using Photoshop color adjustments and hue/saturation
Mount Tamalpais, California. Golden hour
Here is another shot from golden hour at the beautiful Mount Tamalpais just north of San Francisco, California. We were out enjoying the day and ran into a friend that just happened to have an awesome adventure van and was open to us taking photos of it. We had him drive towards us and I had the quick idea to put some of the golden grass dancing around in the foreground. I brought this into Photoshop to clean up the clouds and to again remove any distractions using the Clone Stamp and Content-Aware tools. To bring out the golden light I used a variety of Photoshop’s Adjustment Layers, such as Hue/Saturation.
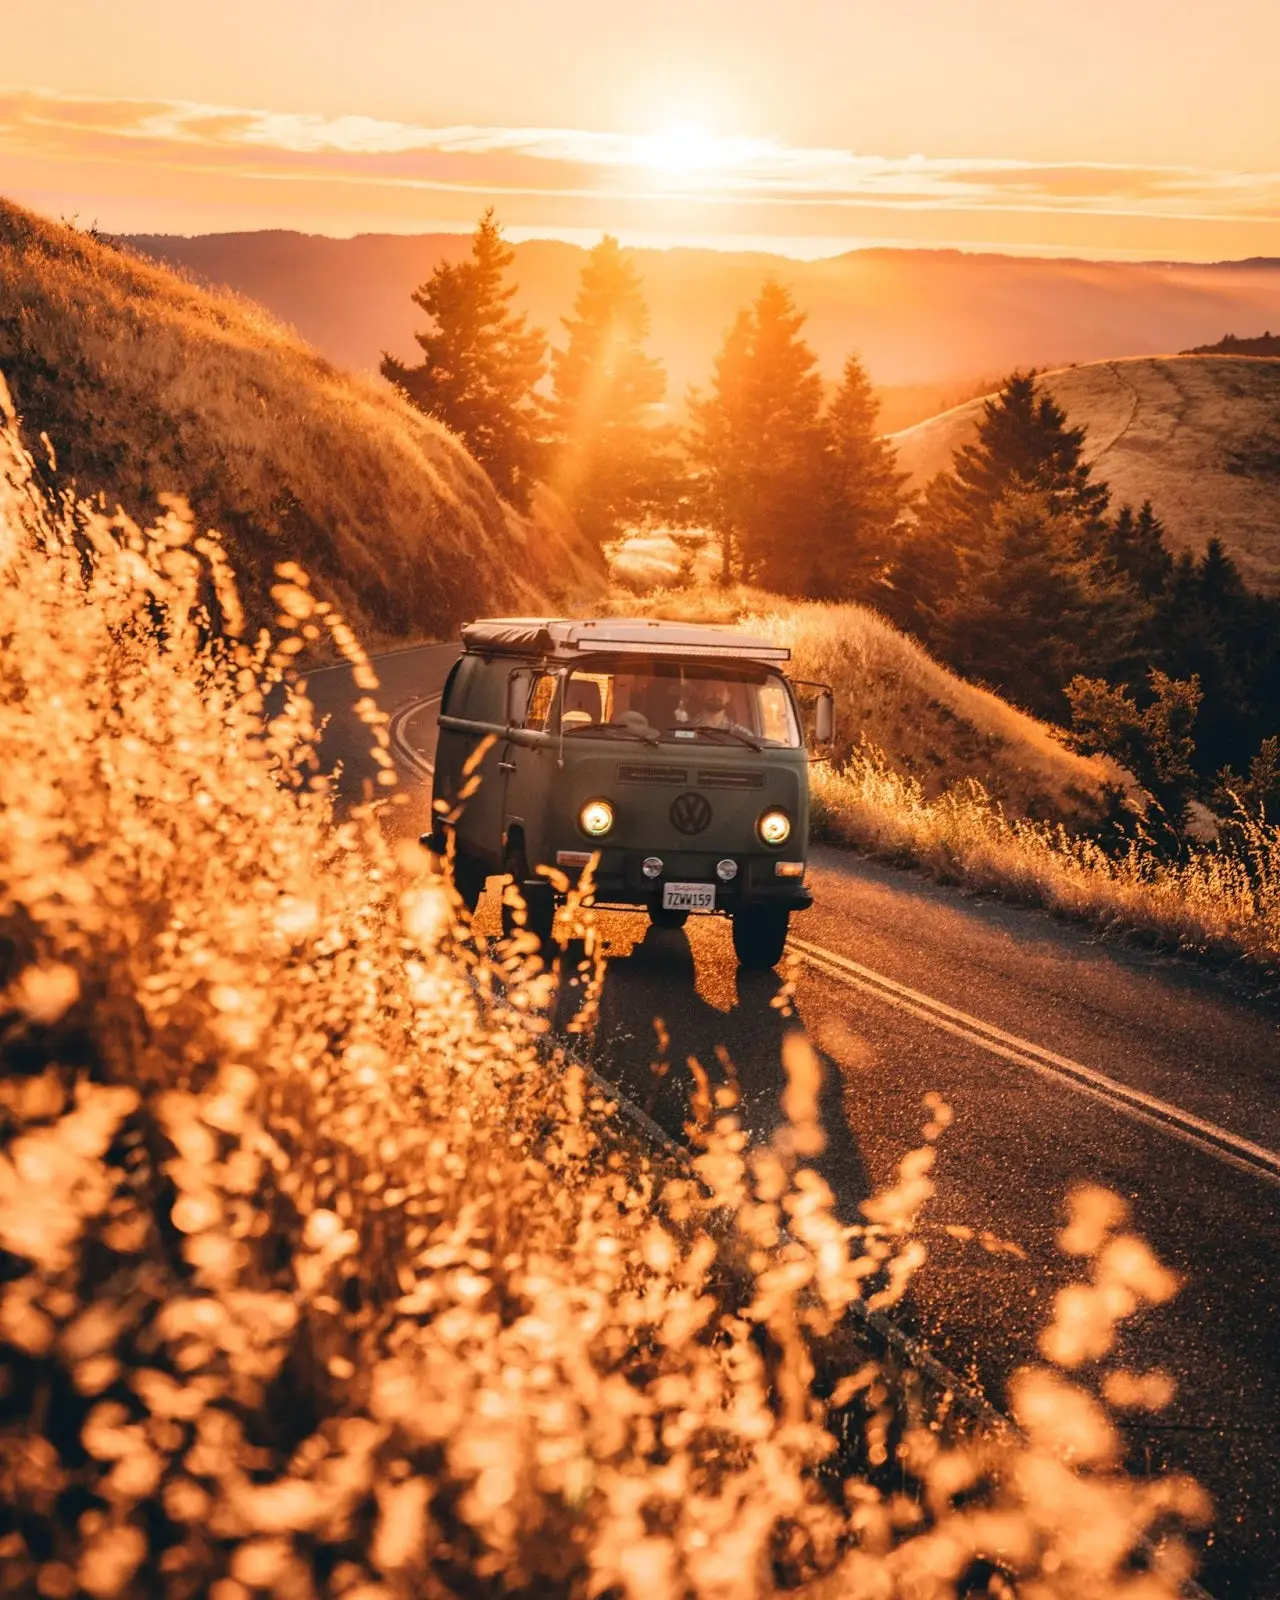
Image credit: Jude Allen.
As you can see, with a little bit of planning (or, maybe even just following your spontaneity when inspiration strikes) you too can get shots like the ones I’ve shared above. So much of photography working out in your favor is being at the right place at the right time. For me, that time just happens to be golden hour.
Learn more about golden hour photography and how to take the best golden photograph.
Source : Adobe